Get Found in Search! The Golden Rules of Writing Handmade Product Titles That Sell & Essential SEO Strategies
yassy
Crafters!

Hello, this is Yassy from Crafters! (・∀・)
Delivering a piece you made with all your heart to someone who will cherish it is a wonderful step that multiplies the joy of crafting. I love making handmade items, hunting for unique creations to buy, and feeling the passionate dedication of fellow makers. Over the years, I have experienced the handmade craft community from both sides—as a buyer and as a seller.
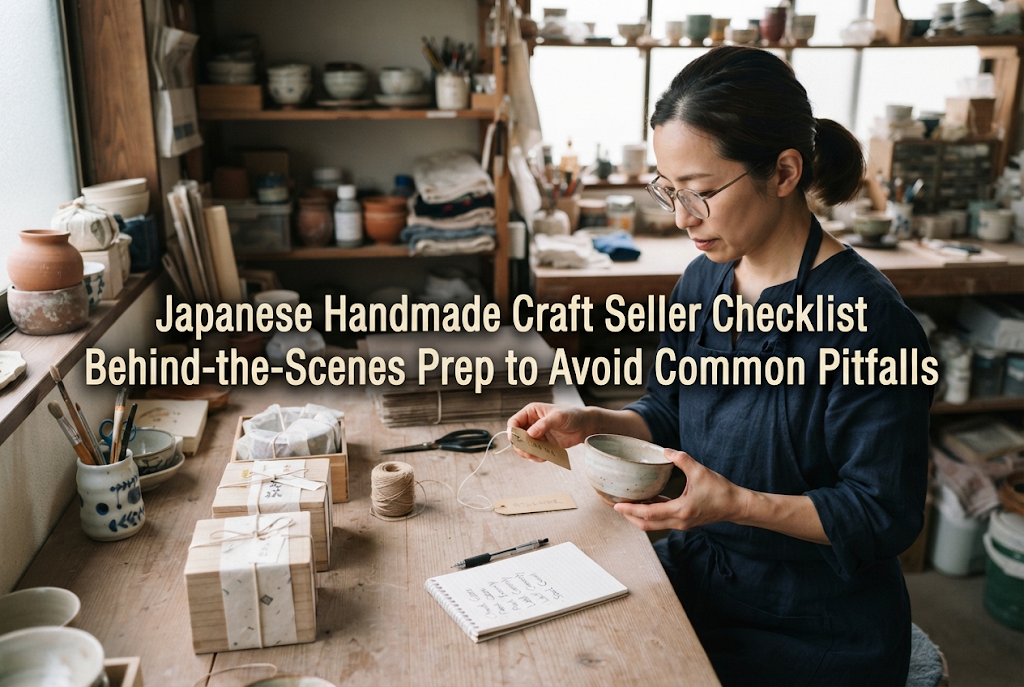
However, when deciding to start selling, many beginners fall into the trap of thinking, "My piece is finished, so I'll just list it on an app or platform right away!" Then, the moment an order comes in, panic sets in: "I don't have packaging supplies!" "I don't know how to ship this!" or "How should I handle my personal address and contact details?"
In the world of handmade sales, the behind-the-scenes preparation you do before pressing that "Publish" button dictates your future success and stress-free operation. Launching without adequate preparation not only risks losing buyer trust, but it can also ruin your own enjoyment of crafting.
In this guide, I will thoroughly explain the essential preparation steps you must take before starting your sales journey. Read through this checklist, eliminate your doubts and anxieties, and make a flawless start!
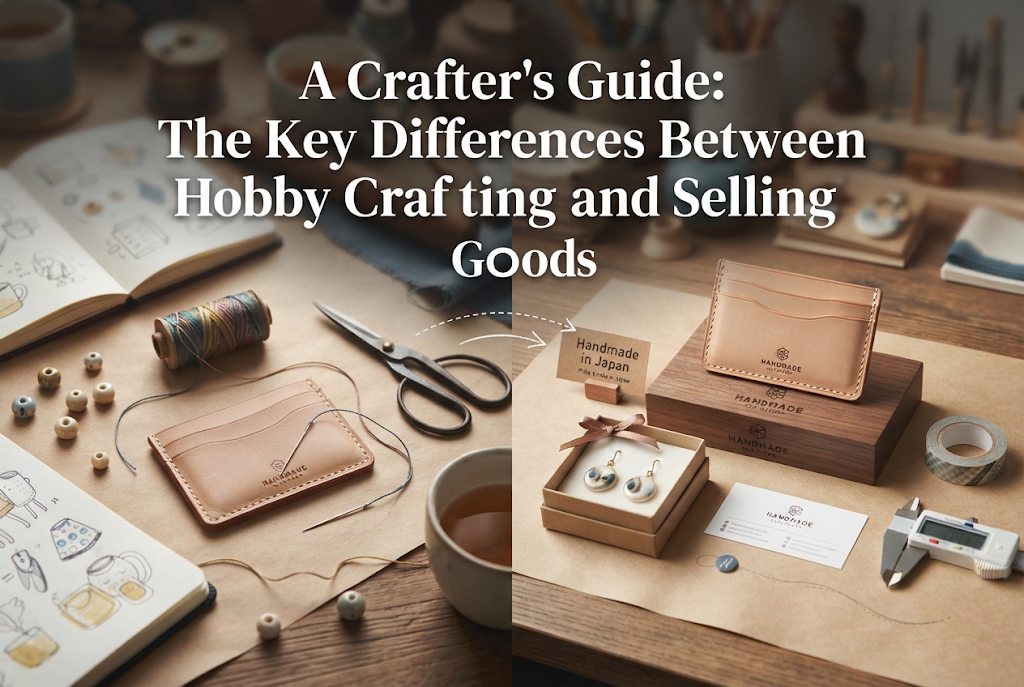
In craft making, there is a massive line between "a hobby piece for personal enjoyment" and "a commercial product delivered in exchange for payment." Failing to recognize this distinction is the single biggest cause of initial failure.
If a piece is for yourself or a gift for a friend, a slightly misaligned clasp or glue that loosens after a few months might be forgiven with a smile. Selling to customers is entirely different. Buyers pay money and place their trust and expectations in your hands.
The fundamental mindset you must adopt before selling is this: The real journey begins after the product reaches the customer's hands. Your product is not just the physical item itself—it encompasses your craftsmanship, packaging, shipping speed, customer service, and aftercare.
Never wait until an order arrives to start looking for shipping boxes or researching postal options. Doing so causes shipping delays and leads to critical mistakes born from panic, such as incorrect address labels or improper packaging.
The preparation phase before launching is the vital time when you build the foundation of your shop. When your behind-the-scenes system is thoroughly prepared, you can handle every incoming order with calm confidence and a smile.
The first task when starting handmade sales is choosing your business or brand name. Your brand name is the face of your shop and the most critical element for customers to remember you.
While picking a cute name or a favorite phrase is wonderful, launching based purely on intuition can be risky. You may end up forced to rename your brand later or face legal complications.
Before settling on a brand name, complete these three essential checks to eliminate legal risks and future rebrand headaches.
Always verify whether your prospective brand name is already registered as a trademark by a third party. If you are operating in Japan, you can use official free search portals like J-PlatPat (Japan Platform for Patent Information).
Using a name that someone else has registered under the same category (such as accessories or textile goods) without permission constitutes trademark infringement. In severe cases, this can result in claims for damages or demands to immediately cease using the shop name.
Pleading ignorance will not protect you. Once you have candidate names, searching trademark databases to confirm you aren't infringing on existing rights is an absolute rule.
Once you have a name candidate, search across major social media platforms (such as Instagram and X) as well as handmade marketplaces and store-builder platforms to see if your desired account handle is available.
If your shop name and social media handles are inconsistent, it becomes difficult for customers to find you via search. Securing matching handles helps maintain a unified brand image.
Even if you plan to launch sales a bit later, the right approach is to register and lock in your handles on major social media channels and sales platforms the moment your brand name is decided.
Avoid overly obscure words, unpronounceable foreign terms, or excessively complicated spellings. If customers cannot easily type your shop name into a search bar, you miss out on repeat visits.
Your shop name should be easy to read and pronounce. If you choose foreign words, try searching for them on Google (including how local customers might spell them phonetically) to see what results appear.
If a name is identical to famous existing brands or consists only of generic words, your shop will get buried in search results. Choose a name that is unique, easy to read, and memorable.
The most common complaint from buyers of handmade crafts involves durability—issues like "it broke right away" or "a component fell off."
Before listing, rigorously test whether your creations can withstand daily wear and tear. Because you made the item yourself, objective and strict quality control is essential.
I have personally experienced the disappointment of buying a handmade accessory that broke on its very first day of wear. No matter how brilliant a design is, a fragile piece fails as a commercial product. Make sure to conduct the following tests.
Create a prototype with the exact same specifications as the product you plan to sell, and use it yourself in your daily life for at least 1 to 2 weeks.
For accessories, put them through repeated wearing and removal, simulate snagging on clothing, and expose them to moisture. For bags or pouches, fill them with heavy items and carry them around to inspect the stress placed on seams and handles.
This testing phase inevitably reveals area for improvement, such as needing a stronger adhesive, switching to double jump rings, or adding reinforcement stitching. Only commercialize designs that pass these strength tests.
If you offer hypoallergenic metal parts (such as surgical stainless steel, titanium, or nickel-free options), do not rely solely on supplier labels; source your hardware from reputable suppliers.
Additionally, check for sharp burrs on metal edges, loose threads, or stray needles in textile items to completely eliminate anything that could injure a customer's skin. Protecting customer safety is a fundamental requirement for a professional maker.
While minor variations are natural in handmade goods, noticeable discrepancies—such as dimensions that differ completely from listing photos or uneven lengths—are unacceptable.
Always use patterns, templates, or rulers during production, and record precise numerical measurements for your materials (such as resin weight, viscosity, or thread lengths).
You need to establish an internal standard operating procedure so that no matter when or for whom you make an item, it delivers the exact quality and size represented in your product photos.
Completing a piece is not the final step. Packaging and shipping create that crucial first impression when your customer opens their delivery.
Furthermore, items damaged in transit cause immense stress for both seller and buyer. Rather than scrambling for packaging materials after a sale, set up a proper packaging workflow at home in advance.
Stock optimal packaging supplies in bulk or sets, and conduct actual drop and transit tests before opening your shop.
When shipping accessories or small items, placing them directly into a simple paper envelope is a absolute no-go. Envelopes can easily be crushed under heavy parcels during transit.
Prepare small rigid cardboard boxes (such as mini shipping boxes under 3 cm thick). These can be purchased at craft suppliers, packaging outlets, or online wholesale stores. Using a box reduces breakage risks significantly.
For fabric goods or non-fragile items, placing them inside waterproof OPP (clear plastic) bags before outer packaging is essential. Make sure your items remain completely safe even in heavy rain.
The fundamental rule of protective packaging is to ensure the item cannot move inside the box.
In addition to wrapping the item in bubble wrap, fill all empty space in the box with paper cushioning or extra padding. If you close the box and shake it firmly in all directions and feel or hear the item sliding around, your cushioning is insufficient.
Test your packaging by dropping a fully packed sample box onto the floor from about waist height. If the item inside survives completely unharmed, your packaging setup is ready for real customers.
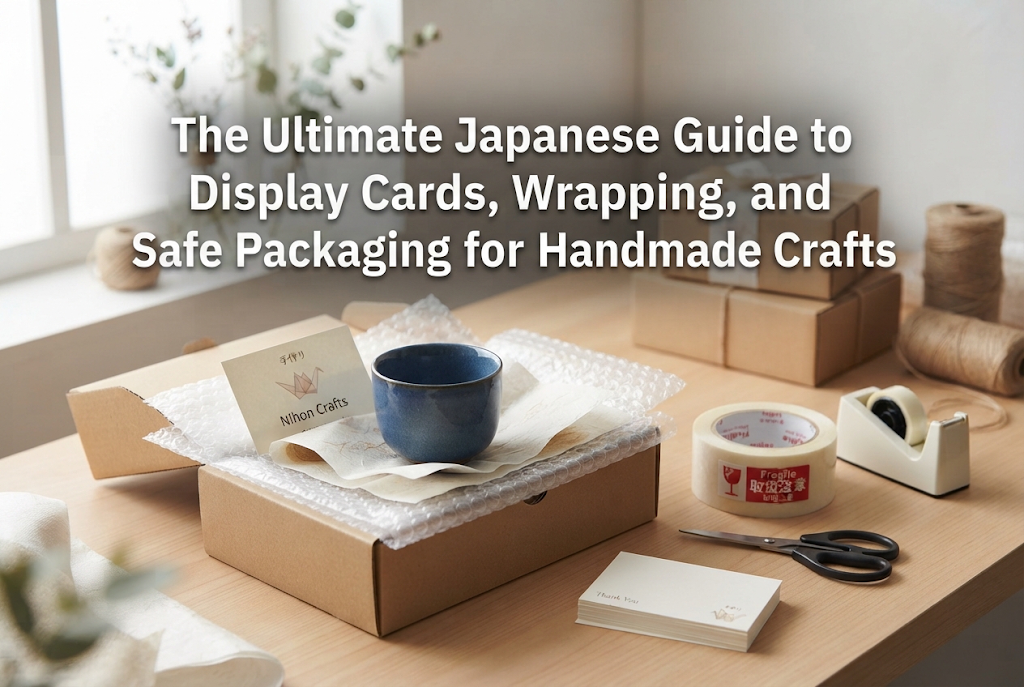
Print your thank-you notes and brand shop cards in advance to include with every order.
Having a card designed with space for a handwritten message allows you to express genuine gratitude, directly driving positive reviews and repeat buyers.
Include your brand name, social media handles, a note of thanks, and care instructions on these cards. Prepare an ample supply using home printing or professional printing services.
Choose shipping options based on tracking capabilities and insurance coverage. Examples include postal services with tracking, registered mail options, or integrated shipping methods offered directly by handmade marketplaces.
For beginners, I strongly recommend choosing shipping methods that provide tracking numbers. If a customer reports an unreceived package and you lack tracking, you cannot verify whether it was lost in transit or delivered, leaving you no choice but to issue a full refund at your own expense.
Keep a reference chart of rates, size limits, and weight restrictions posted at your workspace. Simulate your shipping costs across different platforms beforehand to avoid miscalculations that eat into your profit margins.
Even if you view selling handmade goods as an extension of a hobby, it is legally and professionally treated as a business. Financial management and privacy protection must be addressed before you start selling.
Discard the idea that "it's just a personal hobby, so basic details don't matter." Setting up a clean, secure operating framework early on acts as your shield for long-term peace of mind.
For female makers working from home, handling personal information carefully is especially vital for personal safety.
When selling online, consumer protection regulations (such as Japan's Specific Commercial Transactions Act or equivalent e-commerce disclosure rules elsewhere) generally require displaying seller information, including real name, physical address, and telephone number.
However, many makers feel uncomfortable displaying their personal home address or mobile number publicly on the internet. If you live alone or have young children, security risks must be considered.
Many major handmade marketplaces and platform providers now offer features to proxy business address details on your behalf. Alternatively, virtual office services allow you to obtain a commercial business address and phone number for a modest monthly fee.
Before setting up your store, decide on your privacy policy and set up any necessary proxy or virtual office services to fulfill legal display requirements safely.
Mixing your personal living expenses with shop revenue and supply purchases makes tracking your finances chaotic. It also creates immense confusion when tax season arrives.
Open a dedicated bank account strictly for your handmade business before making your first sale. Online banking accounts can be opened easily and allow seamless tracking of income and expenses.
Enforce a strict rule to pay for all craft materials and packaging supplies from this dedicated account (or a linked card). This will make calculating your actual profit straightforward.
Set up a dedicated email address to manage customer inquiries, platform notifications, and communications from material suppliers. A free professional email address via services like Gmail works fine.
If business messages mix with personal emails, you risk missing important customer inquiries or delaying replies, which causes customer dissatisfaction.
Including your brand name in the email address prefix boosts your professional credibility. It is also helpful to draft standard response templates (greetings, answers to common questions) saved in a notepad app for fast, consistent replies.
In online retail, customers cannot hold or examine your items in person. More than 90% of a customer's decision to buy relies on your product photography.
No matter how gorgeous your item is in real life, dark photos or background clutter showing household distractions will hinder sales. Preparing a dedicated photo setup is just as critical as crafting the product itself.
Instead of searching for a spot every time you need to take pictures, designate a fixed photography spot in your home that guarantees great results every time.
Photos taken directly on wooden floorboards or worn dining tables immediately look amateurish. Choose backdrops that bring out the true appeal of your work.
I recommend styling boards or background photography sheets available from craft outlets, home centers, or online suppliers. Keep 2 to 3 types on hand that match your brand aesthetic—such as light wood grain, marble textures, plaster finishes, or soft muted colors.
Setting up a small, dedicated table or surface for these backdrops saves time and ensures a cohesive look across your shop catalog.
Lighting is the most vital factor in photography. Shooting under direct ceiling lights or warm yellow room lamps distorts true colors and casts harsh, unattractive shadows.
The golden rule of craft photography is to shoot in diffused natural daylight near a window with a sheer curtain, out of direct harsh sunlight. Find a bright spot in your home where soft sunlight fills the space.
Morning to early afternoon hours (typically between 10 AM and 2 PM) offer the best light. Test different locations and times in your home beforehand to pinpoint your ideal photography window.
A common post-purchase complaint is "the item was a different size than I imagined." Photos alone can easily distort a viewer's sense of scale.
Prepare photography props that convey scale at a single glance. For instance, if you sell earrings, use a display card model or ear bust to show how they look when worn.
For bags or pouches, photograph them next to everyday items like a smartphone, an A4 notebook, or a standard water bottle. Including photos with a ruler or held in a hand is also very effective. Keep these scale props assembled together with your photo kit.
Let's summarize everything we have covered into a final checklist. Before hitting that publish button, ensure every item below receives a clear "YES":
At first glance, preparing all of this might seem tedious and time-consuming. However, taking the time to complete these steps is what separates makers who panic from those who build successful, long-lasting handmade brands.
Selling handmade creations isn't just about exchanging goods for money—it is a wonderful journey of sharing your unique vision and delighting your customers. When your behind-the-scenes system is thoroughly established, you can list your creations with complete confidence and pride.
Once your preparations are complete, it's time to share your craft with the world! I am cheering for you as you take this exciting first step. Step forward with confidence into the next chapter of your creative journey!
If you found this guide helpful, sharing it with fellow crafter friends on social media would mean the world to me!
See you in the next article! This was Yassy from Crafters!




For example, if you are looking for articles about mizuhiki, try searching for "mizuhiki"; if you are interested in tools, try keywords like "nippers" or "pliers."
