How to Sand and Polish Jesmonite for a Flawless Gloss and Vibrant Terrazzo Finish
yassy
Crafters!

Hello, I'm Yassy from Crafters! (・∀・)
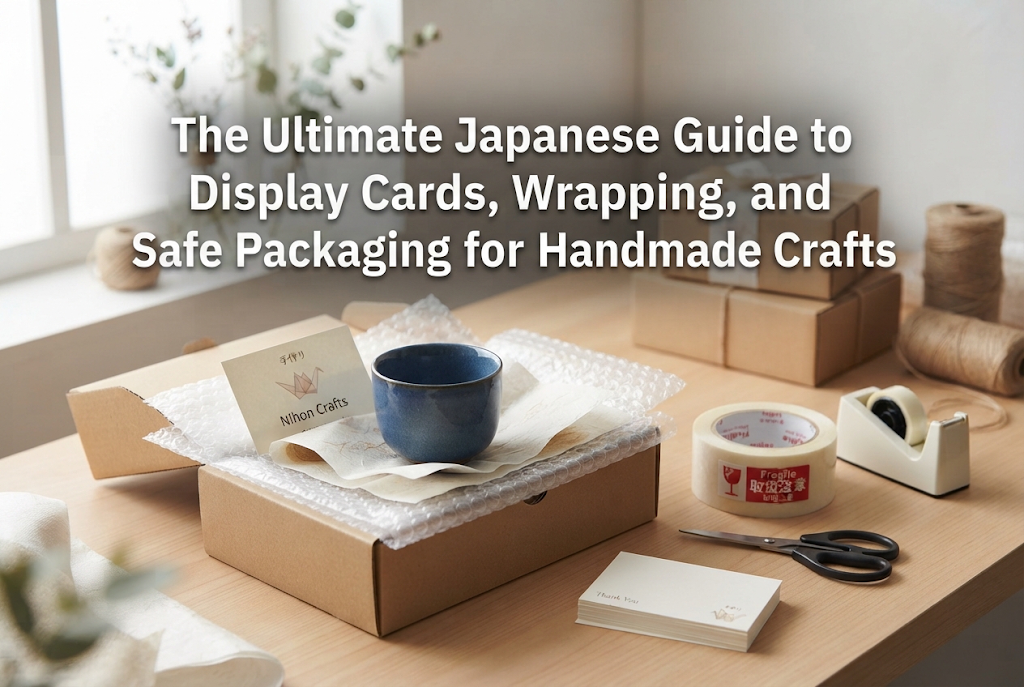
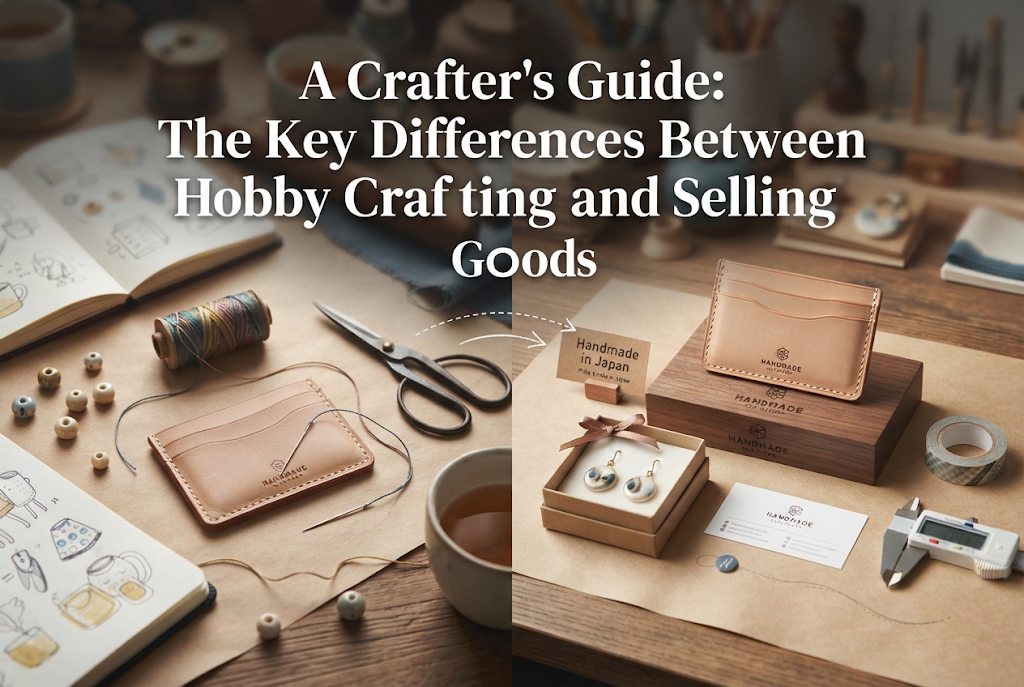
How do you feel when you finally finish creating a handmade item? You probably feel excited, thinking, "This turned out so cute!" or "I can't wait to send this to my customer!" However, you shouldn't stop being mindful once the piece itself is completed. In handmade sales, three elements are just as crucial as the creation itself: display cards, wrapping, and packaging.
I personally love making various handmade items, looking at other crafters' creations, and purchasing handmade goods online. Having bought many items over the years, I have been moved time and again by the excitement of opening a package that is beautifully and thoughtfully wrapped. On the flip side, I've also experienced disappointment when a wonderful piece arrived in sloppy packaging, or felt heartbreak when an item arrived broken in transit.
The moment a customer meets your artwork for the first time in person is not through a screen—it's the exact moment they receive the package and open the box. Thoughtful packaging and lovely wrapping elevate the value of your work many times over and directly lead to repeat customers. In this article, I will share all my practical knowledge, covering everything from choosing display cards (a common point of confusion for beginners) to eye-catching wrapping techniques and bulletproof packaging methods that prevent breakage!
The role of a display card is to hold your piece securely while instantly communicating your brand's atmosphere. Especially when selling jewelry like earrings or necklaces, as well as small items like keychains and brooches, the quality of your card heavily influences the perceived overall quality of your work.
Some makers settle for flimsy, thin paper, but you should definitely avoid this. If a card bends or warps, even a high-end item will look cheap. Here is how to select and create the perfect display card to showcase your creation.
The one thing you must never compromise on when selecting display card stock is paper thickness. Never use thin paper like standard copy paper. It won't hold the weight of the jewelry, causing the card to bow or bend forward like it's bowing.
In Japan, paper thickness is often indicated by paper weight in kilograms (renryo / ream weight). As an absolute rule for handmade display cards, choose heavy stock of at least 180 kg (approx. 210 gsm), ideally around 220 kg (approx. 250–260 gsm).
Paper texture is also important. If you want a natural feel, choose textures like kraft paper or matte urethane paper. If you want an elegant, low-glare texture, choose premium matte paper or smooth cardstock. Align the texture with your overall craft design and brand identity.
You have three choices for obtaining display cards: using pre-made blank cards (from craft/dollar shops), printing them at home, or outsourcing to an online printing company. Beginners often struggle with this decision. To put it simply: start with DIY or high-quality pre-made cards when beginning, and switch to outsourcing to a printer once your brand name is established and your sales volume grows.
Refer to the following characteristics to choose the best option for your current situation:
If you choose to DIY at home, buying A4 printable multi-cards (heavy weight, without pre-cut slots) online and laying out your logo, social media accounts, and allergy notes using free design tools is the most efficient approach.
When mounting your work onto a card, sloppy hole punch placement or sloppy cuts will allow the item to shift, fall off, or get scratched during transit. Follow these strict securing methods tailored to your item type:
[For Earrings] Use an awl or a single-hole punch to create holes. If the holes are misaligned left and right, it instantly looks amateur. A professional trick is to include tiny target dots (or crosshairs) in your digital layout design before printing, so you can punch precisely every time. For clip-on or screw-back earrings, instead of round holes, make a horizontal slit of a few millimeters with a craft knife. Punching tiny round holes at the ends of the slit will prevent the paper from tearing. Additionally, to keep metal hardware on the back from rubbing against the card and scratching, place transparent silicone earring backs or protective film behind the card.
[For Necklaces and Brooches] For necklaces, make diagonal slits on the top left and right edges of the card to catch the chain. To prevent long chains from tangling on the reverse side, attach a small OPP bag to the back of the card to house the loose chain, or make a slit on the back fold to tuck it away securely.
Once your piece is mounted on its display card, it is time for wrapping. Wrapping handmade goods is not merely about protection. When customers purchase something as a treat for themselves or a gift for someone special, thoughtful wrapping creates a memorable moment that makes them feel truly happy with their purchase.
Excessive packaging that just generates extra trash is unappealing, but simple, tasteful wrapping dramatically elevates your brand's perceived value.
The most essential packaging material is the OPP bag (Oriented Polypropylene bag). It is crisp, highly transparent, and protects your work from dust and moisture.
The golden rule when choosing OPP bags is to select a bag that is 3 to 5 mm wider than your display card. If you choose a bag that fits too snugly, the card will bend when inserted or the bag's edges might split. Conversely, if it is too big, the item will slide around inside, looking messy.
Pay close attention to fingerprints and wrinkles. Wear light gloves or handle bags carefully to avoid smudge marks. When pulling down the adhesive strip on the back, smooth out the air and pull it taut so it seals straight. A wrinkled OPP bag ruins the beauty of your creation; if a bag gets wrinkled, be willing to swap it out for a fresh one.
Once the item is inside the OPP bag, add a personal touch using brand stickers, thank-you cards, and ribbons.
Place stickers where they won't cover the main feature of your artwork. Common placements are the bottom center of the front or over the seal on the back. Sticking a custom logo sticker instantly gives your package a professional shop appearance.
Including a shop card or a brief hand-written thank-you note is essential. A short hand-written message conveys handmade warmth that stays in the customer's memory. You don't need a long letter—just 2 to 3 lines like: "Thank you so much for your purchase! I hope you enjoy wearing this piece."
When tying ribbons, thin satin ribbons or natural twine are easy to handle. Match the material to the aesthetic of your work:
When selling on handmade platforms, you can set separate options for standard packaging and paid gift wrapping. Keep a clear distinction between the two.
Standard wrapping should consist of a simple, clean setup: "Display card + OPP bag + Thank-you note." Even if it is free, never be careless with neatness.
Paid gift wrapping (usually an added fee), on the other hand, should utilize small rigid paper boxes or pillow boxes. Line the inside of the box with tissue paper, shredded paper cushion, or waxed paper, arrange the piece carefully, and tie a ribbon around the box. Using a box not only vastly boosts the luxury feel, but also significantly reduces the risk of damage during transit.
No matter how breathtaking your craft is or how cute your wrapping looks, if it arrives broken, all your hard work is wasted. Transit damage disappoints customers and leads to refunds, remaking items, and negative reviews—the worst outcome for an artisan.
Never rely on wishful thinking like "It will probably be fine." Packages endure severe shocks and heavy weight during sorting and transport. Here are professional techniques to ensure your work arrives intact every single time.
To package safely, gather these core supplies in advance. Buying them in bulk online or from packaging suppliers helps keep costs down:
The most common beginner mistake is shipping fragile items in plain envelopes. Placing bubble-wrapped jewelry into a soft envelope is extremely risky. When passing through automated postal sorting machines or squeezed under heavy parcels, earring posts bend and resin or glass pieces crack.
Here is my clear distinction between envelope and box shipping:
For any hard materials (metal, resin, glass) or three-dimensional crafts, make it your rule to always ship in a rigid small cardboard box. Small boxes cost very little per piece; compared to the financial and emotional stress of broken items, it is a small, essential investment.
Here are detailed steps for packaging different types of crafts securely:
[Accessories, Resin, and Small Crafts]
Crucial Checkpoint: Gently shake the box before sealing it completely. If you hear a rattling sound or feel movement inside, you need more padding. Fill the space until nothing shifts. Zero movement inside the box is the golden rule of shock absorption.
[Fragile Pottery, Glass, and Heavy Items] Heavier fragile items need extra protection. Wrap protruding areas (like mug handles) with extra bubble wrap first, then wrap the entire item thickly. Place it in a sturdy box noticeably larger than the item itself, filling at least 3 cm (1.2 in) of space on all sides (top, bottom, left, right) with dense cushioning (crumpled paper or air pillows). The goal is to suspend the item in the center so it never directly touches the box walls.
[Fabric, Knits, and Sewing Crafts] Fabric items won't shatter, but their main enemies are water damage and accidental cuts during opening. Always seal fabric items inside a thick OPP bag, squeezing out air. To prevent customers from accidentally cutting the fabric when slicing open the outer envelope with scissors or a knife, avoid overly tight envelopes and leave a small buffer, or attach a "Do Not Use Blades" warning sticker.
Once packed, it is time to ship. Choose postal services that offer reliability and proper tracking depending on the item's value.
I strongly recommend enforcing this ironclad rule for your shop:
"For any item priced over $30 USD (or equivalent local value), always use a shipping service with tracking."
If you use untracked mail, you cannot provide proof of dispatch if a package goes missing, which leads to major customer disputes. Tracking numbers give both you and your customer complete peace of mind.
As soon as you ship, send a warm, attentive message in addition to automated system notifications.
Include these essential points:
Asking customers to contact you before leaving a review is key. If a shipping mishap occurs, this gives you a chance to offer sincere customer service (such as sending a replacement or issuing a refund) before receiving a public negative rating.
Here are typical mistakes handmade beginners often make. Check if any of these apply to your current routine:
In this guide, we explored how display cards, wrapping, and safe packaging preserve your craft's value and eliminate transit damage.
Let's recap the key rules:
Packaging and wrapping take time, but this dedication is what separates an amateur hobbyist from a professional handmade artisan.
Your work is a one-of-a-kind creation crafted with heart. Aim for a unboxing experience that makes customers exclaim, "Wow, this is so lovely! I'm so glad I bought this!" The trust built through meticulous packaging will surely return to you in the form of loyal repeat fans.
Wrap your work with pride and send it out in perfect condition! I'm cheering for your craft journey!
If you found this guide helpful, please share it with your fellow crafter friends! Until next time, this was Yassy from Crafters!

For example, if you are looking for articles about mizuhiki, try searching for "mizuhiki"; if you are interested in tools, try keywords like "nippers" or "pliers."
