Where to Sell Handmade Goods in Japan: A Complete Guide to Japanese Craft Marketplaces and Online Shops
yassy
Crafters!

Hello, everyone! It’s Yassy from Crafters! (・∀・)
I personally love making various handmade items, looking at beautiful pieces created by talented artists, and buying pieces that make me think, "This is the one!" Knowing the passion and energy creators pour into their work makes browsing online craft shops and handmade markets the ultimate form of relaxation for me.
Today’s article is aimed at intermediate crafters who are comfortable making items but want to grow their sales, as well as advanced creators looking to take their craft business to the next level.
When I browse craft marketplaces, I often see wonderful creators who make amazing products, but because they don't know how to present and sell them, their work remains completely buried and unsold. This is such a waste!
If you are currently struggling with these exact thoughts, let's put an end to those worries today. The reason your handmade items aren't selling isn't that your work is low quality. You simply haven't followed the right steps to sell effectively.
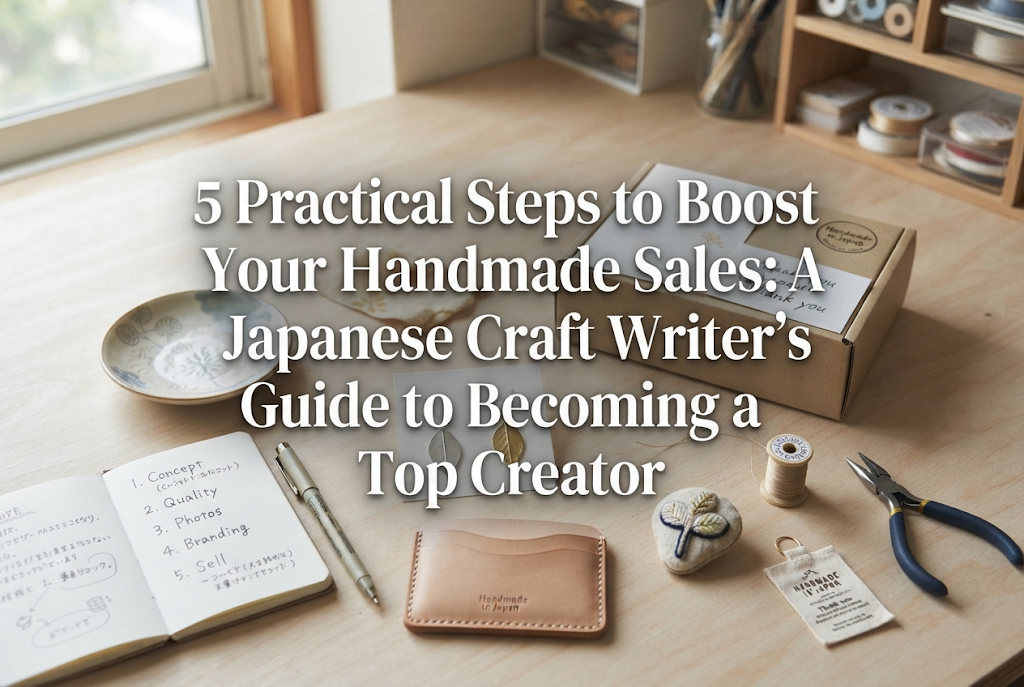
Building a stable income as a handmade artist requires clear logic and strategy—not just wishful thinking or guesswork. As someone who loves making, viewing, and buying handmade crafts, I’m going to walk you through 5 practical steps to boost your sales in the shortest time possible. No vague advice here! If you're serious about becoming a popular creator, start applying these steps right away!
The biggest trap beginners fall into is making whatever they want within their current skillset and listing it for sale. If craft making is purely a hobby, that's completely fine. But if you want to grow your sales, you need to abandon that mindset immediately.
The first step in creating items that actually sell is defining exactly who will use the item and in what specific situation. Without this clear focus, no matter how meticulously you craft your item, it won't resonate with anyone.
When I ask beginner artists, "Who do you want to buy your work?" many answer, "Stylish women in their 20s to 40s." To be frank, that isn't a target audience. It's far too broad—a classic mistake that fails to reach anyone.
A target audience (persona) must be narrowed down to a single specific individual. For example:
Only when you narrow your scope this specifically do your design choices, color options, and material selections become crystal clear. When you craft a piece that hits the bullseye for a single individual, it naturally appeals to many others who share the exact same preferences and needs.
When I select handmade pieces as a buyer, practical usability and durability are just as important to me as aesthetic design. No matter how adorable an item looks, I will never wear earrings that are too heavy, a necklace with a clasp too tiny to fasten, or a corsage with messy backings that snag on clothing.
A common misconception among beginners is thinking, "If it's cute enough, customers will forgive a little inconvenience." In reality, it's the exact opposite! Customers who buy handmade items expect warmth and attention to detail that exceed mass-produced goods. The moment they feel an item is less practical than a store-bought product, you lose any chance of a repeat order.
Once you finish making a piece, wear or use it repeatedly yourself. Is it easy to put on? Is it sturdy? Is the weight comfortable? Refining your product design until you can give it a 100% passing grade as a customer is the foundation of everything.
Pricing is where beginner creators hesitate the most and fail the most often. The single biggest mistake is discounting or underpricing out of a lack of confidence.
Let me be clear: you cannot grow a sustainable handmade business through discounts and bargain pricing. Underpricing is a trap that only exhausts the creator.
When you feel unsure about pricing, set emotions aside and apply this basic formula mechanically:
Retail Price = (Material Costs + Production Time × Hourly Rate) ÷ (1 − Fee & Profit Percentage)
Let me give you a concrete example. If your material cost is $5.00, your production time is 1 hour, and your set hourly rate is $12.00, your base cost plus labor comes to $17.00. Adding packaging supplies, marketplace fees (typically 10%–15%), and a profit margin for future tool investments or design development, your retail price should realistically be set between $25.00 and $30.00.
Never feel guilty thinking, "Is it really okay to charge $30 for something made with $5 in materials?" Customers are not paying merely for raw materials. They are paying for your skill, aesthetic sense, the time spent crafting, and the excitement they feel when receiving your work.
To sell successfully at fair prices, you need to ensure customers feel, "Given this quality and experience, this is actually a fantastic value!"
For instance, explicitly state if you use high-quality hypoallergenic metals, include elegant gift wrapping as standard, or enclose a thoughtful thank-you card to build excitement. Communicating your added value clearly through words and images is an absolute requirement for selling consistently at fair prices.
In online shops and social media, photos are your product. Because customers cannot physically hold your items, they judge whether to buy based 100% on photograph quality. No matter how incredible your work is, if your photos are dark or uninspiring, the piece might as well not exist.
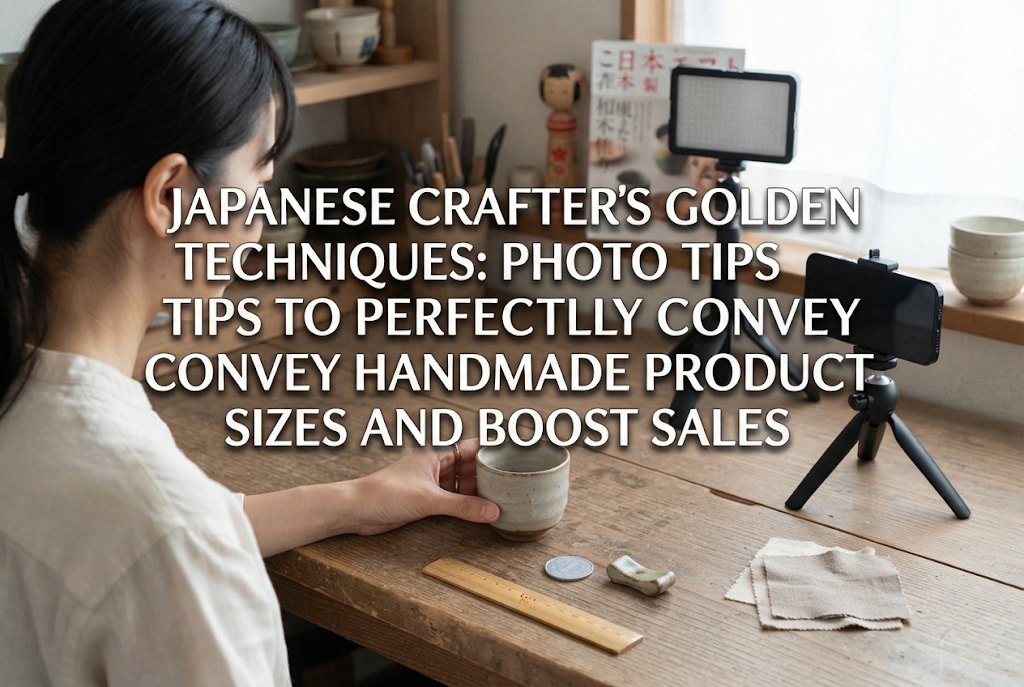
Saying "I can't take good photos because I don't own an expensive DSLR camera" is just an excuse. With modern smartphones, anyone can capture attractive, professional-looking images. What you need isn't high-end camera gear, but knowledge of light and backgrounds.
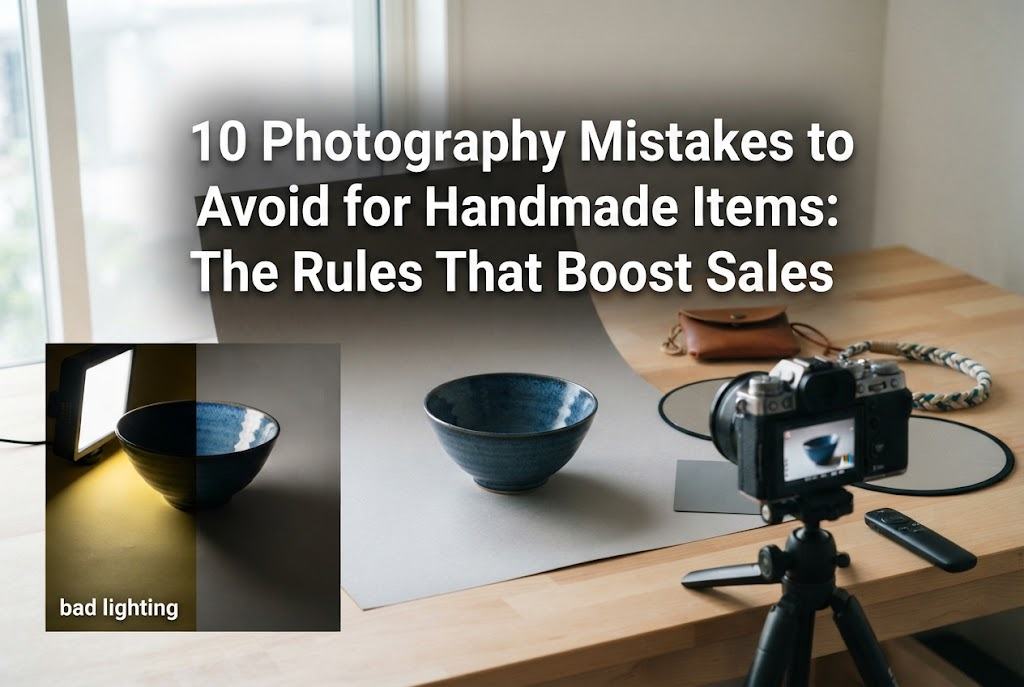
The top photography mistake beginners make is shooting under room fluorescent lighting. Fluorescent lights distort colors, cast unnatural shadows, and give your items a dull appearance.
Always take photographs indoors during a bright morning or early afternoon on a clear day, away from direct harsh sunlight. Soft, indirect natural light near a window with sheer lace curtains creates the ideal shooting environment. Lighting your piece from the side or slightly from behind highlights texture, depth, and transparency dramatically.
(If many of you need advice on shooting with artificial lighting kits, feel free to send me a message on social media, and I'll consider writing a dedicated article!)
If tatami mats, hardwood flooring, or cluttered furniture show up behind your products, your photo instantly looks amateurish. That dampens buyer enthusiasm immediately.
Prepare these items for photographic backgrounds:
By simply decluttering the background, your product pops, instantly adding a high-end brand feel.
Some creators only upload one or two photos per listing, which provides far too little information. From a buyer's perspective, buying an item with insufficient visuals is intimidating. Always include at least these 5 shots:
The "in-use" and "scale" shots are especially critical. For earrings, use a mannequin torso or model photo. For bags, show someone wearing it over their shoulder. The moment a customer visualizes themselves using your item, their desire to purchase reaches its peak.
Once your photos grab attention, text takes over. Your listing text has two key roles: helping shoppers discover your product via search engines (SEO), and reassuring hesitant buyers to complete their purchase.
No matter how amazing a piece is, if it doesn't appear in search results, customers can't find your shop. Master the art of structuring your titles and descriptions!
A classic beginner mistake is assigning short, abstract titles like "~Pink Flower Earrings~". Search engines and marketplace algorithms cannot index these effectively.
The rule of thumb for titles is to naturally pack in specific keywords that potential buyers actually type into search boxes.
Poor Example:Cherry Blossom Hoop Earrings
Good Example:Cherry Blossom Earrings Hypoallergenic Gold Sakura Spring Small Dainty Elegant Floral Jewelry Wedding Gift
By incorporating keywords covering materials, colors, seasonal events, style aesthetics, and intended uses, your search visibility increases exponentially.
A product description shouldn't just be a bulleted list of specs. Use this structure to build trust and readability:
Customers view listings with quiet doubts: "What if it looks different in person? What if it breaks easily?" Answering all these questions upfront directly improves your conversion rate.
Many struggling crafters spend all their energy constantly searching for brand-new customers. However, the most efficient and crucial aspect of a handmade business is turning existing buyers into repeat customers.
Acquiring a new customer is said to cost five times more than retaining an existing one. As your repeat customer base grows, your income stabilizes, allowing items to sell naturally without endless promotional stress.
Platforms like Instagram are powerful tools for growing a fanbase. However, quietly posting only finished product photos won't build a devoted following. An account that looks like a static product catalog is boring to follow.
On social media, share the stories and behind-the-scenes processes behind your creations:
People are moved by the creation process and the maker's passion even more than the finished product itself. You don't need to act like an impersonal corporate brand. Honestly showing your hands-on journey is the fastest way to gain real fans who love you as a creator.
After making a sale, your true opportunity to gain a lifelong fan begins. Design the unboxing experience so it delights the buyer the moment they open the package.
As a buyer, I am deeply moved to buy again when I encounter packaging that shows genuine care in every detail.
Simply wrapping an item in bubble wrap and dropping it in a plain envelope is a missed opportunity. Place it in a cute box, seal it with a brand logo sticker, or tie a seasonal ribbon around it to give the recipient the joy of opening a gift.
Most importantly, always enclose a handwritten thank-you note. Rather than a printed template, a handwritten message addressed specifically to them—such as "Dear [Name], thank you so much for choosing this piece! I hope it brings joy to your outings"—creates a powerful personal connection.
Additionally, sending a brief follow-up message after shipping or delivery ("I hope your package arrived safely! Please let me know if you have any questions") solidifies trust. This thoughtful communication inspires glowing reviews and encourages repeat purchases.
We’ve covered 5 practical steps for handmade artists to increase sales:
These steps aren't meant to be done in isolation. Like puzzle pieces fitting together, they build a complete system for sustainable sales.
The handmade craft market is competitive, with new creators joining every day. However, only a small fraction of artists consistently carry out these steps without compromise. If you start taking these actions seriously today, you can easily stand out and grow into a thriving, popular creator.
Don't hesitate thinking, "Maybe it's too early for me" or "What if I fail?" Your core passion and enthusiasm for making, admiring, and buying crafts will resonate with customers when paired with smart business practices.
Start with whatever you can do today! Reshoot one photo using soft natural light. Add relevant search keywords to a product title. Or outline your single ideal target customer on a sheet of paper. Those small steps will compound and transform your journey as a creator.
I sincerely support you and look forward to seeing your wonderful creations reach the people who will truly cherish them!
Until next time! This was Yassy from Crafters!

For example, if you are looking for articles about mizuhiki, try searching for "mizuhiki"; if you are interested in tools, try keywords like "nippers" or "pliers."
