Beginner’s Guide to Japanese Clay Craft: Resin Clay vs. Lightweight Clay & How to Get Started with a Starter Kit
yassy
Crafters!
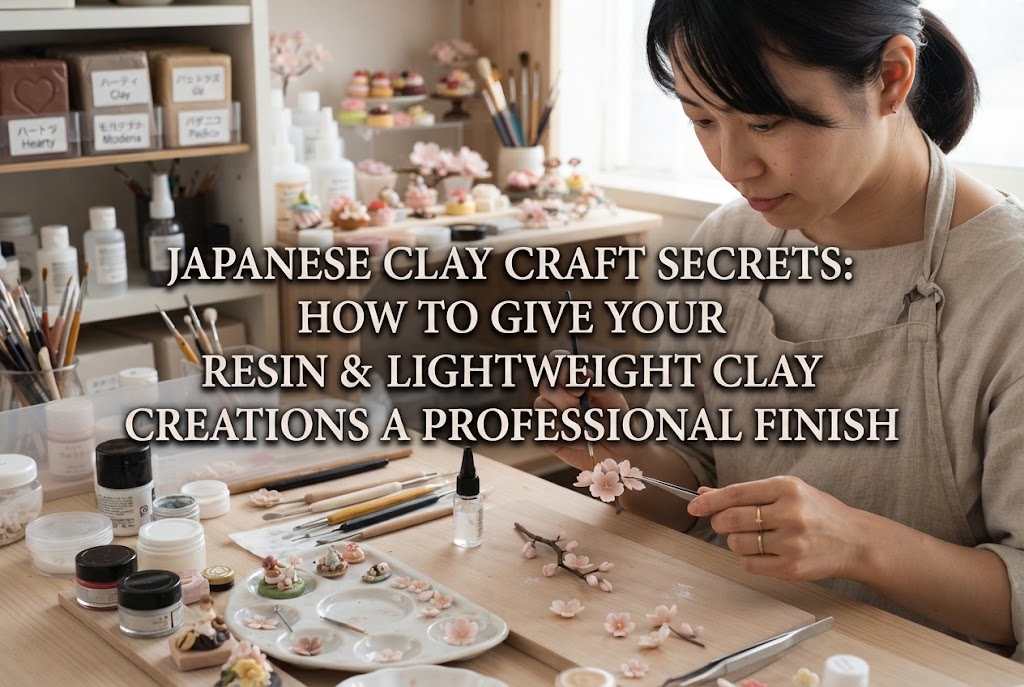

Hello, this is Yassy from Crafters! (・∀・)
Have you ever found yourself crafting with resin clay or lightweight air-dry clay and thinking, "I followed the instructions, but why doesn't my piece look polished or store-bought? Why does it still look a bit amateurish and clunky?"
One of the greatest charms of clay crafting is how accessible it is—you can jump right in without needing expensive specialized tools. However, knowing just a few key tricks during the shaping, coloring, and finishing stages can dramatically transform the final quality of your work.
Noticeable fingerprints on the surface, visible seams between connected parts, or flat, single-tone colors can leave your project looking like a simple hobby craft. Yet, creating pieces that look like they were crafted by a professional is simply a matter of executing basic steps with extra care.
In this guide, I will share practical techniques to elevate your resin and lightweight clay creations to the next level! I'll cover common beginner mistakes, misconceptions, and the specific habits I practice in my own workshop.
To improve your craft, the fastest shortcut is understanding what causes a piece to look unpolished in the first place. These four factors are usually the main culprits:
No matter how well-proportioned your sculpture is, clear fingerprints or tiny specks of dust embedded in the clay immediately give off an unrefined feel. Shiny resin clay and clay that hardens after drying reflect light easily, making fingerprints stand out even more.
Spiral wrinkles left behind when rolling a ball or awkward gaps where components are attached highlight the "handmade artifact" look. Additionally, fine cracks caused by clay drying out while you are working with it can spoil the smooth finish.
Simply assembling pieces made from clay mixed with a single paint color creates a flat, plastic-like impression. In nature, food, plants, and characters all feature subtle color variations, light, and shadow. Unpainted surfaces or heavy, single-color coats are telltale signs of beginner work.
The varnish you select and how you apply it play a huge role. Applying a high-gloss varnish to a motif that should naturally have a matte texture, or leaving visible brush marks and air bubbles, can make the item appear cheap.
Tackling these four issues one by one is the ultimate secret to raising your craftsmanship! Let's dive into the practical solutions.
Careful attention during the base molding phase accounts for about 80% of your final piece's quality. Here are the core habits to adopt when kneading and shaping your clay.
Creating a clean environment before you open your clay is essential. A common beginner misconception is thinking, "I can just pick out any dust after the clay dries." In reality, removing dust once it is kneaded into the clay is extremely difficult.
Before touching my clay, I always use a lint roller on my clothing and workspace. This simple step alone reduces the amount of dust getting into my clay by over 90%!
When rolling clay into a ball, you might notice spiral-like wrinkles forming on the surface. This happens when there is a difference in stiffness between the inner and outer clay, or when air gets trapped inside.
The secret to forming a smooth sphere is to first press the clay firmly between your palms to squeeze out all trapped air. Next, rub your palms together firmly to push the outer surface inward as you roll it tightly. Finally, soften your pressure and gently roll the clay to smooth out the surface completely.
If fingerprints inevitably appear, remove them immediately after shaping using the right liquid for your specific clay type:
When attaching small elements—like animal ears onto a miniature food character or arms onto a figure—simply gluing them together leaves a sharp, obvious join line.
To create a cohesive look, glue the parts together and then use a fine clay detail tool or a silicone color shaper to smooth down the border line. Blending the edge into the main body makes the piece look as if it was sculpted seamlessly from a single piece of clay.
Even if your shaping is flawless, improper drying can cause sagging, flat spots, or deep cracks. Here is how to dry your pieces safely.
If you leave round or 3D clay items to dry on a hard, flat workbench, the bottom flattens under its own weight. To avoid this, modify your drying surface.
I use thick kitchen sponges purchased from 100-yen shops (Japanese dollar stores like Daiso or Seria). I cut small concave indents into the sponge with a utility knife and rest the rounded clay pieces inside. This completely eliminates flat spots on the bottom!
Never use a hairdryer or place your wet clay directly in front of an air conditioner vent to speed up drying. Rapid drying shrinks the outer layer while moisture remains trapped inside, leading to severe surface cracks.
Always dry your clay slowly at room temperature in a well-ventilated area away from direct sunlight. Patiently allowing proper drying time ensures both structural strength and aesthetic beauty.
Once molding and drying are complete, coloring brings your creation to life.
Clay can be colored either by kneading acrylic paint directly into the raw clay before shaping, or by painting the surface after it dries. A master crafter uses both methods together effectively.
A frequent mistake is kneading too much paint into raw clay to reach a dark target shade. Adding excessive acrylic paint disrupts the moisture balance, making the clay sticky while working, or brittle and prone to cracking once cured.
Instead, knead in just enough paint to create a soft base color. Save dark accents, shadows, and vibrant gradients for surface painting after the piece has dried.
When painting the surface, avoid applying a single solid coat of paint. Real-world objects have complex layers of color.
For instance, when adding a baked crust color to fake sweet crafts, painting a single coat of dark brown instantly looks artificial. Instead, build up the shading gradually:
Building colors from light to dark in multiple sheer layers adds rich depth and realistic gradients.
If you find brushwork tricky, soft pastels are a fantastic tool. Scrape hard pastels with a craft blade to create fine powder, then apply it to the clay using a soft eyeshadow applicator or a fluffy flat brush.
Because pastels are dry, they won't leave brush strokes or add excess moisture. They allow anyone to effortlessly render soft blushes, delicate gradients, or subtle shadows—perfect for Japanese traditional sweets (wagashi), cookies, or animal fur shading.
The final coating protects your work from moisture and dirt while setting the final surface texture.
Varnishes generally come in gloss, matte, and satin finishes. Selecting the right finish to match your subject matter is crucial:
Avoid coating everything in high-gloss varnish just for protection; glossy bread or realistic fur looks overly plastic. Rule of thumb: when in doubt, use a matte varnish overall, and brush gloss varnish only on areas that require a moist or shiny appearance.
Applying varnish in one thick coat can result in unsightly white cloudiness when dry, along with heavy brush streaks.
Always follow the two-thin-coats method: thin your varnish slightly with a little water, apply a light coat, allow it to dry completely, and then apply a second thin layer.
Ensure all underlying paint and pastel layers are 100% dry before varnishing. Applying water-based varnish over wet paint will dissolve the base colors and streak your work.
For keychains, charms, or daily wear accessories subjected to friction, coating your resin clay piece with a thin layer of UV/LED resin is highly effective.
Spread resin thinly with a flat brush and cure it under a UV light. This creates a protective barrier far stronger than standard varnish, along with a deep, glass-like clarity.
Here is my personal rule for organizing craft projects to keep quality consistently high:
I strictly divide my process into separate days: Shaping Day, Drying Period, Coloring Day, and Finishing Day. Trying to rush through shaping to varnishing in a single day often leads to applying paint over damp clay, resulting in warped shapes or uneven color.
Taking the time to let every stage dry completely might seem slow, but it is actually the ultimate shortcut to avoiding mistakes and achieving professional results! (・∀・)
Let's recap the essential takeaways for elevating your clay craft projects:
You don't need extraordinary innate talent or overly expensive tools. Simply taking extra care at each stage will give your resin and lightweight clay creations an inviting, store-quality finish.
If you enjoyed this guide, please share it with your fellow crafting friends or on social media—it means the world to me!
Until next time, happy crafting! This was Yassy from Crafters!




For example, if you are looking for articles about mizuhiki, try searching for "mizuhiki"; if you are interested in tools, try keywords like "nippers" or "pliers."
