Mastering Japanese Wire Jewelry Techniques: Professional Tips for Flawless Finishes Without Scratches or Distortion
yassy
Crafters!

Hello! I'm Yassy from Crafters! (・∀・)
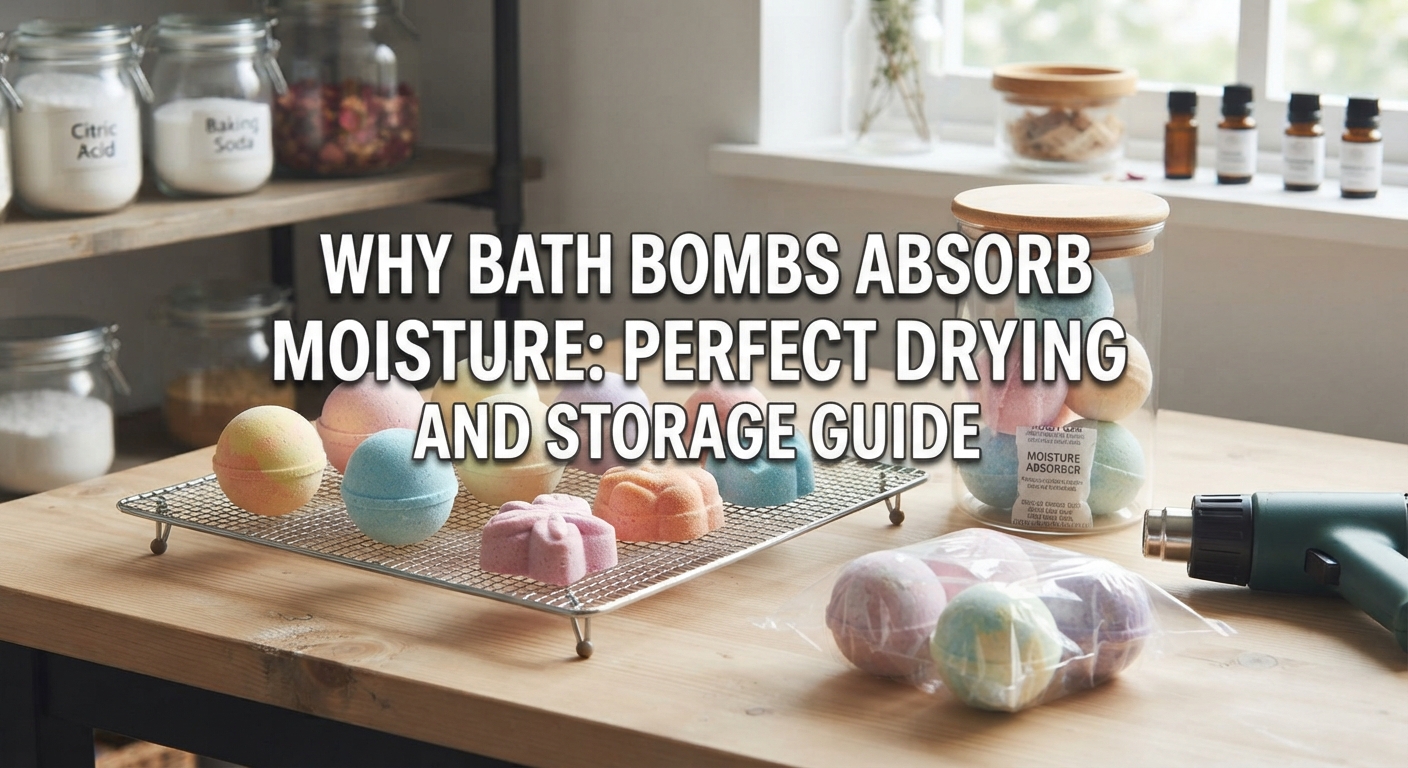
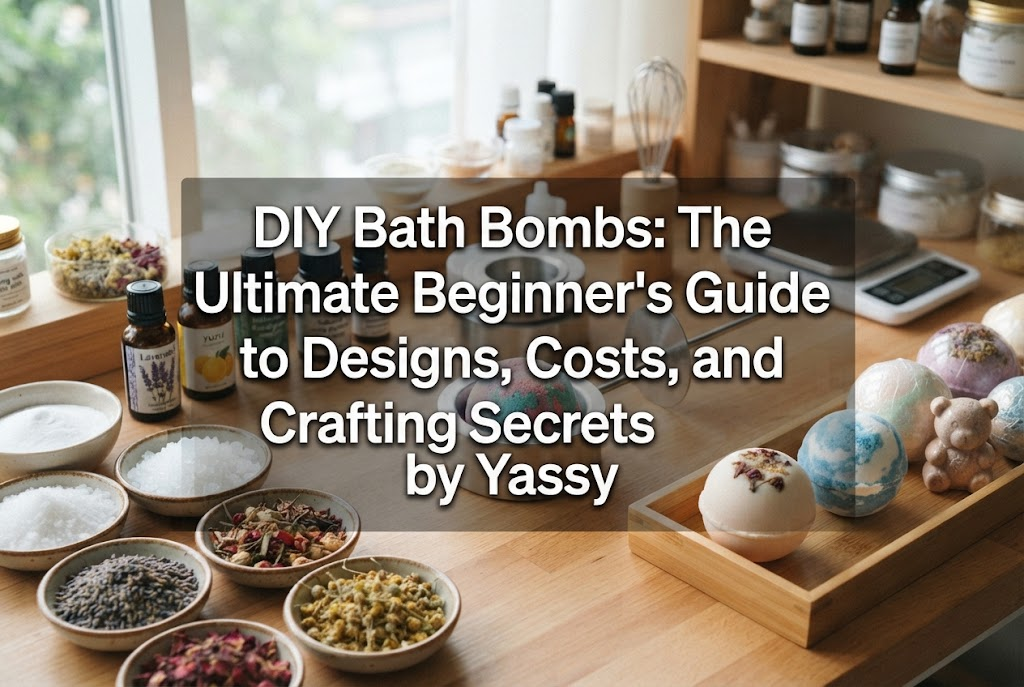
Bath bombs are one of the most popular items in the world of handmade crafts. The moment you drop them into warm water, they fizz with a soothing sound, releasing rich fragrances and vibrant colors. I personally love making various bath bomb designs, and collecting adorable bath bombs crafted by other artists at handmade shops and craft events is one of my favorite daily joys.
However, the biggest challenge that many people face when making and storing bath bombs is high humidity. Have you ever experienced these common failures?
There are clear scientific reasons and environmental factors behind why bath bombs absorb humidity. Once you understand the mechanics of why bath bombs draw moisture from the air and implement proper countermeasures, you can prevent humidity-related failures 100% of the time. In this article, I will explain everything from the science of moisture absorption to prepping your crafting workspace, step-by-step drying procedures, and professional moisture-proof storage techniques.
When bath bombs ruin themselves just sitting in open air, it is directly related to the powerful inherent properties of the ingredients themselves. Let's look at which components attract water and how that reaction works.
The main raw ingredients of a bath bomb—baking soda (sodium bicarbonate) and citric acid—are an indispensable pair that creates the fizzing action. When completely dry, these two powders sit together quietly without reacting.
However, both baking soda and citric acid possess strong hygroscopic properties, meaning they actively attract and hold onto tiny amounts of water vapor from the surrounding air. The moment moisture is absorbed, a faint chemical reaction triggers on the surface of the powder particles. Unlike the vigorous fizzing in hot water, this invisible reaction happens extremely slowly. Carbon dioxide gas is produced, pushing from the inside out, causing the bath bomb surface to swell or form small bubble-like bumps.
Once this reaction starts, the generated moisture wets the surrounding powder even further, creating a vicious cycle. In short, if left unprotected, bath bombs naturally attract moisture and self-destruct, losing their fizzing power over time.
Salts are often added to bath bombs to enhance skin hydration and warm the body. Salts such as Epsom salt (magnesium sulfate), Himalayan pink salt, and sea salt possess high deliquescence—the property of absorbing moisture from the air until they dissolve.
Bath bombs containing high amounts of salt absorb humidity far more readily than those made with baking soda and citric acid alone. In a humid room, the salt continuously absorbs moisture, leaving the entire bath bomb feeling damp. Furthermore, additives like clay, dried flowers, and milk powder also tend to retain moisture, making moisture-proof measures even more critical when using high amounts of these ingredients.
Moisture issues do not only stem from post-creation storage. Very often, bath bombs trap moisture during the actual making and drying stages. Eliminating humidity traps during production is an absolute requirement for creating long-lasting bath bombs.
You must always check the weather and indoor humidity on the day you make bath bombs. Avoid making bath bombs on rainy days, during the humid rainy season, or in rooms where a humidifier is running. If your workspace humidity exceeds 60%, the powders will begin absorbing moisture from the air while you are mixing them in a bowl.
If the mixture gets slightly damp before being packed into molds, the fizzing reaction will slowly progress internally no matter how long you dry it afterwards. The ideal indoor humidity for bath bomb crafting is 40% or lower. Running an air conditioner's dehumidifying mode or a dedicated dehumidifier to dry the air before starting work is a golden rule.
Just because the surface of a bath bomb feels rock-hard after unmolding does not mean it is fully dry. The most common mistake in drying bath bombs is assuming they are ready when the surface is dry while internal moisture remains trapped.
If you seal a bath bomb while moisture remains inside, that moisture will migrate toward the exterior over time. This phenomenon is known as internal moisture release. Because the moisture leaks inside a confined sealed bag, the bath bomb expands and crumbles within the packaging. Depending on the size and thickness of the mold, allowing 24 to 48 hours for complete internal drying is essential.
When pressing the powders into molds, crafters often spray liquids to prevent the mixture from crumbling. Using pure water, such as tap water or distilled water, is a direct cause of humidity damage.
Water triggers an immediate reaction between citric acid and baking soda, starting the effervescence right where it is sprayed. Trying to add workable moisture with water ultimately loads the bath bomb with unnecessary moisture. To add moisture for molding, the correct choice is anhydrous ethanol (absolute alcohol with 99.5%+ purity). Anhydrous ethanol is highly volatile, providing necessary binding moisture while evaporating rapidly during drying without leaving water inside.
Even a perfectly dried bath bomb can be ruined quickly if you choose the wrong storage spot or packaging material. Here are common pitfalls that beginners fall into.
Because bath bombs are used in the tub, many people store finished bath bombs in washrooms, changing rooms, or shelves near the bathroom. However, these water-adjacent spaces are the most humid areas in a home. Steam flowing from baths or moisture released by washing machines can temporarily spike humidity levels to 80%–90%.
In such an environment, moisture penetrates tiny gaps or passes through packaging materials, ruining the bath bombs in no time. Water-adjacent areas are entirely unsuitable for bath bomb storage. Always choose a dark, dry location with consistently low humidity throughout the year, such as a living room cabinet or bedroom closet away from direct sunlight.
You might think putting your bath bombs in a standard ziplock bag keeps them safe, but this is a major trap. Standard ziplock poly bags (made of polyethylene) sold at grocery stores look airtight, but polyethylene actually contains microscopic pores that allow water vapor to pass through undetected.
Because polyethylene (PE) has low barrier properties against gases and humidity, storing a bath bomb in a PE bag in a humid room allows water vapor to penetrate over time. For long-term storage or gift packaging, you must choose bags made of high barrier materials.
Storing bath bombs without adding a desiccant (silica gel) invites moisture damage. Even small amounts of air inside a sealed bag contain water vapor, which bath bombs will absorb. A desiccant must always be included when sealing.
Furthermore, never reuse desiccants taken from food packaging. Once unsealed and used, old desiccants have absorbed moisture to their limit and lost their dehumidifying capacity. Adding an exhausted desiccant will not prevent dampness and may even accelerate moisture absorption. Always use fresh, unused silica gel packets.
To keep bath bombs in peak fizzing condition, here is the exact drying and packaging process I practice. Following these steps ensures your handmade bath bombs stay completely protected from humidity for months.
After unmolding, do not place bath bombs directly into bags. They require a dedicated drying phase.
When pressing the surface firmly with a finger leaves no dent and the weight feels noticeably lighter due to lost water weight, internal drying is complete.
Once dried, move immediately to airtight packaging using high moisture-barrier materials.
The best choices are OPP (Oriented Polypropylene) bags or metallized aluminum foil pouches with zipper closures. OPP bags offer high clarity, making them visually appealing for gifts and displays while offering superior moisture resistance compared to standard poly bags. For long-term storage or professional sales, metallized aluminum pouches block almost 100% of light, air, and moisture, making them the ultimate choice.
Include one packet of Type A silica gel inside each bag. Silica gel comes in Type A and Type B; Type A is designed to continuously absorb moisture even at low humidity levels, making it ideal for bath bomb preservation.
If silica gel presses directly against the bath bomb surface, it may leave an imprint on the soft structure. To prevent this, gently wrap the bath bomb in tissue paper or a paper napkin first, then place the silica gel packet at the bottom or side of the bag.
Simply closing a bag with tape or tying it with a ribbon allows humidity to seep in through tiny openings. After placing the bath bomb in a moisture-proof bag, seal the opening completely using a desktop heat sealer.
An affordable desktop heat sealer (around $20–$30 on Amazon) is more than sufficient. Thermally fusing the plastic film eliminates air exchange, creating a moisture-proof seal comparable to commercial products.
For even higher quality, wrap the bath bomb in shrink wrap film using a heat gun or hairdryer before placing it into the moisture-proof bag for double protection.
Here is a comparison table to help you select the best combination for your craft projects:
Even with careful precautions, unexpected humidity or storage mistakes can cause bath bombs to swell or soften. While damp bath bombs lose some of their vigorous fizz, their underlying ingredients remain perfectly safe. Instead of throwing them away, here are great ways to repurpose them.
A damp bath bomb with weak effervescence can feel disappointing in a full bathtub. Instead, dissolve it in a basin of warm water for a foot bath or hand soak.
Because of the smaller volume of water, you can fully enjoy the soothing scents, color, and moisturizing benefits of the added oils and salts even with reduced fizzing. It makes for a luxurious treat after a long day on your feet or for moisturizing dry hands.
The core ingredients of bath bombs—baking soda and citric acid—are classic natural cleaning agents. Baking soda's mild alkalinity paired with citric acid's acidity breaks down body oils and limescale remarkably well.
Crumble the damp bath bomb and sprinkle it into sink drains, washbasins, or toilet bowls. Pour in a little warm water to trigger any remaining fizzing action to loosen grime. Scrub lightly with a sponge or brush to make surfaces sparkle. The essential oils or fragrances will leave the room smelling wonderful, giving you a double benefit!
The swelling and loss of fizz in bath bombs stem from the strong moisture-absorbing nature of baking soda, citric acid, and salts, combined with insufficient humidity control during crafting and storage.
Here is a quick recap of how to prevent moisture damage:
Making bath bombs is a fantastic craft that combines chemical magic with creative handmade fun. By mastering proper drying techniques and moisture-proof packaging, you can preserve your handmade creations in peak fizzing condition every time!
If you enjoyed this guide, please share it with your fellow crafters on social media! See you in the next article—this was Yassy from Crafters!







For example, if you are looking for articles about mizuhiki, try searching for "mizuhiki"; if you are interested in tools, try keywords like "nippers" or "pliers."
