How to Choose a Japanese Handmade Shop Name: Golden Naming Rules & Step-by-Step Guide
yassy
Crafters!
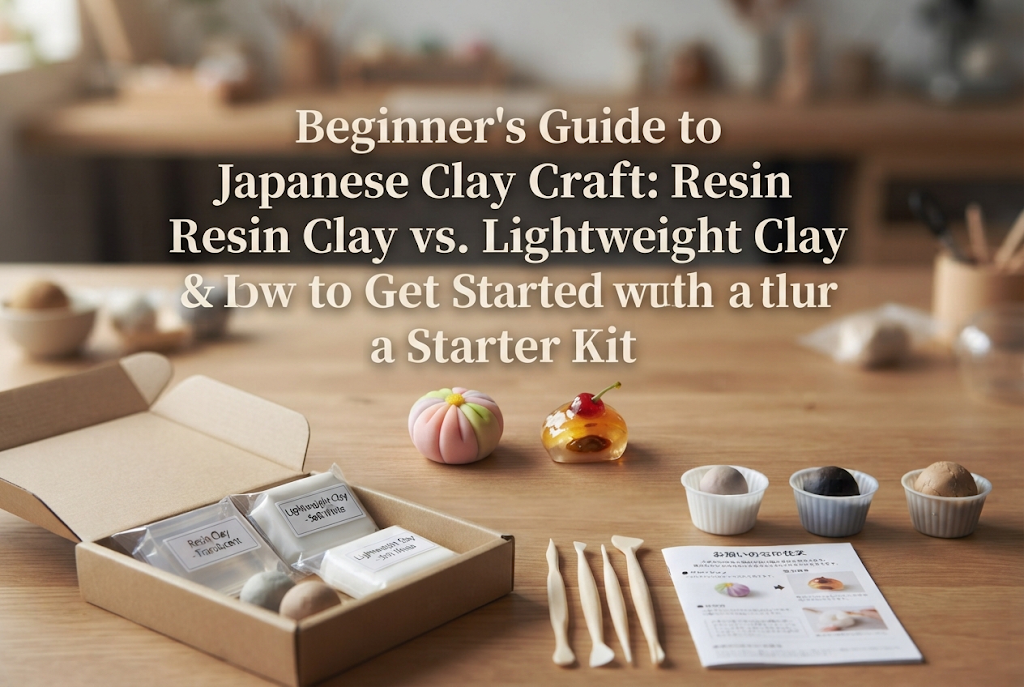

Hello everyone, this is Yassy from Crafters!
I love making various handmade items, looking at work by other artists, and collecting lovely craft supplies and parts online! I enjoy a wide range of crafts including resin arts, fabric items, and jewelry making. Among all of these, the one craft that I find exceptionally deep and directly delivers the joy of shaping items with your own hands is clay craft.
Clay craft allows you to freely mold materials right in your hands to create one-of-a-kind miniature sweets and cute accessories. It is one of the crafts I most highly recommend for handmade beginners. You don't need any large or special machinery—as long as you have a desk surface, you can start today!
However, when you decide to jump into clay crafting, the first hurdle you encounter is often: "There are so many types of clay, I don't know which one to pick!" In particular, beginners almost always come across two specific types: Resin Clay and Lightweight Clay. If you pick one randomly without understanding their differences, you might end up unable to create the artwork you envisioned.
In this article, I will thoroughly explain the crucial differences between resin clay and lightweight clay, their unique characteristics, how to choose between them, and the specific step-by-step procedure for beginners to succeed in clay crafting as quickly as possible. Let's put an end to wasting time worrying about where to start! Grab a starter kit from online shops like Amazon or Rakuten, and leap into the wonderful world of clay crafting today!
In the world of clay crafting, the two primary clays used are resin clay and lightweight clay. While they might look similar from their packaging, these two clays have completely different raw materials, textures, and finished qualities after drying. First, let's master the definitive differences between these two main clays.
Resin clay (often air-dry resin clay in Japan) is primarily composed of materials like vinyl acetate resin. Its biggest feature is that once dried, it gains a plastic-like hardness and moderate flexibility, resulting in a very durable finish.
Regarding its texture, it feels heavy and substantial in your hand, with a smooth and moist touch. It stretches exceptionally well and does not tear easily even when rolled thin, making it perfect for intricate sculpting. Furthermore, it becomes slightly translucent upon drying, making it ideal for creating juicy realistic fruits or lifelike miniature food parts.
Specific examples of projects best suited for resin clay include:
The surface finishes smooth, and as it dries, it shrinks slightly to become denser, dramatically elevating the apparent quality of your work. If you want to create pieces with a high-end feel, choosing resin clay is the right answer.
On the other hand, lightweight clay is made with microscopic hollow spheres (balloon-like micro-beads) and fibers, making it an extremely light and soft clay. The moment you hold it, you'll be amazed by how weightless it feels.
Its texture is soft and fluffy like a marshmallow, with great elasticity. After drying, it takes on a matte, soft-touch texture, giving your work a gentle and airy atmosphere. It lacks the translucency of resin clay, offering an opaque, soft look instead.
Specific examples of projects best suited for lightweight clay include:
In particular, lightweight clay is overwhelmingly suitable for capturing the unique texture of macarons or the detailed surface of ice cream scoops. Because you can shape it easily without applying much force, it is very advantageous for those with weaker grip strength or when you want to form large shapes quickly.
When you're unsure whether to choose resin clay or lightweight clay, you can make a 100% accurate decision based on what you want to make. The criteria are very clear:
If you want a realistic, glossy, juicy texture and high strength, choose Resin Clay. For accessories like keychains or strap charms that undergo daily impact, resin clay is the only choice.
If you want a fluffy, soft, matte texture, or prioritize lightweight qualities, choose Lightweight Clay. For room decorations or large parts that might droop if too heavy, lightweight clay is ideal.
Selecting the correct clay that matches your desired finished image is the single biggest key to avoiding failure in clay craft.
When starting out, many beginners fall into traps or hold misunderstandings. If you start crafting without knowing these points, you might encounter failures like unexpected cracking or colors not turning out as intended. Here are the crucial points I want every beginner to know.
Nowadays, you can easily buy clay labeled "Resin Clay" or "Lightweight Clay" at 100-yen shops in Japan. While these are fine for quick practice, if you seriously want to make high-quality finished pieces, you should use clay from specialized craft manufacturers right from the start.
There is a decisive difference in quality between 100-yen shop clay and clay from specialized manufacturers (such as PADICO or Nisshin Associates). Clays from specialized manufacturers stretch far better and won't crumble or dry out easily while you are kneading them. Additionally, their color vibrancy after drying, resistance to cracking, and shelf life are vastly superior. 100-yen shop clays can be difficult to manage regarding moisture balance, and their surfaces tend to dry out quickly and wrinkle during shaping.
If you assume "all clay is the same" and start with low-quality materials, you might fail due to the clay's quality rather than a lack of skill, leading to frustration. To make beautiful pieces without stress, please choose clay from specialized manufacturers.
You shouldn't judge clay solely by how it looks while working with it. As moisture evaporates during the drying process, both size and weight change dramatically.
Resin clay shrinks by about 5% to 10% as moisture evaporates (it has a high shrinkage rate). Furthermore, as it dries, it condenses into a hard, dense weight with a plastic-like feel. You need to sculpt your piece keeping in mind that it will end up one size smaller than when you formed it.
Lightweight clay has a low shrinkage rate and doesn't shrink much upon drying. As moisture leaves, it becomes even lighter—light as paper—and hardens firm.
If you don't understand this post-drying shrinkage and weight difference, you might run into trouble—such as a clay part shrinking so much that it no longer fits its ring base, or earrings becoming too heavy and pulling down on your ears. Predicting changes after drying is a fundamental aspect of clay crafting.
Many beginners assume that resin clay and lightweight clay must be used separately, but this is a big misconception. In fact, you can mix and blend resin clay and lightweight clay together!
By using this blending technique, you can cancel out each clay's weaknesses and create your ideal texture.
For instance, if 100% resin clay feels too hard, but 100% lightweight clay lacks sufficient strength, you can mix them in a 1:1 ratio. This allows you to maintain the fluffy feel and ease of handling from lightweight clay while gaining the durability and moderate weight of resin clay.
When making fake sweet items like bread or cookies, professional crafters often blend resin clay and lightweight clay at ratios like 7:3 or 5:5 to achieve a realistic dough-like texture and durability simultaneously. Keep blending in mind as a great option!
You don't need large machinery or expensive equipment to start clay crafting. Preparing the basic tools properly will dramatically improve your work efficiency and project quality.
First, set up your working environment. Prepare tools to keep clay from sticking to your desk and to work efficiently.
An acrylic presser is an indispensable tool for flattening cookie dough or shaping macaron halves evenly.
These tools help shape the clay and add fine patterns and details.
A major joy of clay crafting is coloring your creations freely. For coloring, acrylic paints or oil paints are generally used.
There are two main coloring methods:
The first method is kneading paint directly into the clay. By adding a tiny amount of acrylic paint into white clay and kneading it thoroughly, you get an even color throughout the clay. Adding just a tiny dab of paint (as much as fits on the tip of a toothpick) is enough to color it deeply. Adding too much paint can ruin the clay's texture and make it sticky, so be careful.
The second method is painting the surface after drying. If you want to make baked cookies or bread, wait until the shaped clay is dry, then use a sponge or brush to dab yellow and brown acrylic paints onto the surface. This step instantly adds a realistic baked appearance!
After shaping, coloring, and drying your piece, always apply a topcoat varnish as the final finish.
Clay pieces that are simply dried are very vulnerable to water and dirt. Water droplets can dissolve the clay or lead to mold and staining. Applying varnish creates a protective layer on the surface, boosting durability and water resistance.
Use water-based polyurethane varnish or acrylic varnish. Choose between two finishes depending on your preference:
Matching the choice of varnish to your project's concept is an absolute rule for achieving a professional finish.
If you're wondering "What should I try making first?", start with Fake Macarons or Fake Cookies, which feature simple shapes and require very few tools! These two projects contain all the fundamental techniques of clay crafting.
Fake macarons made with lightweight clay are the absolute best beginner project—super cute and virtually fail-proof.
Here are the step-by-step instructions:
The most common failure beginners make in clay craft is cracking during shaping. As you knead clay in your hands, moisture rapidly evaporates due to body heat and air exposure.
Here are 3 vital measures to prevent cracking:
Even if the surface of the clay appears dry, moisture often remains inside. If you rush to apply varnish or process the piece further, internal mold or warping can occur.
General guidelines for drying time:
For storage during drying, choose a flat area in a well-ventilated room away from direct sunlight. Drying pieces on top of a sponge or mesh allows air to circulate underneath for even drying, preventing deformation on the bottom surface. Taking your time to let items dry thoroughly is the secret to success!
Once you understand the charm of clay craft and have a picture of what you want to create, all that's left is to move your hands! However, searching online stores one item at a time—wondering which brand's clay is best or which modeling tools to buy—can be time-consuming and risks forgetting key items.
The definitive solution for beginners to start clay crafting smoothly today without giving up is to purchase a dedicated clay craft starter kit from online shops like Amazon or Rakuten!
The biggest reason to recommend a starter kit is that all the essential basic tools and clay are optimized and bundled together in one set.
When trying to gather tools individually, there's a risk of choosing the wrong sizes or buying tools made of incompatible materials. Additionally, separate shipping fees can end up making individual purchases more expensive than buying a complete kit. With a starter kit, you get easy-to-use clay from specialized manufacturers, basic modeling tools, pressers, rollers, and even paints or varnishes all at once. Opening the box the day it arrives and starting your creation immediately gives beginners a fantastic boost of motivation!
When searching for terms like "clay craft starter kit" or "resin clay beginner kit" on major online retailers, various sets will appear. Here are 4 key points for picking a reliable kit:
Choosing a starter kit around 3,000 to 5,000 yen (approx. $20–$35 USD) that checks these boxes will not let you down. The cost performance is outstanding, providing everything a beginner needs in one package.
The most regrettable thing in crafting is spending days just searching and worrying while thinking, "I really want to try that."
If you order a starter kit online, it can arrive at your home very quickly. Spending a focused weekend kneading clay at your desk—like your own cozy café space while listening to your favorite music—offers amazing relaxation and excitement.
Put an end to hesitating, click to order a starter kit online, and take your wonderful first step into clay crafting!
In this guide, we thoroughly covered clay crafting for beginners—ranging from the differences between resin clay and lightweight clay, how to choose between them, required tools, techniques to avoid mistakes, and how to get started immediately with a starter kit.
Let's do a quick recap of the key points of clay craft:
Clay craft is a truly charming and enjoyable handmade craft where you can bring whatever shape you imagine into reality with your own hands. Starting with just one small macaron or cookie is completely fine. The thrill and sense of achievement when completing a piece made by yourself is an irreplaceable experience.
I sincerely hope that reading this article sparks your love for clay crafting and leads you to create many wonderful, cute pieces! Grab a starter kit and kick off an exciting craft life!
If you enjoyed this article, sharing it with your friends on social media or messaging apps would make me super happy and encouraged!
Until next time, see you in the next article! This was Yassy from Crafters!


For example, if you are looking for articles about mizuhiki, try searching for "mizuhiki"; if you are interested in tools, try keywords like "nippers" or "pliers."
