Why Tufting Lines Get Wobbly: How to Tuft Perfectly Straight and Crisp Lines
yassy
Crafters!

Hello, it’s Yassy from Crafters! (・∀・)
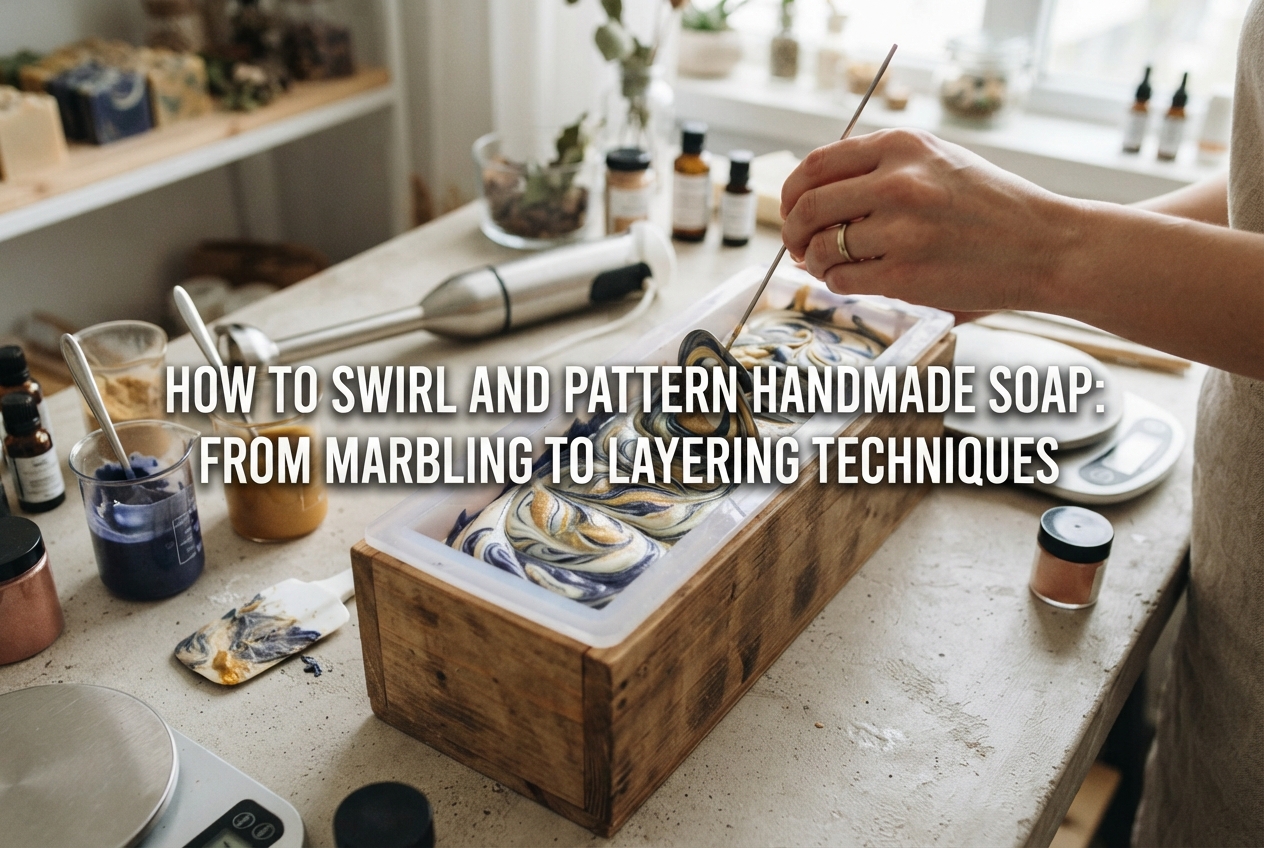
Once you get the hang of making handmade soap, it is completely natural to want to move beyond plain, single-color bars and create the gorgeous, artfully patterned soaps you see in boutique shops. That thrilling moment when you slice into a fresh loaf and reveal stunning marble swirls or crisp, vibrant layers is truly one of the greatest joys of soap making.
You might be thinking, “Isn’t patterning difficult?” or “What if my soap batter seizes before I can design it?” But with an understanding of how soap behaves and a little practice controlling your “trace” (the thickness of the batter), even beginners can create breathtaking designs.
In this guide, I will walk you through the core techniques for adding patterns to handmade soap—focusing on cold process (CP) soap—along with the tools you need, how to read your trace, and troubleshooting tips to avoid common pitfalls.
The greatest charm of decorative handmade soap is that no two bars ever turn out exactly the same. The way colors blend, the pouring speed, and the subtle movement of your tools will produce unexpected, one-of-a-kind gradients and swirls every single time.
The underlying mechanism is quite straightforward: you prepare an uncolored base soap batter alongside one or more colored portions, then intersect, pour, or layer them together inside your mold.
Soap making generally falls into two methods: cold process (CP) soap, which uses sodium hydroxide (lye) to saponify oils from scratch, and melt and pour (MP / glycerin) soap, where premade bases are simply melted and set. While both can be patterned, they behave very differently in terms of fluidity, working time, and texture. In this article, we will focus primarily on cold process soap, which offers the widest variety of expressive swirling techniques.
Before you begin, gather a few extra tools beyond your standard soap-making equipment. Having everything measured and set up beforehand will make your workflow seamless.
To ensure your designs stand out clearly, it is important to select skin-safe colorants that remain stable in high-pH soap batter.
Pro Tip: To avoid clumps in your batter, disperse your micas and mineral pigments into a small amount of liquid oil (taken from your recipe’s total oil amount) before adding them to the batter. For clays and botanical powders, pre-mixing them with a tiny splash of distilled water helps them blend smoothly into the soap.
If there is one factor that determines whether your soap pattern succeeds or fails, it is trace. Trace refers to the point where your oils and lye solution have emulsified and begun to thicken.
The consistency of your trace dictates which design techniques are possible:
When you lift your whisk or spatula, the batter runs off freely, leaving almost no mark on the surface—resembling a smooth, creamy soup. Because the batter is fluid, colors flow and blend effortlessly, making this stage ideal for delicate swirl techniques such as in-the-pot swirls or drop swirls. However, if the batter is too thin, colors may bleed together completely into a muddy blend, so watch it closely.
At this stage, batter drizzled from your whisk leaves a clear trail on the surface for a few seconds before sinking in. The batter has enough body to support weight, making it perfect for layered designs or creating feathered hearts on the top surface with a bamboo skewer.
The batter holds stiff peaks and is thick and pasty. While pouring intricate internal swirls is no longer possible at this stage, heavy trace is wonderful for sculpting textured, wave-like peaks on top of your loaf with a spoon.
When you are still getting used to swirling, aim for a light-to-medium trace. This sweet spot gives you enough time to separate, color, and pour your batter before it stiffens.
Here are five popular soap patterning methods, ordered from beginner-friendly to more advanced.
This technique creates a stunning design purely on the top surface of the soap, making it quick, low-stress, and forgiving.
Moving the skewer smoothly without lifting it off the surface produces elegant feathering or paisley-style patterns that look gorgeous once the bar is cut.
This method involves partially blending your accent colors directly inside your main mixing pot or cup before pouring everything into the mold in one continuous motion.
As the batter flows into the mold, the colors fold over one another to create dynamic, fluid marbling. The golden rule here is restraint: stop stirring when you think you haven't mixed quite enough.
By pouring colored batter from a significant height, gravity pulls the color deep down into the bottom of the loaf, creating vertical movement.
When sliced, you will reveal droplet-shaped or cascading vertical swirls. A fluid, light trace is essential here so the dropped batter can penetrate smoothly without pooling on top.
This technique creates crisp, horizontal bands of contrasting colors resembling geological strata or layered sponge cake.
If the lower layer is too thin, the upper layer will punch straight through it. Wait until your batter reaches a stable medium trace. For sharp, striking separation, you can dust a sheer line of cocoa powder or mica through a fine tea strainer between layers.
This technique utilizes an inexpensive wire hanger bent to the inner dimensions of your mold to create sweeping loops inside the soap block.
When cut, your soap will showcase dramatic loops and peacock-feather swirls throughout the entire interior of the bar.
Here are typical hiccups that can occur when swirling and how to prevent them next time:
Cause: Over-blending with an immersion blender, or using fragrance oils (especially floral or spice blends) that accelerate trace.Fix: Put away your stick blender early and finish stirring by hand to maintain a loose trace. When trying intricate swirls, choose well-behaved essential oils or fragrance oils known to slow down trace, such as lavender or gentle citrus notes.
Cause: The batter was either poured at an overly thin emulsion, or it was stirred too many times inside the mold or pot.Fix: Confirm your batter has reached at least a light trace (light soup consistency) before swirling. When using skewers, hangers, or spatulas, keep your movements minimal—less is truly more.
Cause: For drop swirls, the pour height was too low; for hanger swirls, the tool didn't reach the bottom.Fix: For drop swirls, hold your container at least 20 cm above the mold so the stream has the speed to sink. When using a hanger or skewer, ensure you feel the tool lightly touch the bottom before beginning your movement.
Here are three personal guidelines I always rely on in my own soap studio: (・∀・)
When in doubt about how to divide your batter, reserve 70% to 80% for your base color and the remaining 20% to 30% for your accent colors. For example, in a three-color design: 70% uncolored base, 20% soft pink, and 10% gold mica. This keeps the background clean and allows your accent swirls to shine without overwhelming the eye.
Pairing two colors that share a similar lightness value (like pastel pink and pastel lavender) often results in blurry, indistinct lines once the soap cures. Instead, aim for clear contrast: bright white against deep indigo, or dark charcoal against a vibrant mica line. Strong contrast ensures your patterns pop dramatically on cut day.
Cold process soap involves handling sodium hydroxide, which is a caustic chemical. It is easy to get caught up in the artistic flow of swirling, but safety must always come first. Wear safety goggles, rubber gloves, and long sleeves, and carefully follow all safety instructions.
Because swirling requires quick timing once trace is reached, arrange all pre-mixed colors, tools, and molds within arm’s reach before you pour your lye solution. A tidy, well-organized workspace is your best defense against frantic mistakes.
Adding swirls and patterns elevates soap crafting from a functional craft into a rewarding artistic journey. If you are trying this for the first time, start with a simple top marble or an in-the-pot swirl. As you develop a feel for how trace behaves, you will naturally gain the confidence to attempt intricate multi-color pours and hanger swirls.
Nothing compares to the thrill of slicing your finished block and discovering the unique art hidden inside. Give these techniques a try on your next soaping day!
If you found this guide helpful, please share it with your fellow crafters! Until next time—happy crafting from Yassy!



For example, if you are looking for articles about mizuhiki, try searching for "mizuhiki"; if you are interested in tools, try keywords like "nippers" or "pliers."
