Epoxy Resin Curing Time Depends on Thickness and Volume: Complete Control Guide for Flawless Results
yassy
Crafters!

Hello, everyone! It's Yassy from Crafters! (・∀・)
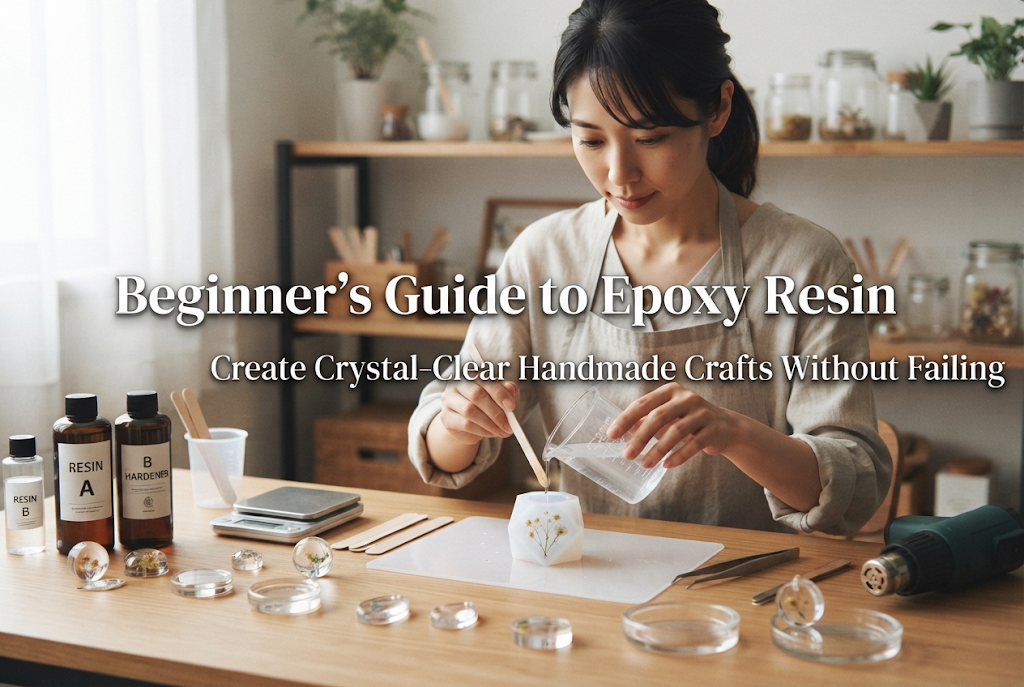
I absolutely love making, looking at, and buying all kinds of handmade crafts. The warmth of handmade items and the excitement of watching raw materials take shape is a joy unlike anything else. Today, I want to share everything about one of the most popular crafts out there: epoxy resin. The crystal-clear transparency of resin and the pure fun of encapsulating your own little world inside it will undoubtedly enrich your crafting journey.
Epoxy resin is a synthetic resin that hardens through a chemical reaction when two liquids—a resin base and a hardener—are mixed in precise proportions.
Let me explain how it differs from UV resin, which you often see in Japanese craft stores and 100-yen shops. UV resin cures in just a few minutes when exposed to sunlight or a dedicated UV lamp, making it incredibly convenient for quick jewelry making. However, because it only cures where light can reach the surface, attempting to make thick pieces means the light cannot penetrate all the way through, resulting in an uncured, gooey failure inside.
In contrast, epoxy resin does not use ultraviolet light at all. Once you mix the two liquids together, it cures slowly over time through a natural chemical reaction. Because of this, you can create three-dimensional blocks several centimeters thick or cast substantial, heavy interior decor items. This ability to create thick, solid pieces with glass-like clarity is the signature charm found only in epoxy resin.
In terms of difficulty, it can be considered an intermediate craft because beginners often run into hurdles like measuring errors or unwanted air bubbles, meaning you need to follow proper procedures carefully. However, that is exactly why the rewards are so immense. Watching a syrupy liquid transform into a clear, solid gem is thrilling every single time, and the sense of accomplishment from crafting a one-of-a-kind piece with your own hands is truly irreplaceable.
With epoxy resin, you can bring countless creative ideas to life. Here are a few representative craft projects:
When starting epoxy resin crafts, it is important to understand both initial startup costs and recurring supply expenses. Factoring in the initial tools you need alongside the resin kit itself, you should expect an initial investment of roughly 10,000 to 20,000 yen (approx. $70 to $140 USD).
Buying resin in bulk bottles lowers the cost per gram, but you also need to factor in the material loss when early experiments fail. Once you account for consumables such as silicone molds, colorants, and wet/dry sandpaper, the running cost per project typically ranges from a few hundred to over a thousand yen. To produce high-quality work, it is vital to avoid excessively cheap materials and invest in products from trustworthy, reputable manufacturers.
Working with epoxy resin requires dedicated time and patience. The hands-on working time itself—measuring, mixing, coloring, and pouring into molds—usually takes around 1 to 2 hours.
However, the real core of epoxy resin crafting lies in the curing waiting period. Depending on the brand of resin and your room temperature, it generally takes 24 to 48 hours of undisturbed rest before a piece is fully cured and ready to demold. Furthermore, if you plan to apply a topcoat, finish partially cured spots, or polish the surfaces, the whole process will take several days. Waiting patiently for a complete cure without rushing is the single most important secret to achieving a flawless finish.
Securing a proper workspace and environment is essential when handling epoxy resin. Because an odor is generated during the curing process, you must work in a room with adequate ventilation.
For a dedicated workspace, a single spacious table is plenty. However, once the resin is poured, it must not be moved at all until it hardens, so choosing a safe spot out of reach of small children and pets is an absolute must. In addition, always lay down a silicone mat or a heavy-duty protective drop sheet before starting to protect your table from accidental spills. Ensuring your surface is perfectly level is also critical to keep your pieces from setting lopsided.
Here is a curated list of essential items you can easily find on Amazon to kickstart your epoxy crafting:
To help you get started without stress, here are three starter sets available on Amazon:
From its unique characteristics to essential tools and budgeting, epoxy resin offers an incredible gateway into handmade crafts. The magic of watching liquids transform into solid, crystal-clear creations while shaping your imagination into tangible art elevates the joy of crafting to its highest level.
At first, you might hit slight stumbling blocks with measuring accuracy or bubble removal, but with practice, you will consistently achieve the pristine, transparent results you envision. That learning process itself is precious and hones your creative sensibilities. Gather your favorite tools and take your first step into the stunning, glass-like world of epoxy resin crafts.
If you enjoyed this guide, sharing it on social media with your fellow crafters would mean the world to me and keep me motivated! See you in the next post—this was Yassy from Crafters!





For example, if you are looking for articles about mizuhiki, try searching for "mizuhiki"; if you are interested in tools, try keywords like "nippers" or "pliers."
