Japanese Crafting Secrets: Ideal Storage Temperature & Care Guide to Keep Resin Crystal Clear
yassy
Crafters!

Hello, everyone! It’s Yassy from Crafters! (・∀・)
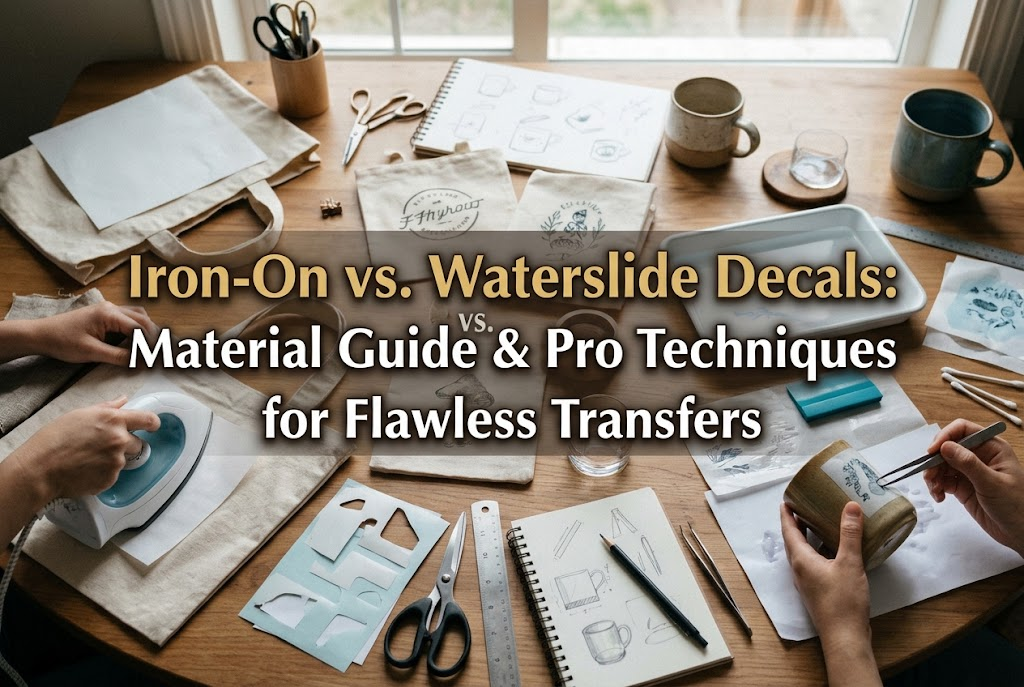
Transfer techniques are absolute game-changers when you want to add original illustrations to handmade fabric pouches or place intricate lettering onto smooth glass and resin pieces. They allow you to apply delicate designs and detailed artwork that would be nearly impossible to paint by hand, instantly expanding your creative possibilities. Personally, I love adding custom logos to my creations and transferring cute motifs onto all kinds of materials, so I always keep transfer sheets stocked in my studio.
However, when we talk about transfer techniques, two methods dominate handmade crafting: iron-on (heat transfer) and waterslide decals (water transfer). While their names sound similar, their underlying mechanisms, compatible materials, and final textures are completely different. If you pick the wrong one without knowing how they work, you run the risk of major mistakes—like watching a waterslide decal fail to stick to fabric, or melting a heat-sensitive plastic blank with a hot iron.
In this guide, I will break down the fundamental differences between iron-on transfers and waterslide decals, provide a clear material-by-material decision guide, and share professional tips to achieve flawless results every single time. Master these techniques and take your craft projects to the next level!
Before choosing a method, it is crucial to understand the scientific principles behind how each transfer adheres to a surface. Understanding these mechanics makes it clear why certain materials work and why specific steps cannot be skipped.
Iron-on transfers (heat transfer paper) rely on special sheets coated with a heat-activated adhesive known as hot-melt resin. When you apply heat and firm pressure using a household iron, the adhesive resin on the back of the design melts, flowing deep into the fabric fibers or microscopic surface texture of the material. As it cools, the resin re-solidifies, locking the design and the base material together in a strong mechanical bond.
Because adhesion requires substantial heat (typically around 150°C to 180°C / 300°F to 350°F), this method can only be used on heat-resistant materials. The trade-off is exceptional durability: once properly set, heat transfers offer strong resistance to friction, movement, and everyday wear.
Waterslide decals consist of a backing paper coated with a water-soluble adhesive (dextrin glue), topped with an ultra-thin clear film layer bearing the printed design. When you submerge the sheet in water, the adhesive between the paper and the film dissolves, allowing the thin printed film to slide effortlessly off the backing. You then guide this floating film onto your target surface, smooth it out, and allow it to dry.
Since no heat is involved, waterslide transfers work beautifully on heat-sensitive plastics, resin casts, and even wax candles. Furthermore, because the film is microscopically thin, there is virtually no noticeable edge or ridge after application. It gives the illusion that the graphic was printed directly onto the object.
To help you decide which technique fits your handmade project, let’s compare them across five essential criteria.
Iron-On: Performs best on textiles (cotton, polyester blends) and unpainted, porous wood—materials that tolerate high heat and possess microscopic texture or fibers for the adhesive to grip. It should never be used on heat-sensitive or melting surfaces.
Waterslide: Excels on non-porous, smooth, rigid surfaces such as glass, ceramics, metal, acrylic, resin, and sealed or painted wood. It does not work on raw, untreated fabric or porous paper because it cannot grip those surfaces effectively.
Iron-On: Because it incorporates a rubber or resin binder to protect and anchor the ink, the transfer leaves a slight tactile thickness and noticeable border. Transparent iron-on papers, in particular, can leave a slightly glossy outline or a subtle rubbery feel on the fabric.
Waterslide: The decal film measures mere microns in thickness. Once applied, the raised edge is minimal. When sealed with a clear topcoat like varnish or resin, the carrier film boundaries melt away completely, blending seamlessly into the base.
Iron-On: Boasts outstanding washability. When thoroughly heat-pressed into fabric, it flexes naturally with the cloth and withstands regular laundering cycles.
Waterslide: On its own, a dried waterslide decal is fragile against friction and moisture. Scratching it with a fingernail can peel it right off. A protective topcoat is mandatory. Even with a sealant, it cannot withstand aggressive machine washing, making it unsuitable for garments.
Iron-On: Requires flat, direct contact with an iron plate. Applying even heat and pressure to spherical, concave, or intricate 3D shapes is extremely difficult, so it is best reserved for flat surfaces.
Waterslide: The wet, ultra-thin film is pliable and conforms readily to curved or contoured objects. It applies smoothly onto the curved sides of mugs, decorative bottles, or rounded resin charms.
Iron-On: Requires a dry workspace with an iron, an ironing board or firm pressing mat, and silicone finishing sheets (or parchment paper). No water is involved.
Waterslide: Requires a water tray, tweezers, cotton swabs, paper towels, and protective clear sprays or varnishes. Because water is involved, prepare a surface that can handle moisture.
When you are staring at a craft blank and wondering which technique to grab, use this quick reference guide:
Choose: Iron-On TransferIron-on is the only viable option here, as the molten resin embeds securely into fabric fibers. Waterslide decals will not bond to untreated fabric. Whether using 100% cotton or polyester blends, simply adjust your iron temperature to match the fabric guidelines for a long-lasting print.
Choose: Waterslide DecalsFor smooth glass and glossy ceramics, waterslide transfers offer unmatched clarity. The razor-thin film looks as though the design was commercially screen-printed directly onto the glass. Note: Reserve this for decorative or display items; avoid applying decals to rim areas where lips touch or surfaces subjected to heavy dishwashing.
Choose: Waterslide DecalsAn iron will warp or melt these materials instantly, making waterslide the obvious choice. When embedding typography into resin charms or adding logos to acrylic panels, applying a waterslide decal and capping it with a layer of clear UV resin produces a flawless, store-bought finish.
Choose: Waterslide DecalsWax and soap melt immediately when touched by an iron. Waterslide decals allow you to affix delicate botanical illustrations or vintage typography cleanly to candle cylinders or cast plaster surfaces without applying any heat.
Choose: Either (Depending on Desired Aesthetic)Because untreated wood is both heat-tolerant and absorbent, both methods work well. For bold, opaque graphics with high wear resistance, pick iron-on. If you want the wood grain to show through delicate lines for a rustic, vintage look, opt for waterslide and seal it with clear wood varnish.
Common heat-transfer headaches include peeling edges, transfers flaking off in the wash, or scorched prints. Here are the exact rules I follow to prevent those mishaps:
Iron-on transfer papers generally fall into two categories: reverse-print sheets (placed face-down on the fabric) and direct-print sheets (placed face-up). Most papers for light-colored fabrics require you to place the printed side directly against the fabric. If you forget to enable "Mirror Image" or "Horizontal Flip" in your printer settings, all text will end up backwards. Always review the product instructions before hitting print.
When cutting out your graphic, leaving sharp, 90-degree corners is a recipe for peeling. Friction during washing catches on sharp corners first. Always trim your design leaving a 1 to 2 mm border, and cut every corner into a smooth curve (radius cut). Eliminating sharp edges dramatically extends wash life.
Heat and firm pressure make or break an iron-on bond. Always ensure your iron’s steam setting is switched completely off; escaping moisture weakens the resin bond. If using a standard iron with steam holes, press using the smooth, solid section of the soleplate. Rather than gliding the iron back and forth like you are pressing a shirt, stand up, lean your full body weight over the iron, and press firmly for 10 to 15 seconds per spot, systematically covering the entire graphic.
Pay close attention to whether your paper is designed for "hot peel" (removing the backing paper immediately while hot) or "cold peel" (waiting until the surface cools completely). If you peel a cold-peel paper while it is still warm, the unset resin will stretch and tear the design apart. Follow the manufacturer’s cooling instructions down to the second.
After peeling the carrier backing, lay a silicone finishing sheet (or parchment paper) over the exposed design and press once more across the entire surface. This crucial final step pushes the graphic deeper into the fabric grain, eliminates unnatural plastic gloss, and leaves a smooth, durable finish comparable to commercial screen printing.
Working with waterslide film requires a delicate hand. Here is how to avoid torn films, dissolving ink, and trapped air bubbles:
Standard home inkjet printers use water-soluble ink. If you submerge an uncoated inkjet print into water, the ink will dissolve instantly into an unrecognizable blur. After printing on inkjet waterslide paper and letting the ink dry completely, you must apply 2 to 3 light coats of clear gloss spray (acrylic or lacquer) over the entire surface. Allow the clear coat to cure fully before cutting and wetting. (Laser printer decals and commercial pre-printed decals generally do not require this step.)
Submerge your trimmed decal in a shallow dish of room-temperature or lukewarm water. Do not leave it sitting in the water for minutes! Five to ten seconds is plenty. Remove the decal from the bath and place it on a damp paper towel or tray. Gently test the edge with your thumb; once the clear film slides freely across the paper, it is ready. If you leave it underwater too long, the water-soluble adhesive washes away completely, and the decal will not stick.
Lightly wet the receiving surface with a drop of water before sliding the decal into place. If you drop a wet decal onto a bone-dry surface, it grabs immediately, making micro-adjustments impossible. A thin layer of water allows the film to glide effortlessly, letting you position it with tweezers or fingers with pinpoint accuracy.
Once positioned, hold the edge of the decal down and use a damp cotton swab to gently roll from the center outward, expelling all trapped water and air pockets. Trapped moisture or bubbles will cause the film to lift, dry out, and crack later. Roll the swab methodically across the surface until the decal lays completely flat against the base.
Let the decal air-dry thoroughly for at least several hours, preferably overnight. At this stage, the decal is merely held on by delicate dried glue. You must protect it by applying a permanent topcoat—such as clear varnish, acrylic protective spray, or UV/LED resin. A sturdy topcoat shields the print from scratches and makes the clear carrier edge vanish.
Once you are comfortable with the basics, try combining these transfer methods with other handmade disciplines to create standout, boutique-worthy creations.
My absolute favorite combination is pairing waterslide decals with UV/LED resin. Create a smooth resin piece (or prep an acrylic blank), apply a delicate typographic decal, remove all air bubbles, and let it dry completely. Then, brush on a thin layer of low-viscosity coating resin and cure it under a UV lamp.
The liquid resin fills around the microscopic step of the decal, making the carrier film borders completely invisible. The lettering appears suspended in crystal-clear glass. It is an exceptional technique for custom keychains, hair accessories, and acrylic charms.
For fabric goods, try printing a full-color illustration using iron-on paper, then adding hand embroidery accents directly over select sections. For instance, you could print a botanical illustration and stitch French knots or seed beads onto the flower centers for three-dimensional texture.
This marries the precision of graphic printing with the tactile warmth of needlework, giving your piece a high-end designer feel. Because heat-transfer resin bonds firmly to fabric fibers, you can pierce through it with an embroidery needle without tearing the design.
Here are answers to frequent questions and troubleshooting steps for typical transfer issues:
A. Dollar and 100-yen craft aisles often stock both types, alongside pressure-sensitive rub-on transfers. Check the packaging carefully: if it mentions an iron, it is heat transfer; if it instructs you to soak the sheet in water, it is a waterslide decal. Make a habit of checking the back instructions before purchasing so you don't buy the wrong type for your project.
A. You can alter the sheen by switching your finishing sheet. Instead of high-gloss release paper, place a sheet of matte baking parchment over the cured design and press firmly with your iron for a few seconds. This softens the plastic shine, producing a smooth, matte finish that blends naturally into the fabric weave.
A. This happens when wet solvents or heavy brush strokes dissolve the decal ink. If you aggressively brush solvent-based or heavy water-based varnishes over an inkjet decal, the ink will bleed. Instead, mist a very light, dry layer of clear acrylic spray from a distance first. Once that protective mist coat is completely dry, you can safely apply heavier coats of brush-on varnish or UV resin.
Neither transfer method is superior to the other; iron-on and waterslide transfers are specialized partners designed for different materials and creative goals.
When you need vibrant, washable designs anchored securely into fabrics or raw wood, iron-on transfers provide rock-solid performance. When you want delicate, borderless motifs on smooth glass, resin, acrylic, or candles, waterslide decals deliver unmatched precision.
Understanding their unique traits means no more wasted blanks or peeling designs. I hope this guide helps you bring your custom illustrations and graphics to life across all your favorite mediums!
If you found this guide helpful, please share it with your fellow makers! Until next time, happy crafting—this was Yassy from Crafters!



For example, if you are looking for articles about mizuhiki, try searching for "mizuhiki"; if you are interested in tools, try keywords like "nippers" or "pliers."
