Level Up Your Wire Jewelry: The Golden Order for Upgrading Your Tools
yassy
Crafters!

Hello, fellow crafters! It’s Yassy from Crafters! (・∀・)
I truly love making, looking at, and shopping for handmade crafts. Creating accessories and small goods in my studio is part of my daily routine, but admiring works made by other artists and collecting exciting new materials also brings me immense joy.
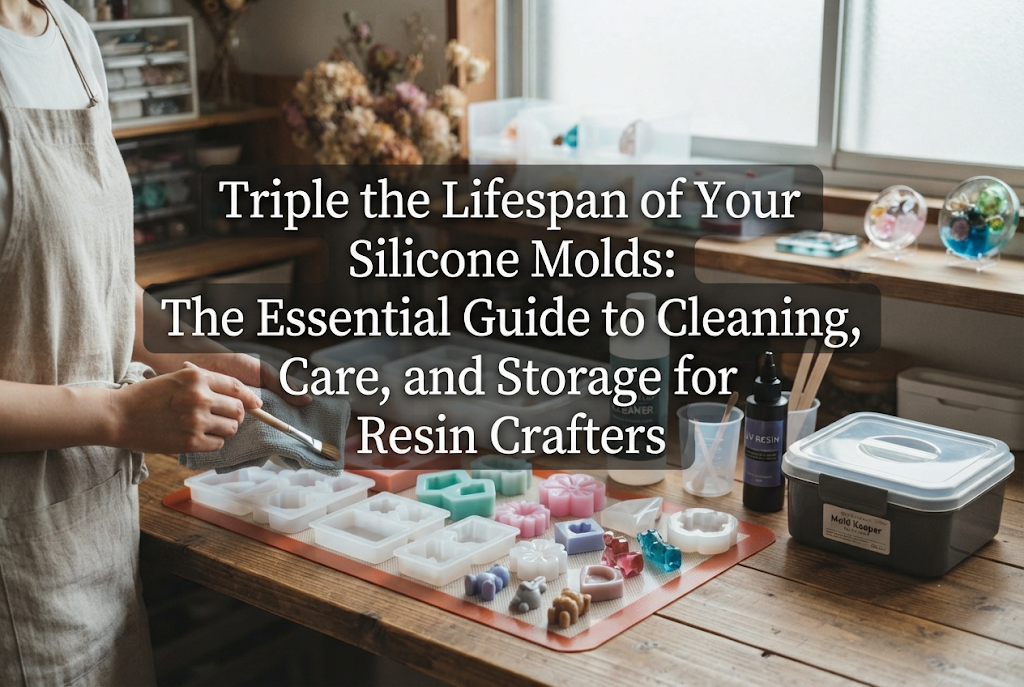
For those of us who love resin crafting, silicone molds are an irreplaceable companion. When you finally find a favorite shape or track down a rare, intricate mold, you naturally want to keep using it in pristine condition for as long as possible.
Yet, so many crafters encounter these common frustrations:
Let me reassure you: mold degradation can be dramatically prevented with the right knowledge and simple care routines. You don’t need to treat molds as quick disposables. With thoughtful handling, you can easily double or even triple their usable lifespan.
In this guide, I will share the essential rules I practice to keep my silicone molds lasting as long as possible. From common beginner mistakes to practical cleaning and storage techniques, let's explore how to protect your favorite tools!
Before jumping into solutions, it is crucial to understand why silicone breaks down in the first place. Once you know what damages your molds, protecting them becomes much easier.
Silicone molds typically wear out due to four main causes—many of which happen unconsciously during regular resin work.
When curing resin, UV or LED lamps emit intense light energy. At the same time, the chemical reaction of the resin as it cures generates noticeable heat (exothermic reaction).
While silicone is generally heat- and UV-resistant, it does not have infinite tolerance. Repeated exposure to strong ultraviolet rays and elevated temperatures breaks down the molecular structure of the silicone over time, causing it to lose elasticity and harden. As a result, the mold surface dries out, and your finished resin pieces no longer come out with a glassy shine.
As resin cures, it adheres closely to the silicone surface. The process of extracting the cured piece—known as demolding—places a surprising amount of tensile stress on the mold.
If you pull forcefully or fold the mold too aggressively, you risk tearing the microscopic surface layer of the silicone. These microscopic tears accumulate over time, dulling the finish and making future demolding increasingly difficult.
Often, attempts to clean a dirty mold actually cause more harm than good. Scrubbing with wet wipes, wiping with acetone or nail polish remover, or scratching with fingernails or coarse sponges are common pitfalls. Silicone surfaces are delicate; harsh chemicals and abrasives can destroy a glossy mirror finish in a single stroke.
How you store your molds when not in use also plays a major role in their longevity. Leaving them out on an open shelf exposes them to room lighting and sunlight, steadily aging the silicone. Furthermore, storing them in humid conditions causes airborne dust attracted by static electricity to bond with moisture, stripping the silicone of its natural oils and causing stickiness or yellowing.
Now that we know the causes, let's dive into practical preventative steps. Here are essential techniques to protect your molds while actively crafting. A little extra care during preparation makes a dramatic difference in how long your molds last.
If you want your molds to last, using a mold release agent (spray or liquid) is an indispensable step. Many people view release agents merely as a tool to help resin pop out easily, but their true value lies in acting as a protective barrier on the silicone surface.
Applying a thin layer of release agent prevents the resin from bonding directly to the mold walls. This significantly reduces both thermal damage from curing heat and frictional wear during demolding.
Whether you use a spray or liquid type, apply a thin, even coat inside the mold cavity and let it dry completely before pouring your resin. Applying too thick a layer can cause ripples on the surface of your finished piece, so spreading it thinly with a soft brush is a great technique.
When a cast piece is fully hardened, resist the temptation to yank it out with raw strength. Aggressive demolding is the leading cause of torn silicone.
Follow this gentle demolding routine:
If a piece remains stubborn and refuses to pop out, apply a single drop of absolute ethanol (anhydrous alcohol) or baby oil into the tiny gap between the mold and the resin. Capillary action will draw the liquid around the cast piece, allowing it to slide out effortlessly. Rely on physics and patience rather than brute force.
Do you use wooden toothpicks or metal tweezers to pop air bubbles or position inclusions inside your molds? It is best to stop this practice immediately.
A toothpick tip is surprisingly sharp and can leave invisible scratches on the delicate silicone bottom and walls. Uncured resin then seeps into these micro-grooves and hardens, causing pieces of the silicone to tear away when demolding. Instead, use rounded silicone blending sticks or the smooth end of a soft brush handle, and keep metal tweezers well clear of the mold's interior walls.
It is tempting to pour piece after piece in the same mold during a busy crafting session. However, right after demolding, the silicone retains residual heat from the previous exothermic reaction.
Pouring fresh resin into an already warm mold and immediately curing it under a lamp accelerates thermal degradation significantly. Always allow a mold to return fully to room temperature before using it again. If you need to make multiples, rotating between several identical molds is the smartest way to extend the lifespan of all of them.
Proper post-crafting care is vital. Well-intentioned cleaning mistakes frequently ruin silicone molds, so knowing what to avoid is just as important as knowing what to do.
The following items can strip the glossy finish and accelerate degradation:
Daily cleaning requires only two safe methods: low-tack tape and gentle hand-washing.
For routine dust removal:Before pouring resin, remove stray dust by gently dabbing the cavity with low-tack paper masking tape (such as washi tape or painter's tape). Avoid heavy-duty packing tapes, as their strong adhesive can leave sticky residue behind.
For uncured resin or general dirt:If a mold feels sticky or dirty, fill a small basin with lukewarm water and add a few drops of mild neutral dish soap. Gently rub the mold using only the soft pads of your clean fingers. Do not use sponges or brushes—your fingertips are the safest cleaning tool. Once clean, rinse thoroughly under running water until all soap traces are gone.
How you dry your molds is equally critical. Avoid wiping them with towels or cloths, as static electricity will pull fabric fibers directly into the mold cavities. Instead, place the washed molds upside down in a well-ventilated, shaded area and let them air-dry naturally.
If you need to remove water droplets quickly, use a handheld air blower or gently blot them with a clean, high-grade microfiber lens cloth without rubbing. Avoid using heated hair dryers, as hot air can warp the silicone.
Silicone can slowly degrade even while resting in your craft drawer. Proper storage protects your molds from light, pressure, and dust between projects.
Ambient light is a hidden enemy of silicone. Household fluorescent lamps and indirect sunlight through windows both contain UV rays that steadily turn silicone yellow and brittle over time.
Once completely dry, store your molds in light-blocking pouches or inside opaque drawers and storage bins. Placing each mold into an individual ziplock polyethylene bag before putting it in an opaque box works wonders. Individual bagging also prevents molds from adhering to one another during storage.
While silicone is flexible, sustained pressure over a long period will permanently distort its shape. Avoid piling heavy molds on top of each other inside a crowded storage box, as the molds underneath will compress and lose their true geometry, resulting in warped resin casts.
Always store molds resting flat on their base. If you must stack them, limit it to two layers, keeping heavier, solid molds on the bottom and lightweight, delicate molds on top. Avoid storing them standing upright on their sides, as their own weight can cause them to bow.
Silicone is an electrical insulator, making it a natural magnet for static and airborne dust. Keeping molds sealed inside individual zipper bags with the air squeezed out is the most reliable way to prevent dust buildup while in storage.
Even with the best care, silicone molds are fundamentally consumable crafting tools. Continuing to use a mold that has reached the end of its functional life leads to poor casting results and wastes expensive resin. Watch for these three signs:
I would love to share a bit of my personal mindset when it comes to collecting and caring for molds. Like many crafters, I get genuinely excited whenever I find a charming new mold design. Because I cherish these tools, I want them to help me create as many pieces as possible.
My favorite strategy is assigning different roles to molds depending on their age:
By transitioning a mold's role over its lifecycle, you can get tremendous value out of a single tool. When you treat molds not as disposable trash, but as creative partners that simply need gentle washing and cool, dark resting spots, they will reward you with clean, crisp casts for dozens and dozens of projects.
To recap the key habits for lasting molds:
Once these steps become part of your everyday crafting rhythm, your molds will last noticeably longer. Caring for your tools keeps your crafting budget happy and removes the frustration of ruined casts. Nothing beats the satisfying pop of a crystal-clear, shiny resin piece coming out of a well-maintained mold!
If you found this guide helpful, please share it with your fellow resin artists! Until next time, happy crafting—this is Yassy from Crafters!




For example, if you are looking for articles about mizuhiki, try searching for "mizuhiki"; if you are interested in tools, try keywords like "nippers" or "pliers."
