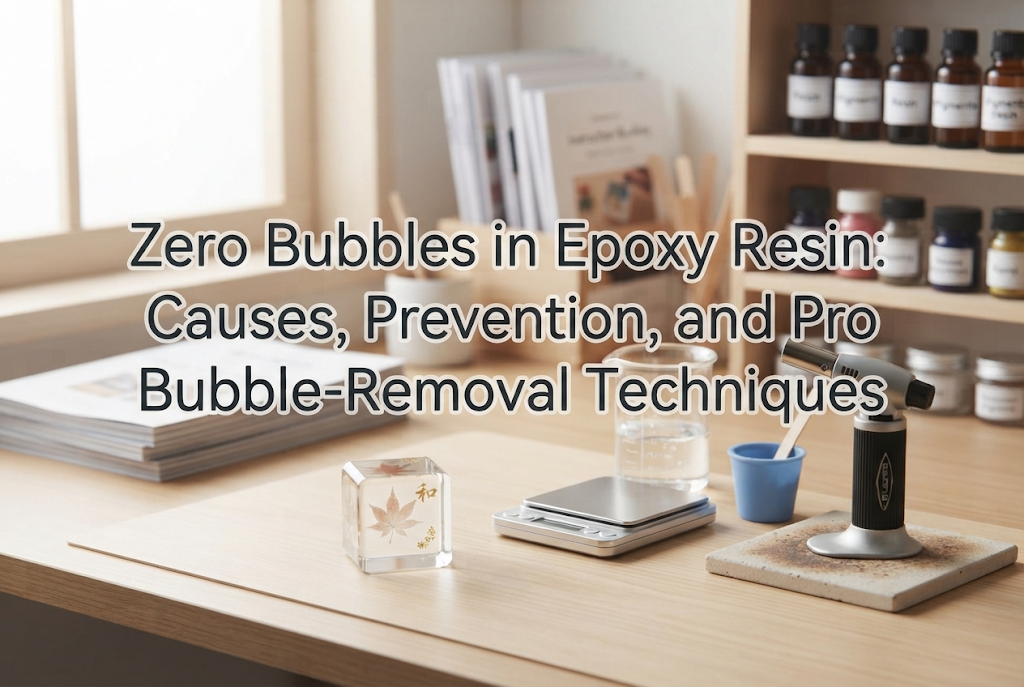
Zero Bubbles in Epoxy Resin: Causes, Prevention, and Pro Bubble-Removal Techniques
yassy
Crafters!

Hi everyone, this is Yassy from Crafters! (・∀・)
Have you ever seen resin pieces on social media or in craft shops that look just like polished glass, with an incredible sense of crystal-clear depth? If you're anything like me, every time you see one, your heart leaps with the desire to make something that stunning with your own hands.
From ocean art coasters with delicate layers of dried flowers and gold leaf suspended in crystal-clear water, to weighty, high-end interior accents, epoxy resin creates finished pieces with a presence unlike any other craft medium. I love making various handmade items, browsing craft exhibitions, and buying pieces from independent makers, and I am continually captivated by the unique aura that epoxy resin creations hold.
However, when most crafters decide to try it themselves, they often hesitate: "I don't know what tools to buy first," "Mixing two separate liquids seems intimidating," or "I don't want to mess up and waste expensive materials." The more you search online, the more technical jargon and specialized tools pop up, leaving you completely lost on what to choose.
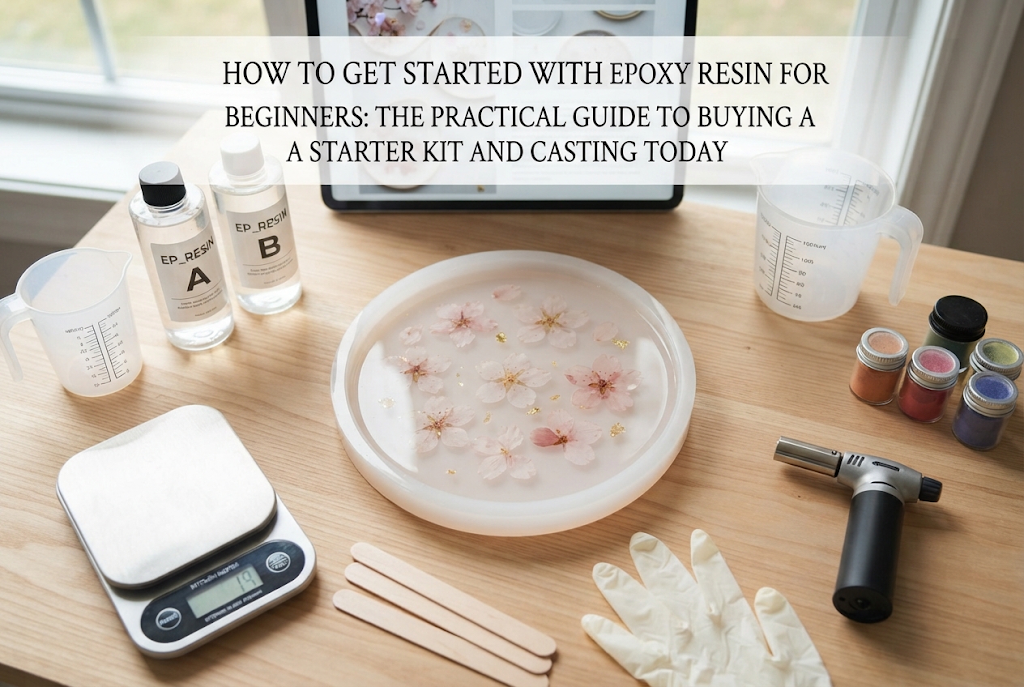
Let me get straight to the point: spending days overthinking is a waste of your creative time. The most reliable, foolproof shortcut to mastering epoxy resin is to order a well-designed starter kit and a few basic essentials online, and simply pour your first project. In this practical guide, I will walk you through everything from preparation to casting, eliminating confusion so you can dive into the world of epoxy resin today.
Before purchasing any supplies, it is essential to understand the difference between UV (or LED) resin and two-part epoxy resin. If you skip this distinction, you risk buying the wrong supplies and failing to create the pieces you envision.
UV resin cures in just a few minutes when exposed to ultraviolet light. While it is wonderfully quick for small jewelry pieces, it has a significant drawback: UV light cannot penetrate thick or large castings, leaving the core uncured and sticky. Pouring large volumes at once also causes noticeable warping and heat distortion.
Epoxy resin, on the other hand, consists of two separate liquids: a resin (part A) and a hardener (part B). When mixed in a precise ratio, a chemical reaction slowly cures the mixture over several hours. Because it requires zero UV light to set, it will cure with pristine transparency all the way through, no matter how thick or large your mold is.
The greatest strengths of epoxy resin are its long working time—which allows micro air bubbles to rise and pop naturally—and its glass-like hardness and clarity once cured. The surface cures rock-hard, resembling fine crystal. If you dream of making ocean wave art, thick orgonites, elegant coasters, or deep trinket dishes, epoxy resin is without question the right medium for the job.
While it requires 24 to 48 hours to cure fully, the calm, patient process of watching your work develop is one of the greatest pleasures of working with epoxy. Once you experience the thrill of producing such glass-like beauty with your own hands, you will be hooked.
The most common misstep beginners make is attempting to buy everything individually from different shops: silicone molds from one seller, resin from another, pigments from a third, and mixing cups from a hardware store. Please avoid this approach when starting out.
Without hands-on experience, purchasing parts separately often leads to mismatched supplies—such as mixing cups that are far too small for your resin volume, or colorants that react poorly with specific chemical formulas. This leads to wasted money, unnecessary frustration, and the dreaded moment where you realize you are missing one critical item mid-pour.
The correct strategy for beginners is to purchase a single, well-curated Epoxy Resin Starter Kit. Quality kits provide resin and hardener that are factory-tested to work together, along with appropriately sized measuring cups, stir sticks, reliable basic molds, and compatible colorants.
With a comprehensive kit, you have everything ready to cast the very day your package arrives. Experiencing the foundational workflow—measuring, mixing, pouring, and curing—is the quickest route to building confidence. Once you successfully finish your very first piece, you will know exactly what specialized molds or supplies you want to invest in next.
Browsing online marketplaces like Amazon or Rakuten reveals dozens of competing resin kits. To pick a kit that guarantees success, check for these three critical factors:
Price-wise, starter kits in the ¥3,000 to ¥5,000 range (roughly $25 to $40 USD) strike the best balance between resin quality, safety, and included accessories. Extremely cheap kits priced around ¥1,000 often contain low-grade resins that yellow rapidly, resist curing, or emit foul odors.
While a starter kit provides the core materials, there are five indispensable safety and precision items you should gather yourself to ensure a completely smooth experience. All of these can be found easily at local home centers, 100-yen discount shops, or general online retailers.
Epoxy crafting is much like a gentle chemistry experiment: as long as you follow the rules and measurements precisely, you will produce professional-level, glass-clear pieces on day one. Here is the step-by-step method:
Ensure your ventilation is active, put on your nitrile gloves and mask, and lay out your silicone mat. Epoxy cures best at room temperature, ideally between 20°C and 25°C (68°F to 77°F). If your work area is too cold, the liquid thickens, trapping micro-bubbles and slowing the chemical cure dramatically.
Place a clean disposable cup on your 0.1g digital scale and press the tare button so it reads "0.0g." Pour Part A (resin) up to your calculated amount. Tare the scale again (or calculate the exact target weight) and slowly add Part B (hardener). If the formula specifies a 3:1 ratio by weight and you pour 30.0g of resin, you must add exactly 10.0g of hardener. Do not eyeball this step!
Using a silicone or wooden stir stick, blend the two liquids. The key here is to stir steadily and deliberately, scraping down the bottom and the interior walls of the cup continuously. Stirring too fast whips air into the mixture, creating thousands of tiny bubbles. Continue stirring for a full 3 minutes until the milky ribbons (the schlieren effect) completely vanish and the liquid becomes uniformly crystal-clear. Incomplete mixing is the number one cause of failed, sticky resin.
If you wish, stir in a tiny drop of resin-compatible pigment, or keep the liquid completely clear. Pour the mixed resin into your silicone mold in a thin, continuous stream from a slight height; this stretching action naturally pops bubbles before they hit the mold. If you are inserting dried botanicals or foils, position them gently using a bamboo skewer. Any stubborn surface bubbles can be popped by briefly passing the warm air of an embossing heat tool or the quick flame of a utility lighter across the top.
Ensure your mold is resting on a perfectly level surface so the resin does not pool unevenly to one side. Place your inverted dust cover directly over the mold. Now, let it rest undisturbed for the full curing duration indicated in your manual (typically 24 to 48 hours). Resist the urge to poke the surface with your finger, as touching it too early will leave permanent fingerprints on the gloss.
This is the most frequent issue newcomers encounter: days pass, but the resin remains rubbery or sticky to the touch. 99% of curing failures trace back to either inaccurate measuring or insufficient scraping while stirring. Always use a 0.1g digital scale and spend three full minutes scraping the edges and bottom of your cup during mixing.
Epoxy resin naturally generates heat as it cures. If you pour a massive, deep volume all at once, the heat builds up rapidly inside the core, causing the resin to shrink, pull away from mold edges, or develop wrinkled surfaces. For deep or thick designs, use the professional technique of "layered casting": pour in shallow layers (about 1–2 cm at a time), letting each layer semi-cure before pouring the next.
If the resin feels too thick and stubbornly traps air bubbles during winter or in cool rooms, warm both resin bottles in a gentle lukewarm water bath (around 40°C / 104°F) for 10 minutes before measuring. This lowers the resin's viscosity so bubbles rise to the surface effortlessly. After pouring, cover the piece within seconds to block airborne dust.
If I had to start over today with zero prior knowledge, this is the exact schedule I would follow to go from zero to my first finished creation:
The moment that hardened, glass-like casting slides effortlessly into your hand, the feeling of accomplishment is indescribable. Seeing your own reflection in a flawless, crystal-clear surface you created yourself is an unforgettable milestone that opens up a whole world of crafting possibilities.
There are countless handmade crafts out there, but few can match epoxy resin for sheer glass-like depth and luxurious finish. The meditative rhythm of measuring and stirring, the eager anticipation while it cures, and the pure joy of demolding bring wonderful creative energy into daily life.
You will never experience that satisfaction by merely looking at photos online. Rather than spending weeks second-guessing yourself, pick up a reputable starter kit and a precision scale today. There is so much joy waiting to be discovered the moment you make that very first pour!
If you found this guide helpful, please share it with your fellow makers. Until next time—happy crafting from Yassy!




For example, if you are looking for articles about mizuhiki, try searching for "mizuhiki"; if you are interested in tools, try keywords like "nippers" or "pliers."
