Japanese Leather Knives: Kawabōchō vs. Betsutachi – Differences, Uses, and How to Choose
yassy
Crafters!

Hello, everyone! It’s Yassy from Crafters! (・∀・)
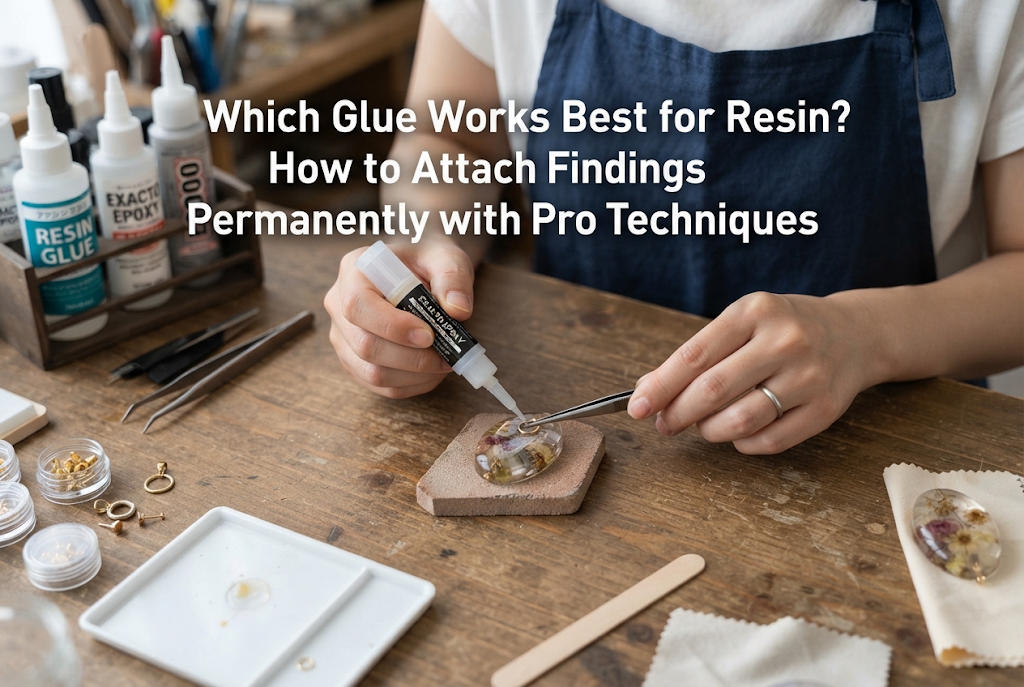
Have you ever spent hours perfecting a gorgeous resin piece, attached earring posts to the back, only to have them pop right off after just a few wears?
I personally love creating handmade pieces, browsing craft shops, and buying handcrafted accessories online. Because of that, I know all too well the heartbreak when a cherished, beautiful piece breaks because a finding detached.
Many beginners wonder, "Can't I just use resin liquid to cure the finding in place?" or "Isn't standard super glue from the 100-yen shop good enough?" Choosing the wrong adhesive will almost certainly result in a broken piece down the line.
When it comes to resin, there are adhesives that pair remarkably well, and others you should never touch. In this article, I will explain the proper technical knowledge regarding resin adhesion and reveal the professional preparation techniques needed to ensure your findings never fall off!
The main reason findings easily peel away from resin pieces lies in the surface texture and physical properties of cured resin.
Once resin cures, its surface is exceptionally smooth and glossy, much like glass or polished plastic. Because it lacks microscopic irregularities for adhesives to grip onto, standard glue simply rests on top of the surface without forming any physical or chemical bond.
Furthermore, the most common trap beginners fall into is using uncured resin liquid itself as a glue to attach findings. This is something you should absolutely avoid.
UV resin and LED resin cure through a chemical reaction triggered by exposure to ultraviolet or visible light. If you place a metal earring finding or an opaque, light-blocking component over wet resin, the light cannot reach underneath it.
Even if the outer perimeter appears hard, the resin trapped behind the metal finding remains an uncured, sticky gel. As a result, the slightest sideways force will cause the finding to peel off completely. Using resin liquid to bond non-transparent components is a definite mistake.
There are three main categories of adhesives suitable for resin crafting. Understanding their unique characteristics, strengths, and handling precautions will set you up for success.
When making resin jewelry, the most reliable and powerful adhesive is a two-part epoxy adhesive. It consists of Part A (resin) and Part B (hardener), which must be thoroughly mixed in equal parts to trigger a chemical reaction that cures rock-hard.
Multi-purpose elastic adhesives cure with a degree of flexibility and shock resistance. Many formulas react with moisture in the air to solidify, and because they come ready-to-use straight from the tube as a single-part formula, they are very convenient.
Standard cyanoacrylate (super glue) sets within seconds to minutes, making it tempting for quick fixes or temporary holds.
The biggest hurdle with super glue is "blooming" (whitening). As cyanoacrylate cures, evaporating vapors react with ambient moisture, depositing a chalky white film across the glossy resin surface. To prevent this whitening effect, work in a well-ventilated area, never blow your breath onto wet glue, and choose specialized anti-blooming formulations.
The ideal adhesive depends entirely on what you are joining to your resin piece. Here is the recommended pairing for each combination:
Even the highest-grade glue will fail if your prep work is inadequate. Here is the four-step preparation routine used by Japanese craft professionals to dramatically enhance physical adhesion.
Roughen the back of your resin piece where the finding will sit using sandpaper. In Japanese crafting, this process is known as ashitsuke (creating a bonding tooth).
Use sandpaper in the #240 to #400 grit range. Creating intentional micro-scratches on an otherwise slick resin surface allows the adhesive to flow into the tiny grooves and harden, generating an interlocking "anchor effect."
Do the exact same thing to the metal finding's flat pad by scoring it with sandpaper or cross-hatching it lightly with a craft knife tip. Roughening both surfaces is the single most important rule for permanent adhesion.
Sanding produces a large amount of fine dust, and handling parts transfers natural oils from your fingers. Applying glue over dust or grease prevents the adhesive from making direct contact with the base material.
Dampen a lint-free cloth or wet wipe with rubbing alcohol (sanitizing ethanol) or parts cleaner, and thoroughly wipe down both contact surfaces. Once cleaned, take care not to touch the bonding spots with your bare fingers. Taking a moment for this degreasing step elevates durability significantly.
Using too little glue results in an inadequate bonding area, while using too much causes messy spillover that mars the piece.
The secret is to apply just enough glue across the pad so that when you press the piece down, a bead roughly the thickness of a toothpick tip squeezes out around the edge. This rim of adhesive forms a supportive "fillet" around the finding base, dramatically reinforcing the joint against tilting or peeling forces.
Press the finding firmly against the resin for several seconds to push out trapped air pockets. Then, secure the piece with masking tape, a clothespin, or a small clip to ensure it cannot slide out of position while drying.
Never confuse "working set time" with "full cure time." A package claiming a "5-minute cure" simply means the glue stops flowing after five minutes. Reaching maximum chemical bond strength requires at least 24 hours for almost all adhesives.
Resist the urge to poke at the bond after five minutes to see if it holds, and never package it for shipment right away. Leaving the piece undisturbed at dry room temperature for a full day is your best insurance against failure.
Here are two specialized tricks I personally rely on when crafting resin pieces to guarantee findings never budge!
When attaching stud earring posts or clip-on blanks, I first secure the metal base using a two-part epoxy adhesive.
After letting it cure completely for 24 hours, I take a high-viscosity UV resin and dome a smooth bead directly over the finding's flat base, wrapping slightly around its edges, then cure it thoroughly under a UV lamp.
This creates a dual structure: a chemical bond from the epoxy underneath, capped by a physical encapsulation of cured resin on top. Earring posts secured this way will literally bend before they detach—they will never come off in everyday wear!
Instead of gluing hardware to the back of a finished, flat resin piece, you can partially embed the base of the finding directly into wet resin while it is still inside your silicone mold.
By submerging the anchor pad inside the resin and leaving only the loop or post exposed, the resin itself cures around the metal, eliminating the need for glue entirely. For bail loops, screw eyes, or threaded posts, designing them into the casting process yields the cleanest and most durable result.
Keep these frequent rookie mistakes in mind to protect your hard work:
We have covered how to choose the right glue for resin and the prep steps necessary for a permanent bond.
For sheer strength and reliability, two-part epoxy adhesive is your premier option, while multi-purpose elastic adhesives offer excellent shock absorption and ease of use.
Even the most stunning resin jewelry loses its charm if the hardware falls apart. By following the four golden rules—sanding for tooth, degreasing with alcohol, selecting the proper glue, and waiting 24 hours for a full cure—your handmade creations will achieve retail-grade durability.
Master these techniques and keep building sturdy, beautiful craft projects that last! If you found this guide helpful, please share it with your fellow makers. See you in the next article! This has been Yassy from Crafters!

For example, if you are looking for articles about mizuhiki, try searching for "mizuhiki"; if you are interested in tools, try keywords like "nippers" or "pliers."
