How to Plan Seasonal Handmade Collections: Stay Ahead of Trends and Never Miss Peak Sales
yassy
Crafters!

Hello, crafters! It's Yassy from Crafters! (・∀・)
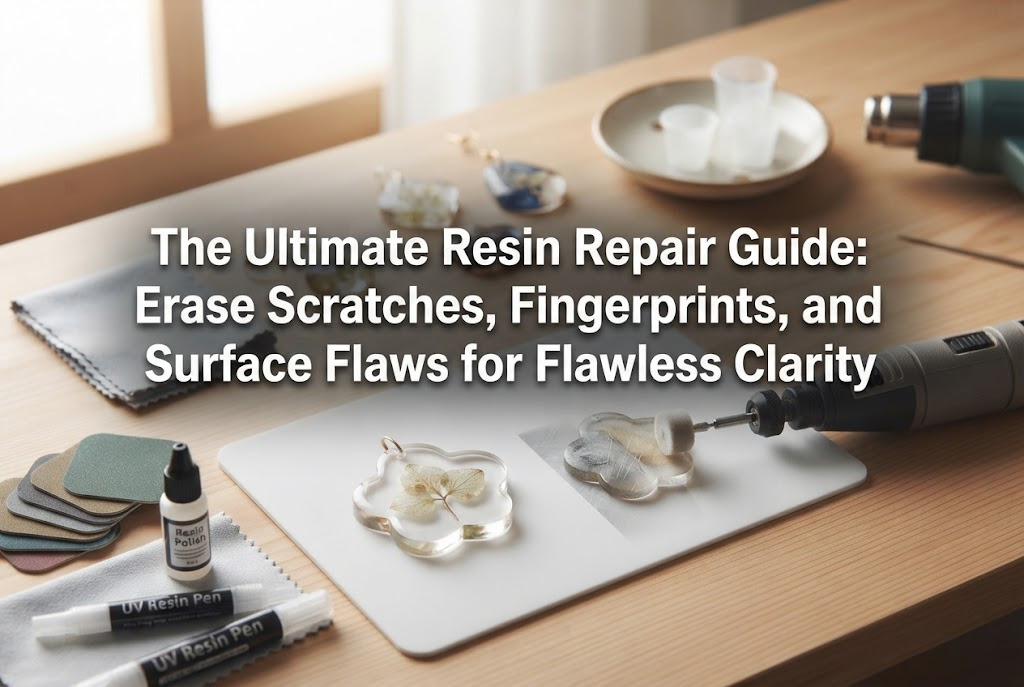
Have you ever demolded a fresh resin project only to find your own fingerprints clearly stamped into the surface? Or perhaps you achieved a seemingly rock-hard cure, only to end up with fine hairline scratches right across the top?
Surface troubles with resin craft never seem to end—whether it's a stray speck of dust trapped in the curing layer or a frosted, cloudy finish left behind after sanding. It can be heartbreaking when you put so much care into a piece.
But please don't lose heart! As long as you understand the underlying causes and follow the right procedures, surface scratches, fingerprints, and cloudiness can easily be restored to a breathtaking, brand-new crystal clarity. There is absolutely no reason to throw your hard work into the trash.
I personally love making, admiring, and buying resin crafts. Over the years, I've created countless projects—and repaired just as many mishaps. Through this trial and error, I've established golden rules of resin repair that consistently bring failed projects back to life with premium gloss.
In this guide, I will share the professional techniques I use in my own workshop. We'll explore why these surface issues occur in the first place, step-by-step methods for resolving each specific problem, and how to choose between clear recoating and compound polishing. Master these tools and techniques, and you'll never fear a resin imperfection again!
Before jumping into repairs, it is essential to understand why these surface issues happen. If you misjudge the root cause, you risk choosing the wrong fix, which could deepen scratches or make sticky surfaces even worse.
Surface flaws on resin crafts typically stem from three interrelated factors: an incomplete curing process, airborne debris in your workspace, and the timing of demolding. Let's look closer at each one.
Fingerprints are by far the most common problem in resin making. They occur almost exclusively when resin is under-cured, or when a piece is touched with bare hands immediately after curing while it is still warm.
With UV/LED resin, the surface may appear completely solid under the light, but the exothermic heat from the chemical reaction leaves it temporarily soft right after irradiation. Touching it at this point presses your natural skin oils and fingerprint ridges straight into the pliable resin.
Furthermore, if curing time is too short or if too much colorant was added (blocking the UV light from penetrating), a thin layer of uncured resin remains on top. Touching this film leaves a tacky residue and a permanent fingerprint impression.
Tiny bumps, dots, or hair-like lines on the surface are usually caused by airborne dust and fabric lint. Because liquid resin has viscosity, it acts like a magnet for airborne particles attracted by static electricity.
If dust settles on liquid resin and you cure it under a lamp—or let it sit during an epoxy resin cure cycle—those fibers become permanently trapped inside, leaving a rough texture. Dust and debris left inside silicone molds from previous pours can also transfer directly onto your new piece.
Even after a successful cure, danger remains. Forcing a piece out of a silicone mold with fingernails or metal tools can leave deep scratches across the surface.
Additionally, while sandpaper is essential for removing sharp edges (flash or burrs), using too coarse a grit or failing to work up to a final polish leaves the sanded area scraped and white. This is the origin of cloudiness and haze. While sanding is a fantastic technique to level resin, doing it improperly is the quickest way to turn a glass-like finish into frosted glass.
Now, let's explore practical recovery methods to eliminate these surface imperfections. Different issues require completely different strategies, so evaluate your piece carefully and follow the appropriate steps.
If your piece has fingerprints or feels sticky, your first priority is to completely eliminate that uncured layer, both chemically and physically. Applying a topcoat or trying to polish over sticky resin will never produce clean results.
Fine scratches caused by fingernails, metal findings, or friction against a workbench can be completely removed using wet-and-dry sandpaper lubricated with water (wet sanding).
The golden rule here is to begin with a grit matching the scratch's depth, then gradually move to finer grits. Starting directly with an ultra-fine polishing compound will not erase visible scratches.
If hair, lint, or dust particles protrude from your cured resin surface, you will need pinpoint trimming followed by localized sanding. Simply coating over raised lint will leave a noticeable bump and distort the surface reflection.
If a popping air bubble leaves a tiny crater (pinhole), or if you sanded too aggressively when cleaning up edges, fill the depression using resin like a putty.
If you brush a clear topcoat directly over a dented surface, surface tension will cause the coating to sag into the hole, leaving an uneven ripple. The dent must be filled first.
Taking the extra step to fill and flatten dents ensures that your final topcoat cures with an undistorted, mirror-like reflection.
Many beginners panic after sanding when their piece turns chalky white, thinking it is ruined. However, this cloudiness is simply the visual result of countless microscopic grooves scattering light.
There are two ways to restore transparency to frosted resin: polishing the surface so smooth that light reflects directly, or filling those microscopic grooves with a clear liquid coat.
The easiest and most reliable method is applying a clear liquid layer. Brushing a thin coat of low-viscosity coating resin or high-transparency water-based acrylic varnish over the frosted area instantly fills those micro-scratches, restoring glass-like clarity in seconds.
Sanding-induced haze is completely normal. Knowing how to apply the proper finishing treatment is what truly separates professional work from beginner results.
After leveling your scratches and dents, how you finish the surface depends on the shape and style of your project. You can either apply a liquid coating layer or polish the cured resin with buffing compounds.
Both approaches have distinct advantages. Choosing the right one for your piece is key to flawless restoration.
If you want a plump, glossy, smooth finish with minimal effort, recoating is the best approach. It is particularly well-suited for cabochons, spheres, complex three-dimensional charms, and tiny pieces that are difficult to sand evenly.
You can choose from low-viscosity UV/LED coating resin, water-based acrylic varnish, or clear gloss spray. Personally, my favorite and most frequently used option is specialized low-viscosity UV/LED coating resin.
Unlike standard crafting resins, coating resins are runny, spread effortlessly, and leave fewer brush lines. Apply a thin, even coat using a flat brush, let it rest for a few seconds to achieve self-leveling, and then cure it under your lamp.
A gloss spray coat works well for larger items or textured surfaces. However, spray in light, successive mist coats to avoid drips and pooling.
If your project has sharp, defined edges—such as dice, geometric gems, or faceted prisms—brushing on a liquid topcoat will round off those crisp angles and ruin the design.
For these pieces, skip the liquid topcoat and opt for compound polishing after thorough sandpaper prep.
Polishing compounds contain microscopic abrasive particles suspended in a paste or liquid. Generally, you progress through distinct grades: coarse (rubbing compound), fine, and ultra-fine (finish compound).
To use them, apply a pea-sized dab of compound onto a soft microfiber cloth (like an eyeglass cleaning cloth) and firmly buff the resin surface that has been sanded up to 2000-grit. Progress through your compounds, switching to a fresh section of cloth for each grit. This produces an exceptionally sharp, high-gloss mirror shine that looks just like polished glass.
When applying a clear resin topcoat over a repaired surface, you might notice the liquid pulling away or beading up like water on wax, creating craters and bare spots. This frustrating phenomenon is known as cissing or repelling.
It occurs when residual sanding dust or natural skin oils remain on the piece. Resin and oil do not mix, and even a faint fingerprint will prevent coating resin from leveling properly.
The professional solution is complete degreasing right before coating:
By degreasing and lightly keying the surface, you eliminate repelling entirely, ensuring a flawless, self-leveled finish.
Here is the routine workflow I follow when repairing resin pieces in my workshop. Keep this systematic process in mind to avoid creating new scratches while trying to fix old ones.
The step beginners skip most often is the initial cleaning. Before grabbing sandpaper or resin, your piece must be reset to a clean state.
I wash the piece with lukewarm water and mild dish soap to remove accumulated grime, dust, and hand oils. I dry it completely with a lint-free paper wipe, then finish with an ethanol wipe-down. This reveals the true depth of scratches and pinpoint imperfections, giving you a clear view of what actually needs repair.
When sanding out surface damage, my non-negotiable rule is: never skip grits.
If you remove a deep scratch with 400-grit paper and immediately jump to 2000-grit or compound out of impatience, the deep scratch valleys left by the 400-grit paper will never disappear. They will remain visible forever as faint white scrape marks beneath the polish.
Follow this grit sequence:
Each finer grit works to erase the scratches made by the previous grade. Whenever you switch grits, wipe away slurry and inspect your piece under a light to ensure coarse scratches are completely gone before moving up.
Right before curing your final repair coat under the lamp, always perform a final visual inspection.
Hold the coated piece under strong directional light (such as a desk lamp) and inspect it from multiple angles. At this stage, any trapped micro-bubbles or freshly landed dust fibers can easily be plucked out with a toothpick.
Also check the underside edges to make sure resin isn't pooling into teardrop-shaped drips. If excess resin is forming along an edge, simply wick it away with the tip of a dry brush. Taking five seconds to check before curing saves you from having to grind down mistakes later.
Here are several well-intentioned shortcuts beginners often take that end up making resin damage worse.
Using clear nail polish or drugstore manicure topcoats to add quick shine is a widespread mistake. Standard nail polish formulations are chemically incompatible with cured resin.
While it might look clear at first, within days or weeks it often turns yellow, cracks, or peels away like plastic wrap. In worse cases, it remains perpetually gummy and sticky to the touch. Always use dedicated resin coating liquids, resin-safe water-based acrylic varnishes, or hobby-grade UV-cut clear coats.
Pressing down hard on sandpaper or buffing cloths out of a desire to work faster is a major mistake. Resin (especially UV resin) is sensitive to heat, and intense friction creates hot spots.
Overheated resin softens, causing the surface to ripple or, in severe cases, crack internally from thermal stress. Always let the abrasive grit do the work instead of hand pressure. Use wet sanding to dissipate friction heat, and sand with light, patient strokes.
Focusing aggressively on a single scratch can grind a noticeable flat spot into an otherwise round bead or faceted shape. Even for isolated scratches, sand with broad, sweeping strokes that feather the repair into the surrounding geometry. Regularly inspect the silhouette against light to ensure your curves and flat planes remain balanced.
Encountering scratches, fingerprints, dust, and haze is an inevitable part of the resin crafting journey. However, by understanding the cause and applying the proper repair techniques, any imperfect piece can be transformed into a showroom-quality creation.
Remember these key takeaways:
Don't throw away a piece just because of a minor surface mistake. Once you master resin repair, you can craft with complete confidence, knowing you have the skills to fix any flaw.
If you found this guide helpful, please share it with your fellow crafting friends on social media! See you in the next article—happy crafting from Yassy! (・∀・)






For example, if you are looking for articles about mizuhiki, try searching for "mizuhiki"; if you are interested in tools, try keywords like "nippers" or "pliers."
