10 Photography Mistakes to Avoid for Handmade Items: The Rules That Boost Sales
yassy
Crafters!

Hello, this is Yassy from Crafters! (・∀・)
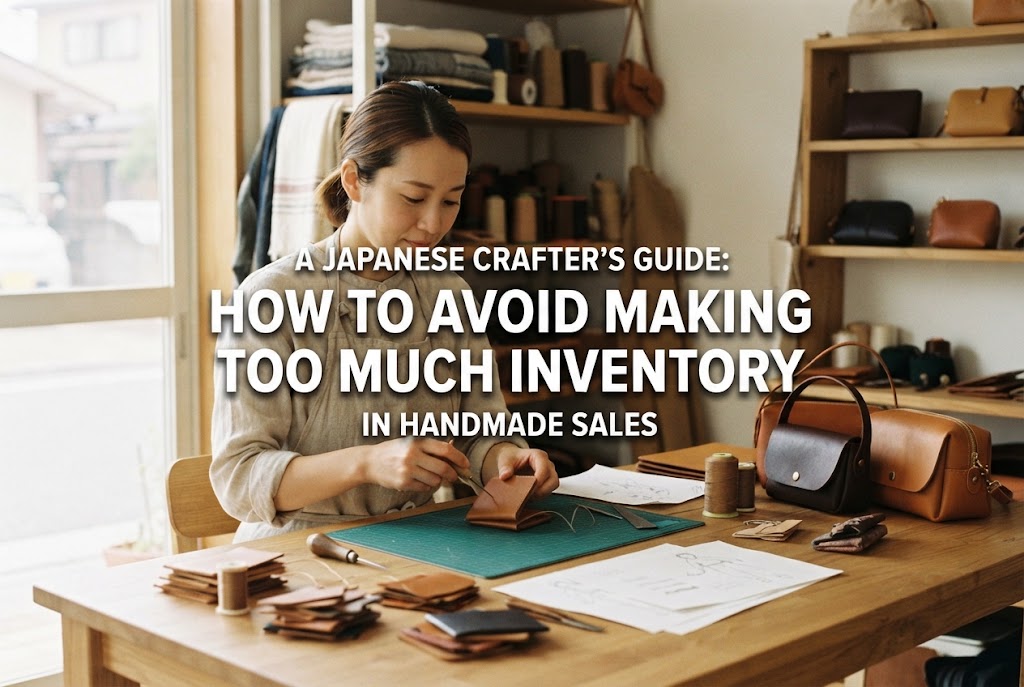
When you start selling handmade items, almost everyone bumps into one major obstacle: making far too much inventory. Have you ever found yourself making item after item just because crafting is so much fun, or rushing to fill your shelves with stock out of anxiety that you need more product listings?
In reality, making excessive inventory without a plan causes various problems in handmade sales, including dropped sales, poor cash flow, and cramped workspace. While inventory represents your precious handmade assets, if it doesn't sell, it simply becomes a space-hogging pressure in your room.
In this article, I will explain easy-to-understand techniques for controlling your production so that beginner crafters can prevent overproduction without stress. Let's master production control so you can run your shop lightly without accumulating surplus stock!
Before diving into concrete solutions, it is important to understand the underlying reasons why we overproduce. Crafters easily end up with surplus inventory due to psychological factors unique to beginners and common misunderstandings about selling. By identifying the root causes, you can objectively review your crafting habits.
For those who love handmade crafts, time spent making new items is wonderful therapeutic fun. Excited by thoughts like "This color scheme is adorable!" or "I want to try a different design!", many makers create piece after piece while completely ignoring their sales plan.
While enjoying creation is fantastic, confusing crafting for sales with crafting for fun will quickly fill your room with unsold stock. It is essential to consciously separate time spent making items as inventory from time spent enjoying personal projects or prototypes.
When starting an online shop, it's easy to think, "If I have few items, I'll look like an amateur," or "Customers won't find me unless I display a lot of stock." Driven by this anxiety, many crafters make dozens of identical items or color variations all at once before even understanding market demand.
However, no matter how many listings you have, if your target audience and design concepts are scattered, it won't lead to sales. Rather than recklessly increasing quantity, having an appropriate amount of attractive, demand-driven work on display is far more important.
Craft supplies such as findings, fabrics, and clay often cost less per unit when purchased in bulk. But when you have large quantities of supplies sitting in front of you just because they were a good deal, a mysterious sense of obligation arises: "I have to turn this into finished items quickly so it doesn't go to waste."
Overusing materials to prevent waste ironically leads to the counterproductive result of building a mountain of finished inventory that might not even sell.
To keep your inventory at a healthy level while maintaining smooth sales, you need to establish a system for production rather than relying solely on intuition. Here are five basic rules I practice and recommend.
The most reliable and effective way to avoid excess inventory is adopting a made-to-order approach where you create items after receiving a purchase. Because production begins after the order is confirmed, the risk of holding unsold finished items drops to zero.
This style works exceptionally well for accessories requiring ring size adjustments, leather goods with custom initials or names, and fabric items with customizable fabric choices. The approach of "making each item with care after receiving an order" offers buyers a special handmade experience, delivering great benefits to both sides.
Instead of completing items entirely before storing them, try a "parts stock system" where components are kept unassembled.
For example, with earrings, prepare multiple decorative motifs for the main body, but attach the earring hooks or clip-on findings only after an order is confirmed. This flexibility lets you handle sudden surges in clip-on orders without wasting findings. Keeping items as separate parts also makes it easy to repurpose them into different designs later.
If you try to stock every color, size, or finding option as finished items, your required inventory count skyrockets instantly.
Instead, prepare just one sample item per color for photography, and use product listing option menus for color and finding selections. This provides customers with plenty of choices without requiring full inventory for every variation, preventing wasted stock.
When launching a new design, limit the first production run to a small batch of 1 to 3 items, no matter how confident you are in the design. There is absolutely no need to make 10 or 20 items from the start.
Start selling with a small amount of stock, and monitor traffic and favorite bookmarks. By setting up a system where you reproduce only items that show strong interest and fast sales, you minimize the risk of being stuck with unwanted stock.
Seasonal items for events like Christmas, Mother's Day, or Halloween lose demand rapidly once the date passes. In handmade sales, these items pose the highest risk of painful leftover stock.
Set explicit sales periods and stock limits for seasonal goods through complete pre-order systems or limited runs (e.g., "Limited to 10 pieces"). Accurately gauging demand beforehand and crafting only what is needed completely prevents holding piles of seasonal inventory after events end.
When organizing inventory, separating your management between "finished goods" and "materials (raw supplies)" is essential. Neglecting either side makes it impossible to escape inventory clutter.
Minimizing finished inventory offers benefits far beyond simply keeping your workspace tidy.
Items stored over long periods can suffer a decline in quality over time. Delivering freshly made, pristine items to customers is a massive advantage of keeping finished stock low.
Reducing finished goods is meaningless if your room becomes crammed with raw materials instead. To keep material stock from inflating, establish strict purchasing rules during sourcing.
Set preset purchase caps, such as "buying supplies for a maximum of X pieces per new design," or stick to a purchasing cycle where you buy new materials only after consuming a certain amount of existing stock. Buying materials without a clear purpose just because they are inexpensive is a cost waste that must be avoided at all costs.
For beginners wondering where to start, here is a detailed step-by-step guide on how I would handle inventory reduction.
Start by laying out all current finished goods and supplies on a table to conduct an inventory count. Facing the reality of how much stock you hold is the starting point.
Categorize items into "ready-to-ship finished goods," "semi-finished component parts," and "untouched raw materials," then write down the numbers in a notebook or smartphone app. Visualizing this makes it clear which items you've overproduced and which supplies have gone completely unused.
You don't need to convert every item to made-to-order all at once. Start with items that take very little time to make after an order arrives or items completed simply by assembling components.
Conversely, for resin pieces that require days to dry or complex creations involving intricate curing steps, it is safer to keep 1 or 2 finished items ready to ship. Balance made-to-order and ready-to-ship stock by considering your craft speed and specific technique requirements.
The most common mistake beginners make with made-to-order models is setting unrealistically short lead times. Setting an overly ambitious handling time like "ships in 1-2 days after payment" out of eagerness can lead to shipping delays if you fall ill or face sudden personal tasks.
Calculate a manageable production timeline and set a generous estimate at first, such as "ships within 5 to 7 business days (excluding weekends and holidays)." As long as lead times are stated clearly before purchase, customers will not be disappointed.
When using made-to-order or parts-stock approaches, there is one crucial point you must monitor: material stockouts.
Facing situations where an order comes in but main components are missing or discontinued by suppliers is a mistake that must be avoided at all costs. Always enforce a rule to maintain extra stock reserves for key components and essential findings.
If you already hold a massive pile of inventory, don't lose hope. Here are clever recovery ideas to help clear stock smoothly without lowering your brand value through simple price markdowns.
Items that moved slowly on their own can become highly attractive when combined with complementary pieces.
For example, offer special bundle prices such as an "earring and matching necklace set" or a "3-piece accessory bundle in matching color palettes." Creating limited-quantity "lucky bags" (grab bags) aligned with events like the New Year or shop anniversaries is also exceptionally effective.
If a finished item simply doesn't sell, take it apart and remake it using the components as supplies for new designs.
For beaded accessories, cut the cord or wire to reclaim the beads, then assemble them into updated designs that fit current trends. For fabric goods, remove and reuse cabochons or lace trims. Transforming unsold pieces into items that sell right now creates far more value than letting outdated designs sleep on shelves.
Using excess stock as promotional gifts for customers who spend over a certain amount is another great option.
Running promotional appreciation campaigns like "Free mini charm with orders over $XX" boosts customer satisfaction and average order value while clearing out excess inventory in a rewarding way. It prevents waste and serves as a fantastic hook to gain repeat customers.
In this guide, we explored concrete methods and practical tips for controlling handmade production to prevent excess inventory.
While the joy of creation is a vital driving force in handmade crafting, proper inventory control is essential for running a healthy, long-term sales operation. Instead of blindly crafting without a plan, aim for smart shop operations by adopting made-to-order models, parts stock systems, and semi-custom offerings.
Clearing out clutter and balancing crafting with sales brings wonderful relief to both your mindset and your workspace. That extra breathing room becomes the ultimate energy source for creating your next amazing work!
Please use this guide to test out inventory management techniques that fit your personal creative style.
If you found this article helpful, sharing it with friends on social media or messaging apps would make me super happy and encouraged!
See you in the next article! This was Yassy from Crafters!


For example, if you are looking for articles about mizuhiki, try searching for "mizuhiki"; if you are interested in tools, try keywords like "nippers" or "pliers."
