Beating Rising Material Costs: A Japanese Crafter’s Guide to Profit Calculation and Cost Control
yassy
Crafters!

Hello, this is Yassy from Crafters! (・∀・)
I love everything about handmade crafts—making my own pieces, admiring the incredible work of creators at craft markets and online shops, and buying items that make me say, "This is the one!" Because I know the pure joy of creating, the thrill of discovering new work, and the excitement of taking a piece home, I deeply appreciate the true worth of handmade creations.
However, nearly every beginner who starts selling their creations hits a massive wall: pricing. Every single day, I hear fellow makers worry: "I'm scared to set a high price on something I made," "If I don't make it super cheap, nobody will buy it," or "I have no idea how to calculate a fair price."
Let me say this clearly: please stop selling your work before you build confidence in your prices. Underpricing robs you of your passion and is the single biggest reason crafters burn out and quit. Your price is a fair and honest return on the time, energy, and skill you pour into every single item.
In this guide, I will share the exact pricing formula and practical strategies that allow beginners to set proper prices without hesitation. Instead of vague encouragement, you will learn a reliable, math-based formula and practical know-how you can use right away. By the end of this article, you will know exactly what your work is worth!
Most beginners struggle with pricing simply because their starting mindset is off. Before calculating numbers, let's look at three dangerous traps that crafters often fall into without realizing it. Understanding these will help clarify why setting prices felt so difficult in the first place.
You often see craft books or online articles claiming that your retail price should simply be "2 to 3 times your material costs." This is an urban legend, and it is fundamentally flawed. Please wipe this rule from your mind immediately.
Consider a pair of beaded earrings. Suppose the materials cost just ¥200. If you follow the "3 times materials" rule, you would sell them for ¥600. But what if it took you two full hours to make them? Subtract the ¥200 material cost from ¥600, and you are left with ¥400. Divide that by two hours of work, and your hourly wage is a mere ¥200. That is well below any minimum wage and borders on self-exploitation.
Conversely, imagine a necklace assembled in 15 minutes using luxurious natural gemstones where the raw materials cost ¥5,000. Multiplying by 3 puts the price at ¥15,000. Calculating a price solely based on material costs completely ignores production time and technical craftsmanship.
Do you ever tell yourself, "I'm just a beginner," or "This is just an extension of my hobby, so I shouldn't charge for labor"? When selling handmade goods, that modesty is a major mistake.
The time you spend designing, testing, and handcrafting an item has real value. Setting the value of your labor to zero means devaluing your own dedication and technique. A price that does not account for labor is not a business transaction—it is either volunteer work or paying out of your own pocket to give things away.
Never compare your handmade creations to mass-produced items sold by major retailers or inexpensive imported fashion accessories. It is equally dangerous to copy other beginner sellers who undercut everyone on marketplace platforms.
Large manufacturers achieve low prices because they purchase massive quantities of raw materials at bulk discounts and automate production lines in giant factories. An individual maker crafting pieces by hand cannot and should not compete in that same pricing arena. You are playing in entirely different leagues.
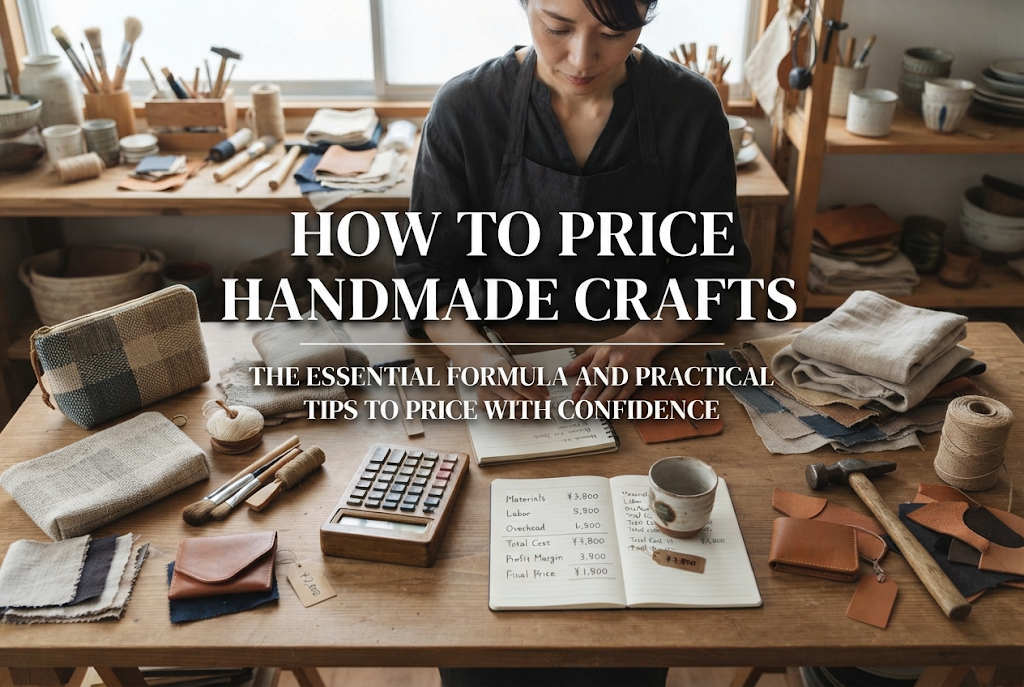
So, how should you determine a fair price? Never guess or rely on gut feeling. You calculate the price of a handmade piece using a concrete, structured formula:
Retail Price = Direct Costs (Materials + Packaging) + Labor (Production Time × Hourly Wage) + Profit (Investment in Your Future) + Platform / Processing Fees
Using this formula, anyone can calculate a fair, sustainable price backed by real numbers. Let's break down each element step by step.
Direct costs refer to all expenses incurred directly to produce a single item. If you estimate this loosely, you will end up in the red. Track everything down to the single yen (or cent).
For example, if you purchase 50 cm of fabric and produce two tote bags from it, half of that fabric cost goes into each bag. Consumables like sewing thread or glue that aren't depleted in a single build should still be calculated as an estimated cost—such as ¥30 per piece—and factored directly into your costs.
Next is labor cost: Production Time × Hourly Wage.
For beginners in Japan, a sensible baseline hourly wage is ¥1,000 to ¥1,200. You should never set your hourly rate lower than the local legal minimum wage where you live. As your skills advance, your production becomes faster, and the quality of your finish rises, you can step up your rate to ¥1,500, ¥2,000, or more.
Be mindful of what counts as "production time." It is not just the minutes spent actively assembling the piece. Consider:
If an item takes one hour to make and your hourly wage is set at ¥1,000, you must add ¥1,000 into the formula as labor.
Adding material costs and labor only brings you to break-even. Breaking even does not build a sustainable craft business. You need a dedicated profit margin.
Profit is your investment fund to ensure you can continue making work and providing higher quality pieces over the long term. With profit, you can upgrade your tools (like a higher-spec sewing machine or a reliable UV lamp), purchase new supplies, and absorb unexpected issues like ruined batches or return shipping.
A healthy profit target is between 20% and 30% of your combined costs (Direct Costs + Labor). Incorporating this margin turns crafting from an expensive hobby into a healthy creative venture.
Finally, remember platform fees. Whether you sell on platforms like minne, Creema, and Mercari, or use your own independent web store, platforms take roughly a 10% to 15% commission on each sale.
Once you calculate (Direct Costs + Labor + Profit), adjust your final listing price so that you still retain that full amount after marketplace fees are deducted.
To see how this works in practice, let's walk through three practical pricing examples across different craft categories. Seeing actual figures makes it clear why a calculated price is completely justifiable.
A structured cotton tote bag with interior pockets and careful edge-stitching.
First, sum direct costs and labor:Direct Costs (¥1,400) + Labor (¥2,000) = ¥3,400
Add a 25% profit margin for future fabric sourcing and sewing machine maintenance:¥3,400 × 1.25 = ¥4,250
Factor in an assumed 10% platform fee:¥4,250 ÷ 0.9 ≈ ¥4,722
Rounding to a clean figure gives a retail price of ¥4,800. You might instinctively worry that ¥4,800 is high for a fabric tote. But considering quality materials and two full hours of attentive craftsmanship, this is the exact fair price required to keep your studio open without running at a loss.
Delicate wire-wrapped earrings pairing natural gemstones with quality findings.
Direct Costs (¥950) + Labor (¥600) = ¥1,550Add 30% profit: ¥1,550 × 1.3 = ¥2,015Account for 10% platform fee: ¥2,015 ÷ 0.9 ≈ ¥2,238
Rounding off, a fair retail price is between ¥2,300 and ¥2,500. While this figure happens to be close to the old "material cost × 3" estimate, knowing the mathematical backing behind the number gives you genuine confidence when listing the item.
A multi-layered, polished clear resin piece embedding botanical specimens.
Direct Costs (¥500) + Labor (¥1,500) = ¥2,000Add 20% profit: ¥2,000 × 1.2 = ¥2,400Account for 10% platform fee: ¥2,400 ÷ 0.9 ≈ ¥2,666
Rounded off, the retail price is ¥2,700. Resin art involves hidden expenses like electricity for curing lamps and silicone mold degradation, making meticulous cost tracking essential.
Even after learning the formula, many beginners still panic at the last second, thinking, "What if people find it too expensive?" and slash their prices. Underpricing creates a vicious cycle. Here is what happens when you cut prices too low:
Lowering your prices might earn you a quick influx of orders. But fulfilling 10 or 20 orders when your labor pays only a few hundred yen per hour quickly turns your beloved craft into a grueling grind. You sacrifice sleep to finish pieces, only to realize there is virtually no money left once you restock materials.
When you start asking yourself, "Why am I working so hard just to stay broke?", your love for making crafts begins to vanish. This is the primary reason why aspiring makers give up.
When you offer extreme discounts, you attract shoppers who are motivated solely by low prices, rather than an appreciation for your aesthetics or attention to detail.
Unfortunately, bargain-first shoppers are often the quickest to complain over minor issues or demand unreasonable discounts. On the other hand, buyers who pay a fair price tend to respect your technique, value your creative vision, and send heartfelt messages of gratitude.
Starting cheap with the plan to "raise prices once I get popular" almost always fails. Customers attracted by cheap prices will often leave the moment you adjust to sustainable rates. Setting honest, fair prices right from the start is essential for building a lasting craft brand.
When you price your work fairly, a friend or casual browser might eventually say, "Isn't that a bit expensive for something handmade?" There is no reason to feel hurt by this.
Some people are perfectly content with a cup from a 100-yen shop, while others happily spend ¥5,000 on a handmade ceramic tea bowl crafted by an artisan potter. Value is subjective.
Anyone who looks at your work and calls it expensive does not appreciate the time, care, and distinct value of one-of-a-kind handmade creations. That person simply is not your customer. You never need to appeal to everyone. If you reach the right person—the one who understands your craft and loves what you do—your work will find its true home.
To help shoppers look at your fair price and think, "This is wonderful quality for the price, I want it!", your presentation needs to match the care you put into crafting. Speaking as someone who loves buying handmade goods, here is how you can present your items so customers feel entirely confident purchasing.
Listing an item as simply "Handmade Pouch" will not justify a premium price. You need to explain the thought and skill behind the piece in your listing copy:
Sharing details about material quality, intricate steps, and practical benefits gives buyers clear reasons to appreciate why your item is priced the way it is.
The moment an order arrives and is unwrapped sets the tone for how your customer perceives its worth.
If a beautiful handmade accessory is tossed loosely into a plain, flimsy paper envelope, it undermines the craft. Presenting it securely on a sturdy branded backing card, tucked neatly into a clear pouch, and accompanied by a thank-you note or tied with a simple ribbon completely transforms the experience. Aim for packaging that makes the recipient smile the moment they open the package.
When shopping online, buyers cannot touch or examine pieces in person. Your photography carries the weight of justifying your price.
A blurry photo taken under dim indoor lighting can make a ¥3,000 item look like a ¥500 bargain bin throwaway. Photograph your work in bright, indirect natural light. Capture sharp close-ups of neat stitches, smooth polished edges, and the sparkle of stones or hardware. Clear photos that accurately reflect scale and texture eliminate doubts and reassure buyers.
If you have already been selling your work and realize your prices are too low, you might wonder how to adjust them without alienating existing supporters. Here is how I approach price updates smoothly:
Never double your prices overnight without a word. Show respect for the community that supports you by following a transparent approach:
When price updates are handled with open communication and genuine reasoning, true supporters will continue cheering you on.
From core calculation formulas to handling feedback, pricing your handmade work comes down to this essential rule:
Retail Price = Direct Costs + Labor (Time × Wage) + Profit + Platform Fees
Please do not bypass this formula to rely on unsustainable discounts. The pieces you pour your heart, time, and creative energy into hold genuine worth. Charging a fair price is a sign of respect for your own craft, and it assures your buyers that you stand proudly behind the quality of what you create.
As someone who makes, browses, and buys handmade work with equal passion, I want nothing more than to see a thriving craft community where makers earn what they deserve and continue creating with a smile. Price your creations with confidence, and let them find the customers who will truly cherish them!
See you in the next article! This was Yassy from Crafters!



For example, if you are looking for articles about mizuhiki, try searching for "mizuhiki"; if you are interested in tools, try keywords like "nippers" or "pliers."
