Never Run Out of Social Media Content Ideas: A Guide for Handmade Artists
yassy
Crafters!

Hello crafters, it's Yassy from Crafters! (・∀・)
As someone who absolutely loves creating, admiring, and buying all kinds of handmade items, today I'm breaking down the critical photography mistakes you must avoid at all costs!
When selling your handmade items in an online shop or on social media, the very first thing potential customers see is without a doubt your photos. No matter how much incredible skill went into crafting your piece, if the photo isn't captivating, shoppers simply won't pause their scrolling. Getting passed by without even a tap is the harsh reality of online selling.
"I pour so much effort into making my pieces, but why aren't the orders coming in?" If that sounds familiar, the issue isn't the quality of your craft—it is entirely in how you photograph it.
In fact, sellers who struggle to make sales tend to fall into the exact same patterns of bad photography. Today, I have selected 10 common photography mistakes that beginners often make without realizing it, detailing why they hurt your shop and how to fix them. By the end of this guide, you will clearly see what needs adjusting in your shots and how to transform them into photos that actually sell!
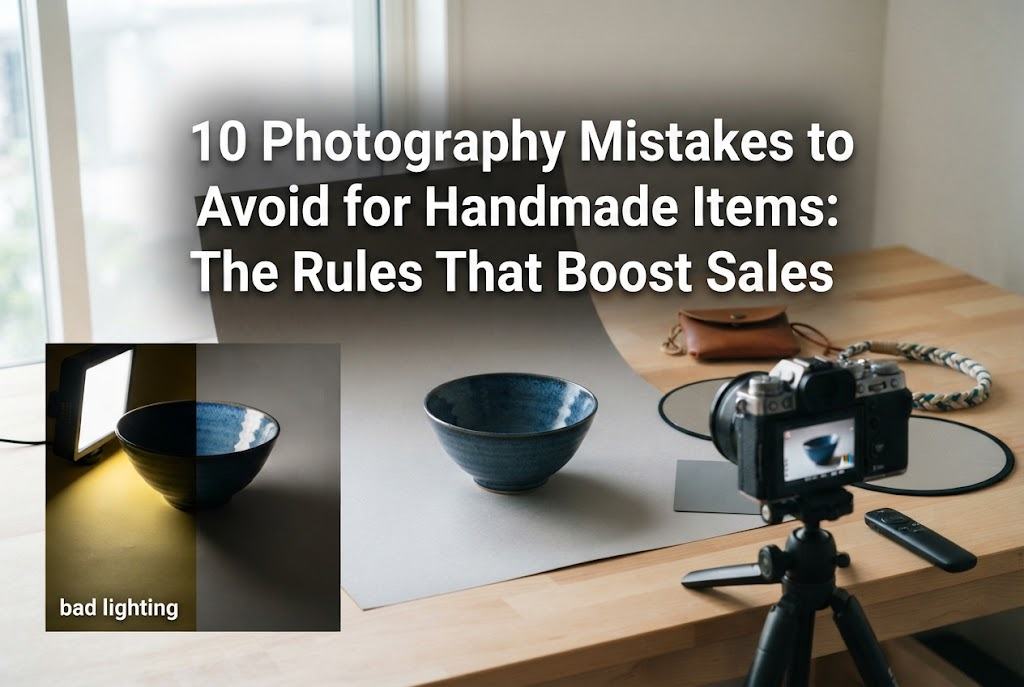
Lighting accounts for 90% of a good photograph. Handle your light poorly, and even the most beautiful handmade piece will end up looking cheap and gloomy. Let's look at three major mistakes involving light and shadow that you should never make.
The number one thing you must never do is shoot your items at night relying solely on an overhead room light.
Fluorescent ceiling fixtures cast harsh, direct light from above. This creates unnatural, dark shadows underneath your item and gives the entire image a cold, bluish tint, or alternatively an unattractive yellowish cast. Furthermore, indoor room lighting simply lacks the necessary brightness, causing smartphone cameras to compensate automatically, resulting in grainy, noisy photos with degraded image quality.
The only light that brings out the true beauty of handmade work is daytime natural light. Stop shooting under indoor ceiling lights right away.
You might think, "If sunlight is good, why not just place it right on a sunny windowsill in direct rays?" This is another big misconception.
Placing your work under intense, direct sunlight blows out the highlights, causing detailed textures and delicate colors to wash out completely. Moreover, the extreme brightness casts harsh, pitch-black shadows on the opposite side of the item.
Images with excessive contrast look harsh and glaring to the viewer, completely stripping away the delicate aesthetic and charm of your creation.
The golden rule is not direct sunlight, but diffused, gentle light achieved by drawing a sheer white lace curtain across the window.
Having a shadow from your own body or your phone falling directly over your piece is another absolute dealbreaker.
This mistake happens frequently when taking flat lay shots from directly above (overhead angles). Having uneven lighting where parts of the item are in shadow and parts are bright immediately screams "amateur photo taken carelessly."
It makes customers think your shop is unprofessional, so always check where the light is coming from and adjust your body position accordingly before pressing the shutter.
Your background and overall color palette represent your brand's aesthetic. If you neglect these elements, the perceived value of your work drops instantly.
Are you using your home's wood flooring, tatami mats, dining table, or closet doors as your photo backdrop? This is one of the biggest pitfalls in handmade sales.
The pronounced wood grain of floors or the woven patterns of tatami mats are visually distracting and overpower your item. Even worse, photos showing ordinary household surroundings instantly destroy the sense of specialness and excitement that handmade shoppers are looking for.
Customers do not want to buy an item that feels like it was just lying around someone's living space; they want the experience of purchasing a curated product from a sophisticated shop.
Always use a clean, dedicated photo styling board, a plain fabric backdrop, or seamless photography paper.
In an effort to hide household clutter, some sellers go to the other extreme by overcrowding the frame with colorful artificial flowers, decorative trinkets, or busy patterned fabrics. This is equally problematic.
The star of the photograph must always be your handmade creation. When props and backdrops are cluttered, it becomes unclear at first glance what is actually for sale.
Too much visual noise confuses the shopper's eye and causes cognitive strain. As a result, they will likely leave your listing before even looking at the details.
Props should only play a supporting role to complement the brand's aesthetic, never steal the spotlight. When in doubt, a simple white or beige background is your safest, most reliable choice.
Are you using camera app filters—like vintage tones or pink washes—to make your photos look stylish? Over-processing colors is a serious misstep in e-commerce.
Far more important than looking artistic is conveying the actual color of the physical item accurately.
When a photo is heavily filtered and diverges from the real product, it leads directly to complaints, negative reviews, and return requests from customers saying the color wasn't what they expected. This quickly damages your shop's reputation.
Skip the aesthetic filters entirely. Limit your editing to minor adjustments in brightness and contrast to match the physical item as closely as possible.
In online shopping, your photos serve as the customer's eyes. Because they cannot hold the item in their hands, your images must clearly communicate its structure and form.
Photos where the item is out of focus or where the camera accidentally locked onto the background instead of the product are out of the question.
A blurry photo looks like you are hiding flaws, creating significant doubt in the buyer's mind. It can make them wonder if there is a reason you aren't showing the details clearly.
When shooting on a smartphone, always tap the screen directly on your item to lock focus before snapping the photo. To eliminate camera shake when tapping the shutter, tuck your elbows firmly against your ribs or use a smartphone tripod.
Trying to make an item look cool with an exaggerated tilted angle or using an awkward perspective as your main listing photo is another common mistake.
Shooting from an extreme angle distorts perspective, making it difficult for viewers to understand the item's true proportions, height, and width.
This is especially confusing for dimensional items like pouches and bags, or accessories designed with symmetrical balance, leaving customers wondering what the item actually looks like straight on.
Your primary thumbnail image must be a clear, straightforward shot from the front that shows the entire shape accurately. Save creative angles and dynamic perspectives for your secondary gallery images.
The number of photos you provide and their visual consistency across a listing heavily impact your sales. Too few images or a chaotic mix of styles will drive potential buyers away.
Far too many shops list items with only one or two photos. Doing this is essentially throwing away sales opportunities.
When shopping online, the biggest fear buyers have is making a mistake on a purchase. With just a couple of photos, they cannot see what the back looks like, how the clasps or hardware are constructed, or how large it looks when worn or used.
Thoughts like "I can't see the back, so I won't buy it" or "I'm not sure of the size, so it feels risky" lead directly to abandoned purchases.
Aim for at least five images—ideally close to ten—covering the front, angled views, back, close-ups of details, in-use/worn styling, and a scale comparison held in a hand to address every possible customer question.
Having a bright white background for your first photo, a dark wood background for the second, and an outdoor shot for the third disrupts visual continuity.
A gallery with mismatched tones looks disorganized and can make shoppers question your professionalism. It also confuses them, leaving them wondering which image shows the actual color of the piece.
Shoot all photos for a single product listing during the same session, in the same spot, under the same lighting conditions to keep your tones perfectly consistent.
We've covered the major pitfalls in detail. If you realized that your current photos check several of these negative boxes, don't worry!
Photography issues can be corrected immediately once you know the proper workflow. Here are the three practical steps I personally use to take product photos from amateur to professional:
First, overhaul your shooting setup. Turn off all ceiling lights in the room and move near the window that receives the best natural daylight in your home.
The optimal window for shooting is between 10:00 AM and 2:00 PM on a clear or slightly overcast day. The light during these hours is steady and brings out the truest colors in your craft materials.
Be sure to pull a clean white sheer curtain across the window. Filtering the light through sheer fabric softens harsh rays into an even, flattering glow.
To brighten shadowed areas, prop up a piece of white foam board (easily found at dollar stores or craft shops) opposite the window to act as a reflector. This simple bounce board eliminates dark shadows, giving your work a clean, studio-lit appearance.
Next, reset your background completely.
To eliminate any household backdrop elements, prepare a dedicated photo styling board. You can easily craft your own for very little cost by applying white plaster-effect contact paper or pale gray wallpaper to thick cardboard or a lightweight wood panel.
Place your item on the board and shoot your primary listing photo with the product front and center, keeping the background entirely plain.
For your secondary shots, introduce clear visual comparisons so shoppers grasp the size instantly. For jewelry, show it held in a hand; for pouches, place a pen or smartphone beside it; for bags, show it worn over a shoulder.
This completely prevents post-purchase disappointment where a buyer feels the item was larger or smaller than expected.
Once you've captured your shots, do your final retouching. Avoid third-party filter apps with heavy presets, and instead use the default photo editing tools built into your smartphone.
You only need to adjust two parameters:
1. Brightness (Exposure): If the photo looks slightly dim despite natural light, bump up the brightness just enough so whites look crisp without washing out product details.
2. Color Temperature (Warmth): If the photo looks cold and blue, nudge it slightly toward warmer tones; if it appears overly yellow, shift it toward cooler tones. Your goal is to match what your eyes see in real life precisely.
By following these three steps, your photos will look noticeably clearer, cleaner, and ready to convert browsers into buyers.
Here is a quick recap of the 10 photography mistakes to avoid for handmade items:
What all these mistakes have in common is failing to look at the listing from the shopper's perspective.
Online shoppers cannot touch your creations or view them from every angle in person. That is why any image that causes confusion or uncertainty must be carefully eliminated.
You don't need an expensive, high-end camera to transform your photography; you only need the right foundational knowledge and a few mindful adjustments. With a smartphone, natural window light, and a clean background, anyone can take professional-looking product photos.
You poured your heart into creating a one-of-a-kind piece. It would be a true shame for it to be overlooked simply because of how it was photographed!
Tackle these points one by one and let the true quality, charm, and craftsmanship of your work shine straight through to your buyers. Once your photos improve, your listing views, favorites, and sales will follow!
If you found this guide helpful, please share it with your fellow makers on social media! Until next time, this is Yassy from Crafters!







For example, if you are looking for articles about mizuhiki, try searching for "mizuhiki"; if you are interested in tools, try keywords like "nippers" or "pliers."
