Japanese Mold Crafting: Jesmonite vs. Resin Complete Comparison & Selection Guide
yassy
Crafters!

Hello everyone, this is Yassy from CRAFTERS! (・∀・)
Just looking at the fluffy texture of wool fleece can be so soothing. Have you ever wanted to create your own adorable mascots or cute accessories? I am completely hooked on the charm of wool needle felting myself. I love poking away at my creations, admiring the work of talented crafters, and picking out colorful wool at craft supply shops!
Needle felting doesn't require complex sewing techniques or expensive equipment. It is a magical craft where wool gradually takes shape simply by poking it repeatedly with a specialized needle. However, many beginners hesitate, wondering where to start or worrying that it might be too difficult and lead to failure.
Here is my honest takeaway: if you want to start needle felting, don't overthink it! Grab a starter kit or basic tools online—on places like Amazon—and jump right in. In this article, I will explain everything you need to know to succeed as a beginner, including basic mechanisms, essential tools, how to choose the best kit, and practical techniques to make your projects look beautiful.
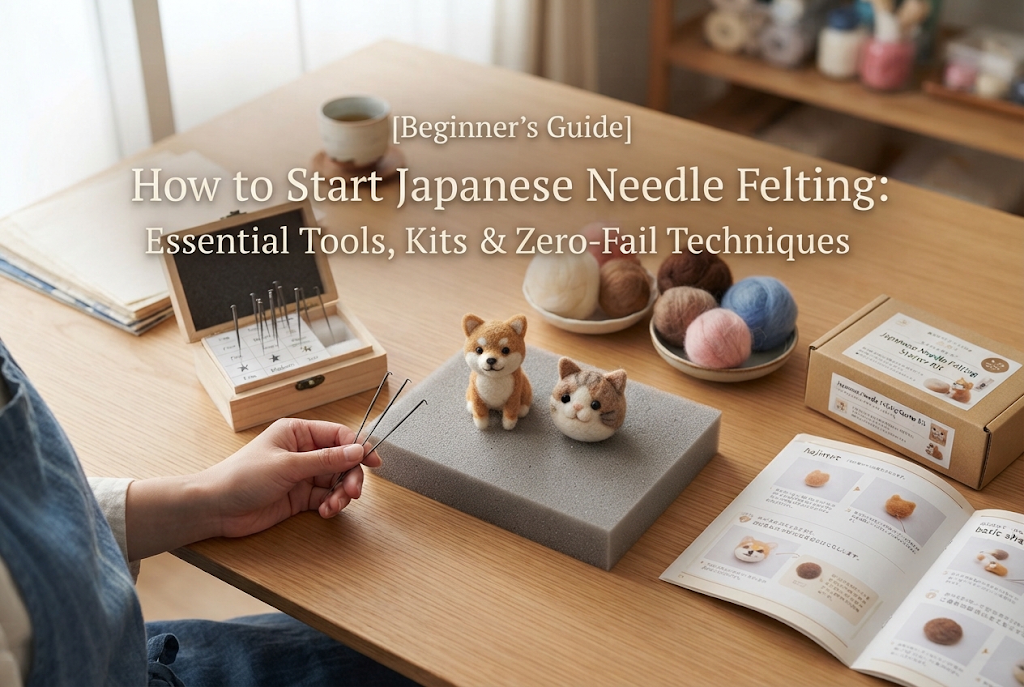
Needle felting is a handmade craft where you poke raw wool fibers with a notched needle (a felting needle) to tangle the fibers together, sculpting them into various shapes. There is no thread, sewing needle, or stitching involved. With just one specialized needle, you can freely create everything from flat two-dimensional designs to 3D miniature animals and food mascots.
Based on my own experience, here are three clear reasons why this craft captivates so many people:
In many other craft genres, you need pricey equipment such as sewing machines, UV resin lights, or specialized tools. Needle felting, on the other hand, only requires three basics: a felting needle, a felting mat, and wool fiber. You can easily start today with a modest budget.
With sewing, once you cut the fabric, you cannot undo it. With resin crafting, once it hardens, fixing a mistake is virtually impossible. But with needle felting, if your shape turns out too small or lopsided, you can simply wrap a bit more wool over the top and poke it into place. The risk of ultimate failure is nearly zero, making it exceptionally beginner-friendly.
Poking wool at a steady rhythm sharpens your focus surprisingly well. Moving your hands mindfully while forgetting daily stress offers fantastic relaxation. The process of watching a loose cloud of fluffy wool gradually turn into a solid, three-dimensional piece right in your hands is deeply rewarding once you experience it.
Before jumping in, it helps to understand the mechanism behind needle felting. Wool hardening isn't magic; it relies on scientific fiber entanglement.
Wool fibers have microscopic scale-like structures on their surface. Specialized felting needles feature tiny notches called "barbs" near the tip. As you push the needle in and pull it out, these barbs catch the scales on the wool fibers, causing them to tangle tightly together until the wool becomes firm.
Without understanding this basic concept, beginners might face problems like poking endlessly without the shape hardening, or over-poking until it becomes rock-hard and impossible for the needle to pass through.
While needle felting is straightforward, starting without any background knowledge can lead to a few frustrating hurdles:
Fortunately, every single one of these problems can be avoided completely by selecting the right tools and using proper techniques.
The tools required for needle felting are delightfully minimal. While basic items are available at 100-yen shops in Japan, I strongly recommend getting high-quality tools from established craft manufacturers or buying a starter kit online, as tool quality drastically affects the finish and comfort of your work.
Here are the four essential items you need:
This is the single most important tool for compressing wool. Its structure is entirely different from a standard hand-sewing needle. Felting needles come in various gauges, such as heavy/coarse, medium, and fine/ultra-fine.
As a beginner, start with a versatile medium needle. Use the medium needle to shape the overall form quickly, and switch to a fine needle to smooth out surface fuzz. Having a multi-needle tool (where multiple needles are set into a single handle) also makes building the base for larger projects significantly faster.
A felting mat acts as a protective base so you don't scratch your table or break needle tips while poking. Mats are primarily made of dense foam or brush bases.
For beginners, high-density foam mats offer the best balance of affordability and performance. As you use a foam mat, the center will eventually dent or collect wool fibers, so cleaning the surface or replacing it periodically is standard practice among crafters.
This is the colorful raw material for your projects. Wool comes in different types, such as raw merino wool tops or specialized core wool (often called needle watawata in Japan, which has a fluffy cotton-candy-like texture).
Merino wool features vibrant colors and a soft feel, making it ideal for the outer surface of your work. On the other hand, using dedicated core wool for the inside speeds up project time dramatically because it compresses in half the time.
If there is one item beginners shouldn't skip, it is a pair of leather finger guards. When holding wool with your left hand and poking with your right, poking your fingers is almost inevitable at first. Wearing leather guards on your thumb and index finger eliminates the fear of injury, allowing you to focus calmly on your work.
If you're wondering where to start, here is my definitive advice: rather than hunting for individual tools and materials separately, pick up a complete Needle Felting Starter Kit from an online craft retailer or Amazon.
Buying items individually can be overwhelming—it is hard to know which needle size or wool type is right, and you end up spending unnecessary time and shipping costs before you even get started.
Here are three major benefits of choosing a starter kit:
Once you get your starter kit, it is time to make something! But beware of a common trap many beginners fall into: trying to make a complex, realistic 3D animal (like a detailed dog or cat) on their very first try.
It is completely understandable to look at cute animal photos on kit boxes and want to jump right into them. However, connecting small parts like ears and limbs, as well as sculpting complex facial features, is quite challenging and often leads to frustration.
Here are three mistake-proof project themes I recommend starting with instead:
The foundation of all needle felting is the sphere. Once you master making a neat round ball, you can add facial features to create cute animal faces, or string multiple balls together for coasters and hair ties. First, get a feel for wrapping and compressing wool into a firm shape.
This technique uses cookie cutters placed on top of a felting mat. You simply pack wool inside the cutter and poke from above. Shapes like stars, hearts, and flowers turn out perfectly aligned with the mold. Adding a pin back turns them into stylish, wearable brooches.
If you really want to make a 3D mascot, choose an integrated shape like a Daruma doll or a simple oval body shape where the head and torso are one piece. Selecting simple forms without separate, delicate limbs is the fastest route to success.
Here is the practical step-by-step process for making a project, along with professional tips to elevate your craft quality:
Take an appropriate amount of wool. Instead of cutting wool with scissors, pull it apart gently with both hands. Pulled ends blend much more naturally.
Roll the wool tightly to squeeze out excess air, then poke the end with your needle to secure it. Using base core wool (like Japanese needle watawata) at this stage compresses twice as fast as regular wool, saving you lots of effort.
The golden rule of needle felting is: Insert straight, pull out straight at the exact same angle. If you try to lever or bend the needle while pulling it out, the needle tip will snap off inside your piece.
Furthermore, deep pokes harden the interior, while shallow pokes smooth out the surface. Poke deeply at the beginning to firm up the core, and poke shallowly near the end to create a neat surface finish.
A common issue beginners face is a fuzzy or untidy surface. To achieve a smooth, polished look like store-bought felt crafts, switch to an ultra-fine needle during the final stage and poke shallowly and densely over the entire piece.
For remaining stubborn stray fibers, don't try to force them in with the needle. Instead, trim them off flush with small thread-cutting scissors. This simple trick makes your work look amazingly refined!
When joining a head to a body or attaching ears to a face, the key secret is to leave the wool fluffy at the attachment point. If both parts are hard and fully felted, they will not fuse together easily.
Place the fluffy end against the main body and poke diagonally across the boundary repeatedly. The loose fibers will tangle firmly into the base, creating a seamless connection.
Every crafter encounters small setbacks along the way. Here are four common problems and their solutions:
Cause: You haven't poked it enough times, or you used too much wool at once.Solution: Needle felting requires hundreds or thousands of pokes. If it isn't hardening, switch to a medium or coarse needle and poke deeper and more frequently. With patience, the fibers will compress into a firm shape.
Cause: Over-poking caused the wool to over-condense.Solution: Don't throw it away! Simply wrap a small amount of new wool over the shrunken piece and poke it into place. Wool is an additive material—you can always build it up again.
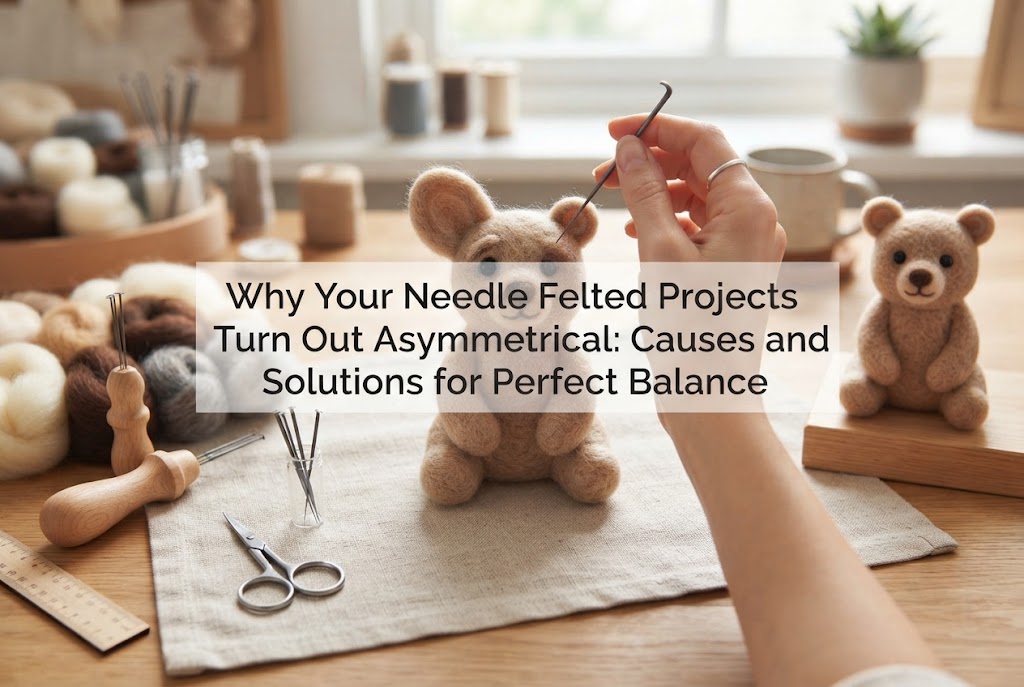
Cause: You were poking only one spot continuously.Solution: Get into the habit of rotating your piece in your hands while poking evenly all around. If one side gets dented, add a small tuft of wool to build it back up, or poke the protruding side to pull it in.
Cause: The needle was bent or subjected to sideways pressure.Solution: If a broken piece protrudes, carefully remove it with pliers. If it is completely buried inside, discard the piece or carefully dig it out with tweezers to prevent injury. To avoid breaking needles, work at a steady pace and avoid inserting at unnatural angles.
In Japan, 100-yen budget shops offer plenty of needle felting supplies. You might wonder if 100-yen tools are enough. Here is my perspective as a craft writer on how to smartly balance budget items and quality tools:
Great items to buy at 100-yen / budget shops:
Items you should buy from professional craft brands or quality online kits:
Budget needles often feel heavy to poke with and have inconsistent barbs that catch wool poorly. Cheap foam mats wear down quickly, crumbling bits of foam into your wool. Investing in decent needles and mats directly affects the quality of your finished work and prevents unnecessary frustration.
Once you get used to basic spheres and simple mascots, try these fun ideas to take your creations to the next level!
While felted wool eyes have a charm of their own, using commercial plastic craft eyes (called sashi-me in Japan) gives your mascots an instantly polished, expressive look. Simply make a hole with an awl, add a dab of craft glue, and insert the eye peg.
Apply a tiny amount of powder blush or scraped soft pastel to your mascot's cheeks using a cotton swab. A soft pink glow adds life, depth, and charm to cute animal faces.
Crafting is most fun when you can use or wear what you make. Attach jump rings or eye pins to make keychains and bag charms, or glue felted motifs onto hair ties and magnets. Many popular sellers on Japanese craft marketplaces like minne and Creema specialize in practical daily accessories like these. They make wonderful handmade gifts for friends too!
If you've read this far, you already have all the theoretical knowledge you need to start needle felting. Now, all that's left is to move your hands and enjoy the process!
Here is your simple action plan:
That's it! The moment your first round wool ball hardens in your hands, you will fall in love with the unique tactile sensation of needle felting.
Handmade crafts aren't just about making things perfectly. The mindful time spent listening to the soft crunch of the needle while creating something out of fluffy wool enriches your everyday life.
Needle felting requires no sewing thread or machines—just a single needle to turn loose wool into endless shapes. Because any mistake can be fixed simply by adding more wool, it is one of the most forgiving, enjoyable crafts for beginners.
Grab a starter kit online, open the box, and start by sculpting a simple ball. Experience the joy of creating a sweet, one-of-a-kind handmade creation with your own hands!
If you enjoyed this guide, please share it with your crafting friends on social media. See you in the next article! This was Yassy from CRAFTERS!



For example, if you are looking for articles about mizuhiki, try searching for "mizuhiki"; if you are interested in tools, try keywords like "nippers" or "pliers."
