Types of Japanese Needle Felting Wool: A Complete Material Guide to Elevate Your Craft
yassy
Crafters!

Hello, everyone! It’s Yassy from Crafters! (・∀・)
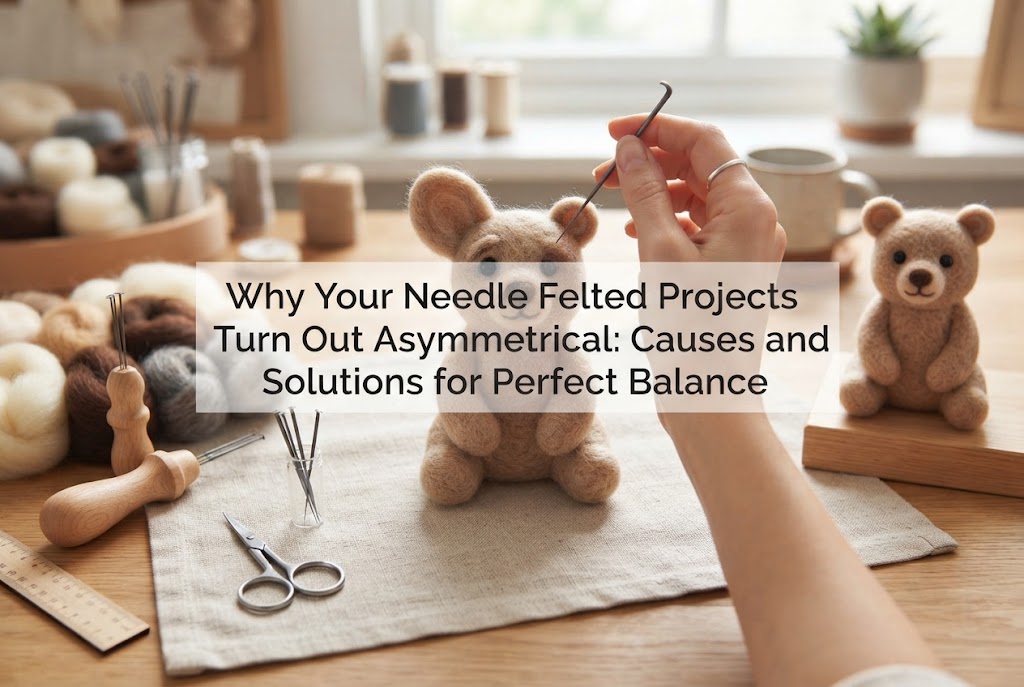
Have you ever encountered the frustrating problem where, when needle felting an animal face or a cute mascot, one ear ends up noticeably larger than the other, or the cheeks look uneven? You intended to make both sides identical, but once finished, the whole piece looks warped and asymmetrical. This is one of the most common hurdles that needle felting beginners face.
Unlike clay or woven fabrics, wool roving is a unique medium where the size and density change continuously depending on how many times and how deeply you poke it with a felting needle. Because of this, relying purely on visual estimation or intuition almost always leads to discrepancies in shape and size between the left and right sides. However, asymmetry doesn't happen by chance—it has clear, identifiable causes. By understanding these reasons and introducing a few practical adjustments to your process, anyone can create beautifully balanced projects.
In this guide, I will thoroughly explain the root causes of asymmetry in needle felting, share practical techniques to make matching pairs, and show you how to fix mistakes if things go off-balance. Let’s overcome the struggle with asymmetry and elevate your needle felting skills!
When parts turn out uneven, the underlying issue is almost always hidden somewhere in your workflow. Take a look at these five common causes to see which one might be affecting your work.
When making pairs like ears, arms, or legs, do you tear off wool by eye, thinking, "This looks about the same size"? Wool fibers trap a lot of air, meaning visual volume rarely matches actual weight and fiber density. If one clump is rolled loosely while the other is torn tightly, they will contain entirely different amounts of wool even if they appear identical in size.
If the starting amount of wool is different, no matter how many times you stab each piece with the needle, they will never end up the same size. Estimating wool purely by sight is the single biggest cause of asymmetry.
Be careful if you tend to felt the right ear completely to its final firmness before even starting on the left ear. Your hand pressure, muscle fatigue, and tactile perception shift constantly over time.
It is virtually impossible to remember the exact stabbing force and felt density from the first piece when you start working on the second. Completing one part entirely before making its pair is a major factor behind size and firmness discrepancies.
Needle felting works by catching fibers on the tiny barbs of the needle to tangle and compress them. Consequently, whether you insert the needle vertically or at an angle, and whether you stab deeply into the core or lightly on the surface, dramatically changes how the wool shrinks.
Due to dominant hand habits and posture, many crafters naturally stab at different angles when working on the right versus the left side. Varying depths and angles cause uneven compaction and surface texture, resulting in an asymmetrical shape.
Do you leave your project flat on the table and felt while looking at it only from directly above or straight from the front? When your viewing angle is fixed, you won't notice distortions developing on the back, sides, or from a three-quarter angle.
A piece might look great from the front, but viewing it from the side might reveal that one side protrudes or tilts unexpectedly. Working without holding and rotating the piece in 3D space allows distortions to accumulate unnoticed.
Another common scenario is that the base shape (the head or body) is already uneven before attaching the eyes or ears. If the foundation is lopsided, no matter how precisely you craft the ears, they will look asymmetrical the moment you attach them.
Placing features onto a base with a skewed center axis creates differences in height and depth between the left and right sides. Before blaming the individual parts, check whether the base sphere or core shape is truly symmetrical.
To eliminate asymmetry, you need to rely less on intuition and more on objective measurements. Here are the essential preparation rules you should follow before shaping your parts.
The absolute foundation for creating identical parts is using the exact same weight of wool. Stop tearing wool by eye and start using a digital scale that measures in 0.1-gram increments.
For example, when making rabbit ears, weigh out precisely 0.3g for the right ear and 0.3g for the left ear. This simple step dramatically increases the likelihood that your finished parts will have matching volume. Beginners especially should never skip this step.
Once weighed, gently pull apart the two clumps of wool by hand, crossing the fibers vertically and horizontally to loosen them up. If one clump remains a compact bundle while the other is spread out and fluffy, they will shrink at different rates when felted.
Bringing both wool clumps to the same density and fluffiness before you begin rolling them is the secret to achieving consistent firmness.
Instead of finishing one part and then making the other, work on both parts back and forth in small, parallel steps.
For instance, roll the right part lightly and stab it 10 times, then roll the left part and stab it 10 times. Next, shape the outline of the right part slightly, and immediately do the same to the left part with the same hand pressure. Moving back and forth between both pieces in short intervals minimizes deviations in stabbing angle and force.
Once your preparations are complete, you can begin felting. Here are specific techniques to maintain perfect balance while shaping your pieces.
Rather than guessing, use a ruler, calipers, or a cardstock template. Draw the desired outline of an ear or limb on clear plastic or thick paper and cut it out.
Place your work-in-progress parts over the template frequently to check whether the length, width, and thickness match your target size. Using calipers allows you to measure thickness and width down to the millimeter, completely eliminating visual misjudgments.
The more you needle-felt wool, the smaller and firmer it becomes. Even if two parts look the same size, if one is soft and the other is hard, the difference will become obvious over time or when touched once attached to the project.
Pinch each part between your fingers to check its elasticity and ensure both sides have identical firmness. If one side is softer, continue stabbing deeply until it matches the firmer piece.
While shaping parts or placing them on a base, hold the piece in your hand and rotate it 360 degrees to observe it from every angle.
An even more powerful trick is to hold the piece up to a mirror or take a photo with your smartphone. The human brain tends to adapt to familiar shapes and automatically corrects minor flaws, creating an optical illusion that everything looks fine. Viewing your piece in a mirror or on a screen resets this mental bias, instantly revealing issues like a lowered right side or an overly puffed left cheek.
Here is the exact method I use in my own crafting to ensure facial features are placed with complete symmetry. It’s a simple routine, but it makes a dramatic difference in the finished quality!
Whenever I position facial features or animal parts, I always use a generous number of sewing pins for temporary positioning and alignment.
First, I place a single pin at the very center of the base head where the nose will go. From there, I create a center axis dividing the face from the top of the head down to the chin, either by laying a piece of thread or using a line of pins.
Next, I mark the eye positions and the base of each ear using color-coded pins. At this stage, I use a ruler to measure the exact distance in millimeters: "How many millimeters from the center axis to the right eye? How many to the left eye?"
Instead of felting parts directly onto the base right away, I pin them firmly in place and thoroughly inspect the head from four angles: front, top, side, and bottom. Taking the time to do this careful setup completely prevents the dreaded realization: "Oh no, it’s completely crooked!" after everything is already attached.
Even if you craft two identical individual parts, improper attachment to the base can instantly ruin the symmetry. Keep these two attachment tips in mind.
When attaching ears or limbs, leave the base of the part loose and unfelted (fluffy) so these fibers can be felted into the core base.
If the length or volume of this loose wool differs between the left and right parts, the depth to which each part sinks into the base will vary. As a result, one ear might appear shorter or one leg longer. Make sure both parts have an equal amount of loose wool left at their attachment points.
When attaching cat ears, for example, if you tilt the right ear slightly outward and attach the left ear more vertically, the silhouette will be asymmetrical even if the ears themselves are identical.
You must match both the outward angle from the front and the forward tilt from the side profile. Hold the part firmly in place with one hand and verify that both angles are symmetrical before securing it with your needle.
If you realize your project is already uneven after attaching parts, don't worry! Needle felting is a forgiving medium that allows for plenty of adjustments. Try these rescue techniques:
If one cheek or ear is smaller, take a very small amount of well-fluffed wool, layer it over the smaller area, and felt it lightly onto the surface.
Adding too much wool at once will make that side too large and difficult to control. The key to successful additive correction is building up paper-thin veils of wool one pinch at a time.
Conversely, if one side is too large or bulges too much, stab that specific area deeply and repeatedly with a fine needle. Because wool compresses as it is felted, this will shrink the area down.
By inserting the needle deeply and vertically into the exact spot you want to reduce, you can tighten and shrink the shape without trimming away any wool.
If inserted plastic safety eyes or felted eyes look uneven, adjust the recessed depth around the eye sockets.
Stabbing deeply along the edges of the eye that protrudes too far will pull it inward, matching the depth of the other side. If an eye needs to be relocated entirely, it is best to pull the eye component out, fill the old hole with fresh wool, felt it smooth, and pierce a new hole in the correct position using an awl.
Here are several essential tools that significantly reduce asymmetry issues. Relying on good tools reduces crafting stress and lowers your error rate.
We’ve covered the key causes of asymmetry in needle felting and the practical techniques you can use to prevent and correct them.
Let’s quickly review the main rules for balanced felting:
Needle felting can feel challenging when guided solely by intuition, but simply following the rules of measuring, using guides, and checking your piece objectively will dramatically improve your results.
You don't have to aim for 100% mechanical symmetry from day one. Slight variations and natural quirks give handmade crafts their warmth and charm. However, being able to create balanced shapes exactly as you envision them will make your crafting journey far more enjoyable!
Give these techniques a try on your next project and create a balanced piece you can proudly show off!
If you found this article helpful, sharing it with your fellow crafters on social media would mean the world to me!
See you in the next post! This was Yassy from Crafters!



For example, if you are looking for articles about mizuhiki, try searching for "mizuhiki"; if you are interested in tools, try keywords like "nippers" or "pliers."
