Prevent Dangerous Epoxy Resin Overheating: The Science of Exothermic Heat and How to Control It Safely
yassy
Crafters!

Hello, everyone! It’s Yassy from Crafters! (・∀・)
From intricate kirie (paper cutting) and paper models to collages and handmade paper accessories, working with paper is an absolute joy. I love creating handmade pieces that showcase the rich textures of paper, and I also treasure collecting beautiful works created by other talented artisans.
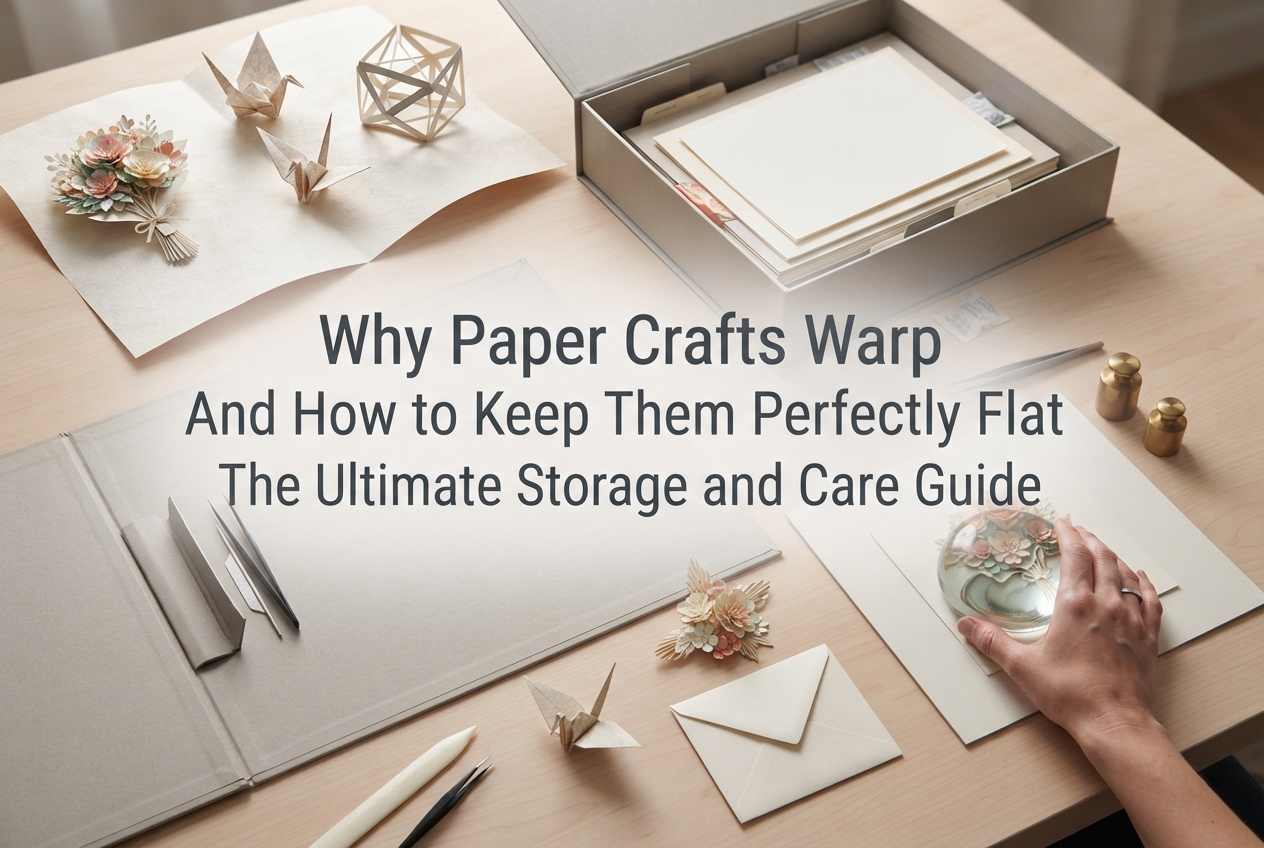
However, anyone who works with paper crafts inevitably faces one major headache: paper warping and distortion. It can be heartbreaking to watch a piece you poured your heart into—or a cherished paper artwork you purchased—begin to curl and bend along the edges over time.
There are clear scientific reasons why paper warps. With proper knowledge and the right storage environment, you can prevent warping completely. In this guide, I will share comprehensive storage and preservation techniques to keep your paper crafts as flat and pristine as the day they were finished or acquired. Drawing from my hands-on experience, I’ll cover everything from common beginner mistakes to humidity-control routines practiced by pros.
To stop paper from curling, you first need to understand the mechanics behind it. Protective measures won’t work well if you don’t know what causes the issue. In general, paper warps due to three main factors:
Paper consists primarily of plant-based cellulose fibers, which absorb moisture very easily. When surrounding humidity rises, paper absorbs moisture and expands. When the air dries out, it releases moisture and shrinks. If the front and back surfaces of a paper sheet are exposed to air or absorb moisture at different rates, one side will expand or contract more than the other, causing the sheet to curl significantly.
Paper crafting and collage work often involve wet mediums like wood glue or paints. When these liquids penetrate the paper and begin to evaporate, the fibers in the wetted areas pull tightly together. Applying adhesive to only one side of a sheet pulls that surface inward with considerable tension, resulting in a distinct curve toward the glued side.
During manufacturing, fibers naturally align in a specific direction, known as the paper grain. There are two primary grain orientations: long grain (fibers running parallel to the long side) and short grain (fibers running parallel to the short side). When paper absorbs moisture, it expands predominantly across the grain (perpendicular to fiber alignment). If you craft or store paper without accounting for this structural grain, stress distributes unevenly and produces pronounced curling.
Preventing warping begins the second your piece is assembled. If paper is dried incorrectly right after completion, it develops a warped memory that is remarkably difficult to correct later on.
Never leave a paper piece that uses glue or paint to air-dry uncovered on your desk. Letting it dry freely almost guarantees that it will warp. Instead, apply direct, even downward pressure right after applying moisture using the "sandwich press method."
Here is the exact procedure:
The smooth parchment paper directly touching the project prevents any stray glue from sticking to surrounding layers or weights. Meanwhile, the absorbent towels on both sides draw out moisture uniformly, ensuring the paper dries at an even pace.
If your weight is too light, the curling won’t be held down. If it is too heavy, delicate relief details and surface textures may be crushed. For flat works like greeting cards, kirie, or illustrations, an evenly distributed weight of 1 to 2 kg (roughly 2 to 4.5 lbs) is ideal.
Keep the piece under weight for at least 24 hours. If you used watercolor washes or a substantial amount of glue, extend this to 48 hours or more. The most frequent mistake beginners make is removing the weight after half a day because the surface feels dry. If moisture remains trapped inside the core fibers, warping begins the moment the weight is lifted. Keeping the piece pressed until it is completely dry through to the center is crucial.
Leaving completed paper crafts or purchased paper goods exposed to open air in your room is risky. Seasonal shifts in humidity are the arch-nemesis of paper. Establishing a controlled environment is key to maintaining crisp, flat paper.
The optimal environment for paper storage is a relative humidity between 45% and 55% and a temperature of 18°C to 25°C (64°F to 77°F). When humidity climbs past 60%, paper absorbs moisture rapidly, increasing the risk of both warping and mold growth. Conversely, when humidity drops below 40%, paper loses too much moisture, becomes brittle, and begins to ripple along the edges. Keep a digital thermo-hygrometer in your room to monitor real-time conditions rather than relying on guesswork.
When storing or displaying paper crafts, strictly avoid the following spots:
Drafts from heating or cooling units rapidly dry out only the exposed side of a piece, triggering harsh warping. Sunlight not only causes color fading via ultraviolet rays, but its radiant heat also upsets the moisture balance within the paper, resulting in permanent distortion. Always pick shaded walls and shelves away from direct sun exposure.
In addition to room adjustments, creating an isolated barrier between your paper craft and ambient air is essential. Here are the tools and methods I rely on to keep paper crafts in top condition:
As soon as a piece is finished or acquired, do not leave it bare. Slide it into an OPP (oriented polypropylene) bag sized neatly to the artwork. OPP bags offer excellent moisture resistance and act as the first protective barrier against room humidity fluctuations. Rather than resealable zipper bags, I recommend using thick OPP sleeves with adhesive strips (at least 0.04 mm thickness), pressing out excess air before sealing.
When storing works inside sealed containers or binders, include silica gel packets. However, avoid two critical errors: never use aggressive quicklime (calcium oxide) desiccants, and never place desiccant packets in direct contact with the paper artwork itself. Over-drying pulls out too much moisture, causing the paper to cockle. For B5 to A4-sized storage boxes, one or two small 5g silica gel packets tucked into container corners or behind folder pockets provide plenty of protection.
For flexible paper art or thin cutouts, place a rigid backing board inside the OPP sleeve behind the piece. It is essential to use acid-free materials here. Backing with standard acidic cardboard or untreated wood-pulp board causes acid migration over time, resulting in yellowing and fiber breakdown. Using an acid-free backing board—such as archival illustration board or acid-free cartonnage board cut slightly larger than the artwork—shields the piece from physical creasing and warping simultaneously.
If you have many pieces, store them in portfolios with heavyweight plastic sleeves or horizontal art binders designed for prints. When using storage boxes, select rigid, sealable plastic cases or horizontal file drawers. Cardboard storage boxes absorb moisture from the surrounding air, making them unsuitable for long-term archival preservation.
Never store paper art vertically on a shelf like books. Over time, gravity pulls the paper downward, causing it to sag under its own weight and take on a permanent curl. The absolute golden rule for paper storage is to lay it flat horizontally. Stacking works flat creates a natural, gentle downward pressure that physically prevents curl from developing.
Many crafters note that while their paper stays flat in horizontal storage, it begins to buckle the moment it is hung on a wall. With a few professional framing habits, you can keep your framed paper crafts perfectly flat.
Placing paper artwork directly against the frame's acrylic or glass pane is a common mistake. Where the paper contacts the glass versus where it does not creates uneven moisture pathways, causing severe ripples. Always incorporate a 1.5 mm to 2 mm thick acid-free mat board to create a buffer space between the art and the glazing. The mat board holds down the edges gently while maintaining an even air layer across the surface, keeping the paper steady.
Some people tape all four edges of a paper piece to the backing board in an attempt to keep it flat. This often backfires. When paper is constrained on all sides, any moisture-induced expansion has nowhere to escape, forcing the center to bulge forward like a dome.
Instead, mount the artwork using a T-hinge (or top-edge suspension) at just two points along the upper edge. Always use reversible, acid-free archival mounting tape (such as water-activated linen tape or acid-free museum tape). Never use standard cellophane tape or masking tape, which deteriorate within years and leave dark, oily residues that ruin paper. By hanging the artwork from the top only, the paper can expand and contract naturally downward without developing surface distortion.
If the frame’s backing panel is made of thin plywood or flimsy cardboard, the panel itself will warp with room humidity. Choose frames with dense MDF backings or rigid composite panels. If there is any looseness inside the frame assembly, insert an extra sheet of acid-free board behind the artwork and tighten the frame clips securely so pressure is applied evenly across the entire surface.
If you have a favorite paper craft that has already curled, you don't have to give up on it. Mild to moderate warping can often be restored to a flat state using careful moisture-and-heat pressing. Here is the gentle restoration method I use regularly.
Proceed with caution; adding too much water can permanently damage the paper.
This sequence allows the paper fibers to relax under warmth and pressure, then recrystallize into a flat plane as they cool under direct compression.
If you make paper goods or sell handmade crafts, designing warping resistance into your initial workflow ensures pieces arrive and stay flat for your recipients.
Standard polyvinyl acetate (PVA) craft glues contain around 50% water, making them the leading cause of warping during assembly. To prevent tension from wet glue, consider these alternatives:
If you must use standard craft glue, spread it with a spatula in a micro-thin, even layer rather than squeezing thick beads directly from the bottle.
For kirie, watercolor illustrations, or layered collages where heavy work is applied to one face, laminating a backing sheet of equivalent paper weight to the reverse side (a technique related to traditional Japanese urauchi paper backing) balances surface pull. With equal tension applied to both faces, the curling forces cancel each other out. Make sure your backing sheet is acid-free and shares a similar weight to the front paper.
When bonding multiple paper layers together, keep the grain directions parallel. If the base paper runs long-grain while an overlay runs short-grain, they will expand and contract in opposing directions whenever humidity shifts, creating stubborn diagonal twists that are nearly impossible to flatten. You can find the grain by gently bending a sheet in both directions; the direction that offers the least resistance is parallel to the grain. Check your sheets before cutting.
Paper warping is not a matter of bad luck; it is a physical reaction dictated by moisture, pressure, and fiber structure. Because the causes are scientific, preventing them is entirely achievable.
Remember these core rules:
By applying these preservation habits, you can keep both your own creations and collected paper works as flat and striking as the moment they were completed. Happy crafting, and see you in the next article! — Yassy


For example, if you are looking for articles about mizuhiki, try searching for "mizuhiki"; if you are interested in tools, try keywords like "nippers" or "pliers."
