A Crafter’s Guide to Wood Adhesives: Types, Characteristics, and Pro Clamping Techniques
yassy
Crafters!


Hello! This is Yassy from Crafters! (・∀・)
Are you having fun working on your fabric and sewing projects? I absolutely love fabric crafts—whenever I see beautiful cotton or linen prints in shops, I can't resist buying them. I also love admiring and purchasing handmade fabric bags and pouches from independent makers at craft markets and online shops. Naturally, I spend nearly every day running my sewing machine and hand-stitching small goods.
Many makers start their sewing journey with inexpensive starter kits or sewing sets from 100-yen shops. However, after finishing a few projects, you almost inevitably hit a wall: seams look slightly crooked, the edges lack crispness, or raw fabric fraying looks messy. In fact, 90% of these frustrations are not caused by a lack of skill, but by the physical limitations of your beginner tools!
Starter kit tools are designed purely for budget-friendly introductory experiences. In fabric crafting, the finished quality of your project is directly tied to the quality of the tools you use. By upgrading to professional-grade tools in the right sequence, your cutting precision, stitch neatness, and the three-dimensional structure of your pieces will improve dramatically.
In this guide, I'll explain the definitive upgrade order to elevate your fabric and sewing projects to a professional finish, detailing the common pitfalls beginners face and the exact tools I arrived at through years of hands-on experience.
Fabric is naturally flexible and shifts easily, meaning a discrepancy of just a single millimeter during preparation can result in noticeable distortion in the finished piece.
The shears and rulers included in basic starter kits prioritize low cost over precision. Dull shears chew through fabric and cause frayed edges, throwing off your seam allowances. Inaccurate rulers introduce tiny errors at the pattern drafting stage. When these micro-errors accumulate, the end result is that dreaded "amateur" look.
Upgrading to high-standard tools eliminates cutting and stitching frustration while allowing your natural hand skills to shine through. Investing in the right tools is the most reliable and fastest shortcut to upgrading your craft!
The very first tools you must upgrade are your cutting tools. Precise cutting determines roughly 80% of your finished project's quality. No matter how straight you sew, if your fabric pieces are cut out of alignment, the final piece will never look crisp.
Starter kit scissors often have loose blade tension, causing them to bite into fabric or fail to cut cleanly at the tips. The fabric tends to shift when you press down, preventing you from cutting accurately along the pattern lines.
Your first major purchase should be authentic tailoring shears made by dedicated cutlery manufacturers. Choose shears crafted from traditional high-carbon cutlery steel (such as Japanese Shirogami or Aogami carbon steel), or modern high-grade stainless blade steel in a standard length around 24 cm (approx. 9.5 inches).
Genuine tailoring shears glide through fabric effortlessly, cutting cleanly right down to the tip without distorting the weave. Whether you are cutting heavy canvas, denim, or delicate lawn fabric, they slice cleanly with minimal effort. Stainless steel options are ideal if you prioritize easy maintenance, while carbon steel shears provide unparalleled sharpness and edge retention.
Alongside quality shears, introducing a rotary cutter and a large cutting mat is a complete game changer. For projects featuring straight lines, such as pouches and tote bags, a rotary cutter provides unmatched precision.
Place a ruler directly on the fabric and roll the rotary cutter along the edge to achieve a perfectly straight cut. Because you never have to lift the fabric off the table—as you must with scissors—the risk of shifting drops to zero. A versatile 45 mm blade diameter is the standard choice for all-around fabric work.
There is a well-known golden rule in the sewing world: the finished quality of a piece is determined at the ironing board. Pressing fabric is just as important—if not more important—than the actual stitching.
Beginners often assume the iron is used only for a final press at the end. However, experienced crafters and professionals press after nearly every single seam, opening seam allowances and setting folds flat before moving forward. This in-process pressing is the secret to achieving sharp, store-bought structure.
The second must-have upgrade is an ironing ruler made from heat-resistant resin, designed so that you can press directly against it with a hot iron.
Align the fabric edge with the ruler's built-in markings (such as 1 cm, 1.5 cm, or 2 cm) to fold and press accurate hems in seconds. Compared to measuring manually with standard rulers, it dramatically increases both speed and accuracy, multiplying the neatness of folded hems and double-fold edges.
Large, cordless household irons can be bulky and make it hard to see fine details during intermediate pressing. Instead, switch to a dedicated patchwork iron or sewing iron featuring a tapered, pointed tip and clear visibility around the soleplate.
A compact, agile iron allows you to accurately press bag corners, fold seam allowances, and shape curved seams. Opt for an iron with moderate weight so it can apply firm, reliable pressure directly to the fibers.
Once your cutting and pressing setups are upgraded, focus on how you measure and hold your fabric pieces together. Replacing flimsy, bendable pins and short plastic rulers with dedicated tools eliminates major sources of sewing frustration.
It is time to move away from using conventional straight pins for basic assembly and fully embrace sewing clips (fabric clips).
Straight pins pierce through fabric layers, creating tiny ripples in the material that lead to uneven feeding and misaligned seams. Pins also leave permanent puncture holes in synthetic leather, laminated fabrics, and waterproof materials. Sewing clips clamp layers flat with strong tension without piercing the fibers. Many clips include built-in seam allowance guidelines (such as 5 mm, 7 mm, and 10 mm). Keeping both standard clips and long clips on hand provides the best versatility.
Pick up a clear acrylic grid ruler measuring 5 cm wide by 50 cm long, marked with a 5 mm grid across its entire surface.
Because the ruler is transparent, you can clearly see the fabric grain and printed patterns beneath it, allowing you to draw parallel and perpendicular lines with precision. A 50 cm length is essential for drafting bag patterns and cutting wider yardage. Select a rigid, thick tailoring ruler rather than a flexible plastic one to ensure steady, reliable lines.
When stitches skip, thread bunches up, or seams look uneven, over 90% of the time the issue is not machine failure—it stems from using worn or low-quality needles and thread! Upgrading your everyday sewing consumables produces noticeably cleaner stitches immediately.
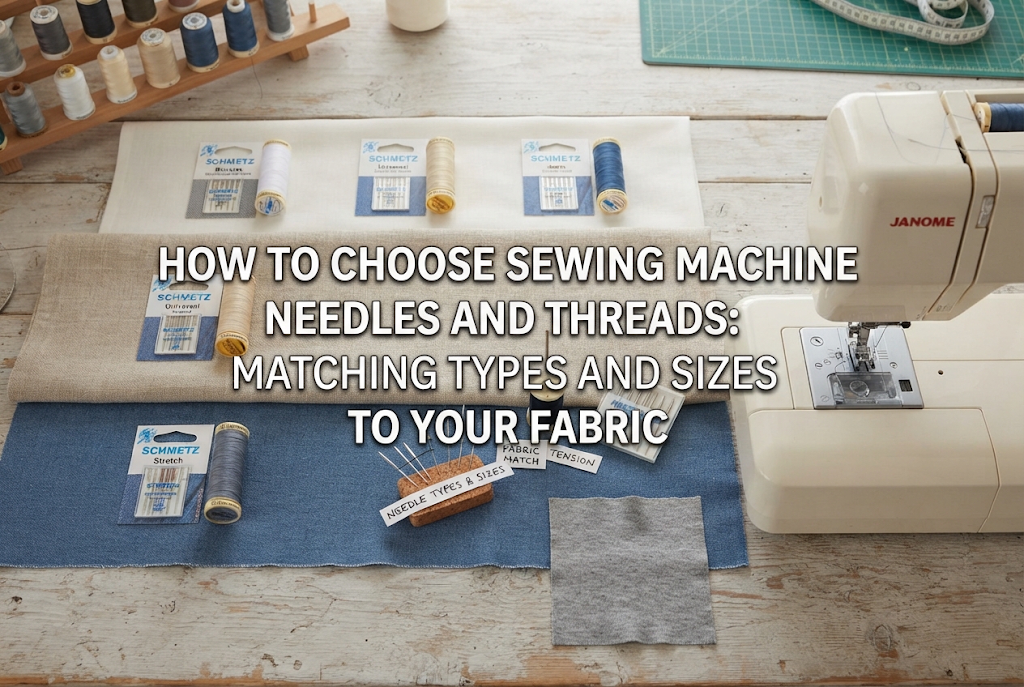
Always use machine needles from trusted manufacturers, such as Organ Needles, and be sure to change needle sizes to match your fabric weight:
Needle points wear down invisibly after sewing just a couple of projects. Treating needles as disposable consumables and replacing them after every 1 to 2 completed items reliably prevents skipped stitches and snagged fabric threads.
Choose high-quality 100% polyester spun sewing thread (standard No. 60 weight), such as Fujix's Schappe Spun. High-grade thread does not shed lint and maintains consistent thickness and strength, which keeps your upper and lower machine tensions completely balanced.
Subpar threads shed lint that gathers inside machine mechanisms, leading to malfunctions over time. Investing in reliable thread protects your machine and improves the structural longevity of your handmade items.
Do not rely solely on the standard presser foot that came with your machine. Switching to specialized presser feet tailored to specific construction steps makes a huge difference in your results:
The final upgrade tier focuses on the tools that handle detailed finishing touches. The neatness of your small details is what gives handmade items a polished, boutique-ready appearance.
Between machine runs and during hand sewing, you reach for thread snips every few minutes. Replace basic plastic-handled snips with traditional Japanese one-piece metal thread snips (such as those by Shozaburo or Yoshioka Hamono).
Well-crafted metal snips align perfectly at the tips, cutting single threads instantly without fraying the ends, keeping even the concealed interior seams clean and tidy.
When turning bags and pouches right side out, an awl is essential for pushing out corners cleanly. Low-end awls with blunt, rough tips can tear threads or punch holes through the fabric weave.
A professional-grade awl with an ultra-fine, smoothly polished tip coaxes crisp corners out without damaging the fabric fibers. A specialized smooth awl with a slightly curved tip is also an invaluable companion for guiding tricky curves under the presser foot without getting your fingers in the way.
To avoid unnecessary expenses and build the most effective toolkit, keep these common beginner missteps in mind:
Here is a quick recap of the upgrade order to take your sewing from beginner to advanced:
The moment you equip yourself with the right tools, steps that once felt difficult become noticeably smoother. I hope this upgrade order helps you find the perfect workshop companions for your creative journey! Feel free to share this guide with fellow craft enthusiasts, and see you in the next post! This was Yassy from Crafters!




For example, if you are looking for articles about mizuhiki, try searching for "mizuhiki"; if you are interested in tools, try keywords like "nippers" or "pliers."
