Mastering Temperature Control for Epoxy Resin: Ideal Heat, Exothermic Reactions, and Seasonal Curing Tips
yassy
Crafters!
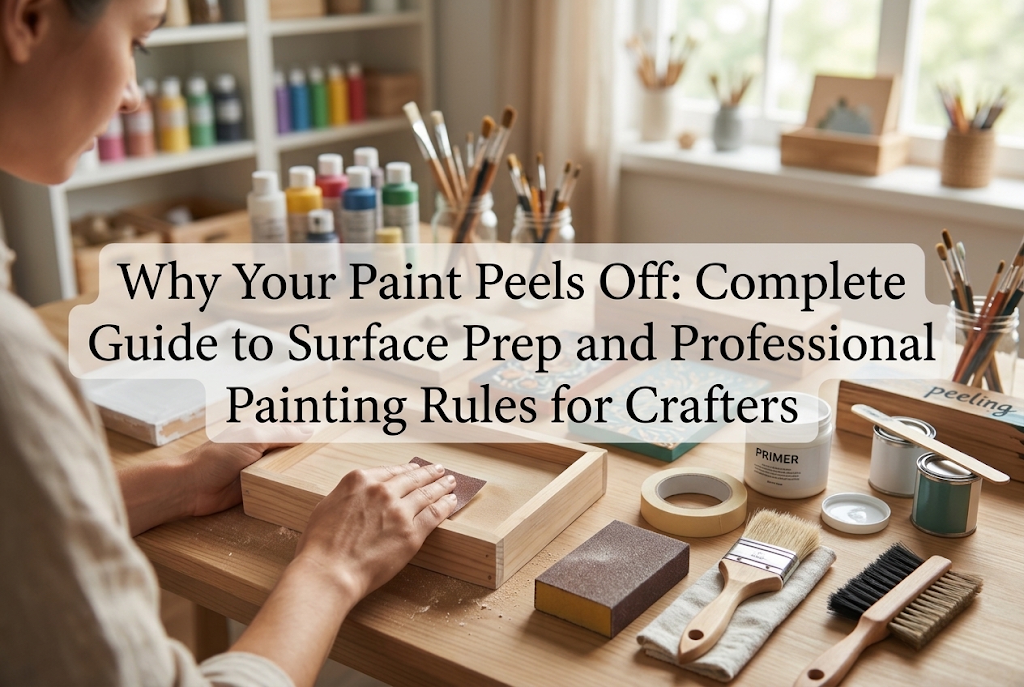

Hello, crafters! It’s Yassy from Crafters! (・∀・)
Have you ever spent hours pouring your heart into a handmade project, painting it beautifully, only to watch the paint peel away like a sheet of film once it dried—or flake off the moment your fingernail barely brushed against it?
Throughout my years of making crafts, purchasing pieces from fellow makers, and admiring stunning works at exhibitions, I have come to one firm conviction: peeling paint is the ultimate enemy that can instantly ruin the quality and durability of your handmade creations.
Paint does not peel because you were unlucky, nor does it peel because you lack artistic talent. There are precise physical and chemical reasons behind it.
Once you understand the root causes and apply the correct surface preparation and techniques, you can achieve a bond so tough that your paint will never budge, no matter how much friction or scratching it encounters.
In this guide, I will share all of my practical knowledge and hands-on experience to help beginners eliminate paint peeling once and for all. We will examine the core causes, material-specific priming techniques, and the golden rules of application that yield professional-grade adhesion.
Say goodbye to the heartbreak of ruined paint jobs. Let's master the fundamentals and make your crafts truly last!
Understanding how paint actually sticks to a surface is your essential first step in preventing peeling.
When paint dries, the resins (binders) inside it cure, forming a thin film across the surface of your material. Strong adhesion occurs when this cured film grips the surface tightly.
Whenever paint fails to adhere, one of four fundamental issues is at play. Review your own workflow and workspace against these four factors:
The single most common culprit behind peeling paint is an overly slick, non-porous surface.
For paint to lock into place mechanically, it relies on the "anchor effect"—a phenomenon where liquid paint flows into microscopic pits and crevices on a surface, then hardens like tiny anchors. Non-porous materials like plastics, metals, glass, and cured resin lack these microscopic indentations entirely. Without the anchor effect, the paint simply rests on top of the surface, making it susceptible to peeling off at the slightest scrape or bump.
If microscopic residues of oil, grease, or dust sit on the surface, your paint never actually touches the base material—it merely sits on a barrier of grime.
Human skin naturally secretes oils. Whenever you handle plastics or metal with bare hands, you leave behind an invisible film of skin lipids and fingerprints. Furthermore, cured resin parts or clay pieces pulled from silicone molds often retain oily mold release agents. Just as oil and water repel each other, water-based paints cannot bond to greasy surfaces. Even if the paint appears to apply smoothly, it will easily flake away once dry.
Your painting technique itself might be causing the failure.
When crafters attempt to achieve full coverage in a single heavy pass, the surface of the thick paint layer dries rapidly while moisture and solvents remain trapped underneath. As the outer layer shrinks, tension pulls the paint taut, causing it to crack, buckle, and lift from the base.
Conversely, thinning your acrylic paint with excessive amounts of water is equally risky. Water dilutes the acrylic resin binders responsible for film formation. Without enough binder, the dried paint loses its cohesive strength, turns powdery, and rubs right off.
Paint often looks dry long before it has fully cured and bonded.
With acrylics in particular, "touch-dry" (safe to touch lightly) and "fully cured" (where the resin polymers cross-link into a solid, resilient matrix) are entirely different stages. Applying varnish or moving on to subsequent steps while the paint is only dry to the touch disrupts the curing process, causing layers to delaminate.
Additionally, working in high humidity (above 80%) or low temperatures (below 5°C / 41°F) prevents acrylic resins from forming a stable film, leaving you with a fragile, rubbery, or chalky layer.
Handmade projects utilize a wide variety of materials. Each substrate behaves differently, and each requires its own dedicated preparation method.
Mastering these surface-specific prep routines will allow you to paint any material with complete confidence.
Plastics, UV resin, polyester resin, and baked polymer clay have dense, slick surfaces that naturally reject paint.
The golden rule for these substrates is a two-step approach: scuffing the surface (keying) and applying a dedicated plastic primer.
Metals such as aluminum, brass, stainless steel, and plated jewelry findings are hard and completely non-porous. Ordinary paint will inevitably peel off metal without prep.
The indispensable requirement here is a metal primer (metal etching or bonding primer).
Glass and glazed ceramics are even denser and smoother than plastics. Attempting to sand them forcefully can leave visible, unsightly scratches that ruin their aesthetic appeal.
The answer for glass and ceramics is using a glass painting medium or a specialized multi-surface bonding primer formulated for ceramic and glass.
Rather than relying solely on mechanical sanding, these primers create a chemical bond across the glassy surface. Alternatively, use specialized glass paints or blend an all-purpose primer directly into your acrylic paints. Allow the painted surface to cure naturally for at least 48 hours to ensure maximum adhesion.
Porous materials like raw wood, bisque-fired clay, and paper clay present the exact opposite problem: they drink in moisture.
Because porous substrates rapidly soak up the water and binders from your paint, the paint cannot level out into an even film. This leads to rough, raised fibers, blotchy color, and localized flaking.
The rule for porous surfaces is applying gesso or a wood sanding sealer.
Applying one or two coats of sealer or gesso plugs the open pores and stops uneven absorption. After the ground coat dries, smooth it lightly with 800-grit sandpaper before painting. Your colors will look vibrant and stay permanently anchored.
Textiles used for pouches and bags, as well as genuine or synthetic leather, continuously flex, bend, and stretch during daily use.
If you paint these flexible materials with rigid acrylics or hard varnishes, the dried paint film will crack and flake as soon as the base material bends.
The golden rule for flexible materials is using dedicated fabric paint or blending a fabric medium into your standard acrylics.
Fabric mediums introduce rubber-like elasticity to the acrylic film. When the fabric or leather flexes, the paint flexes right along with it. For textiles, always wash the fabric beforehand to strip out sizing agents and manufacturing oils.
Regardless of what you are making, these four core practices will maximize your paint's bonding strength:
When scuffing a surface to create mechanical tooth, grit selection matters immensely.
If your grit is too coarse (#100–#240), deep scratches will show right through your finished paintwork. If it is too fine (#1000 or higher), the scratches are too shallow to provide meaningful mechanical grip.
The sweet spot for crafters is #400 to #600 grit. Using wet-and-dry sandpaper with a small amount of water (wet sanding) prevents sanding dust from scattering into the air and produces a silky, uniform matte texture.
After sanding—or even on items that do not require sanding—you must degrease the piece right before painting.
Wiping with plain water does not cut grease. Always use anhydrous ethanol, rubbing alcohol, or a dedicated cleaner on a lint-free cloth (avoid rough paper towels that shed fibers). Washing thoroughly with mild dish soap and warm water, followed by complete drying, is also very effective.
Once degreased, never touch the painting surface with bare hands. Wear disposable nitrile gloves throughout the process to keep skin oils away from your clean substrate.
Primers act as the chemical bridge between the material and the pigment. Use specialized primers tailored to your project:
The cardinal rule when applying primer is to keep it ultra-thin. Applying a heavy coat causes the primer itself to dry improperly, which can cause the entire paint layer to lift off from the bottom.
When thinning acrylic paints, never add more than 10% to 20% water relative to the paint volume.
While heavy-body paint straight from the tube can feel thick, excessive water scatters the acrylic resin particles too far apart, preventing them from forming a cohesive, durable film. If you need a fluid consistency for smooth layering, use a fluid acrylic medium or matte medium instead of water. Mediums preserve binder concentration no matter how much you dilute the color.
Even with quality supplies, small missteps during the application process can compromise your work. Here are five frequent traps and how to avoid them:
Many makers apply paint immediately after spraying an adhesion primer, before it has fully set. Primers need time for their solvents to flash off and for their chemical bonds to establish. Painting over tacky primer traps moisture, softens the base, and leaves the foundation weak.
Solution: Allow spray primers to cure for at least 30 minutes in warm weather, or an hour in cooler conditions. Wait until the surface feels dry, smooth, and free of strong solvent fumes.
Coating a piece heavily to cover the substrate in a single pass traps solvents beneath a rapidly drying skin, resulting in shrinking, cracking, and peeling over time.
Solution: Always build up color in multiple thin layers. The first pass may look translucent or streaky, and that is completely fine. Let each thin layer dry before adding the next. Three to four sheer coats produce a rich, durable, and flat finish.
Poking damp paint to see if it is dry disrupts the fragile polymers while they are cross-linking, causing micro-tears that lead to peeling. Blasting paint up close with high heat from a hair dryer causes bubbling and rapid surface contraction, pulling the paint away from the base.
Solution: Allow layers to dry naturally. If you must use a hair dryer to speed things up, keep it on the cool or low setting and hold it at least 30 cm (12 inches) away from the piece.
Applying a harsh solvent lacquer over water-based acrylic paint will aggressively dissolve the acrylic film, causing the paint to wrinkle, lift, and peel away (a defect known as lifting).
Solution: Seal water-based paints with water-based acrylic or water-based polyurethane varnishes. If you intend to coat your work with solvent sprays or UV-LED resin, apply a water-based barrier varnish first and allow it to cure fully before adding the final coating.
There is a major difference between paint drying to the touch within a couple of hours and paint fully curing into its toughest state over several days. Handling, packaging, or subjecting a freshly painted piece to moisture too soon will scuff or peel the soft coating.
Solution: While acrylics dry within hours, they require 3 to 7 days to reach their maximum hardness. Rest completed items in a well-ventilated, shaded spot for a few days before wearing, using, or shipping them.
Here is my complete, step-by-step workflow for achieving an ultra-durable paint finish on stubborn, difficult-to-paint craft materials.
Wash your piece in lukewarm water mixed with mild dish detergent, then rinse and dry thoroughly. Next, wipe down every surface using anhydrous ethanol on a lint-free cloth. Slip on a pair of nitrile gloves from this point onward to prevent your fingers from leaving fresh skin oils on the item.
Fold a piece of #600 wet-and-dry sandpaper and dampen it with water. Sand the entire surface evenly until the glossy shine transforms into a soft, uniform matte finish. For tight crevices, gently scrub with a melamine sponge or a soft toothbrush dipped in a mild abrasive cleaner. Rinse clean with water and let dry completely.
In a well-ventilated area, hold your adhesion primer can approximately 20 to 30 cm away from your piece. Sweep the spray across the piece in smooth, light passes so it settles as an ultra-fine mist. Never saturate the piece to the point of pooling or dripping. Let it air-dry untouched for at least 40 minutes.
Mix your acrylic paint with up to 10% water or an equal amount of acrylic painting medium. Using a soft flat brush, apply a very thin first layer in one direction. Disregard any streakiness, and allow it to dry thoroughly (roughly 30 to 60 minutes).
Apply the second thin coat perpendicular to the first (cross-hatching your brush direction). Repeat this process for three to four thin coats. This creates an even, vibrant, and incredibly tough paint film.
After completing your paintwork, allow the piece to sit for at least 24 hours so residual moisture evaporates fully.
Next, apply a protective topcoat matched to how the piece will be used. For display items, apply two thin coats of water-based acrylic varnish (gloss or matte). For high-wear items like keychains, jewelry, or charms, apply a high-durability water-based two-part urethane varnish or coat with UV-LED resin. Allow the finished item to cure undisturbed for 3 full days. The result will be a finish so robust that a fingernail scratch will not leave a mark!
In this guide, we explored why paint peels on handmade crafts and the specific methods to build an unbreakable bond on virtually any material.
Remember that nearly all paint peeling comes down to two issues: neglecting material-specific prep, or rushing through thick coats and short drying times.
Keep these fundamental rules in mind for every project:
Taking the time to prep your surfaces may feel like an extra chore at first. However, this attention to detail is precisely what separates a fragile hobby craft from a durable, professional-quality handmade piece you can proudly present to buyers or loved ones.
Put these techniques into practice on your next build, and enjoy the confidence that comes with paint that stays permanently bonded!
If you found this guide helpful, sharing it with your creative friends is always appreciated! Until next time—happy crafting from Yassy!





For example, if you are looking for articles about mizuhiki, try searching for "mizuhiki"; if you are interested in tools, try keywords like "nippers" or "pliers."
