Sashiko for Beginners: What Project to Start With and How to Choose Easy Motifs
yassy
Crafters!

Hello, everyone! I'm Yassy from Crafters! (・∀・)
Imagine drawing a picture simply by punching a specialized needle into fabric, creating a wonderfully fluffy, textured piece of art in no time at all. That is the magic of punch needle embroidery—a craft that has captured the hearts of handmade enthusiasts across Japan and around the world.
I personally love making all kinds of handmade crafts, as well as browsing and buying unique pieces from talented creators, but I will never forget the thrill of trying punch needle for the very first time. The satisfaction of completing a high-quality decorative piece in such a short amount of time ranks among the very best in the crafting world.
You don't need to worry if you think embroidery looks too intricate, knitting seems too difficult, or you feel you lack artistic drawing talent. With the right tools and a grasp of the fundamental tricks, anyone can create adorable, professional-looking pieces right from day one.
In this guide, I will walk you through everything a beginner needs to know—from essential tools and foolproof techniques to the absolute fastest way to get started. Let's skip the trial and error and dive straight into the fun world of punch needle!
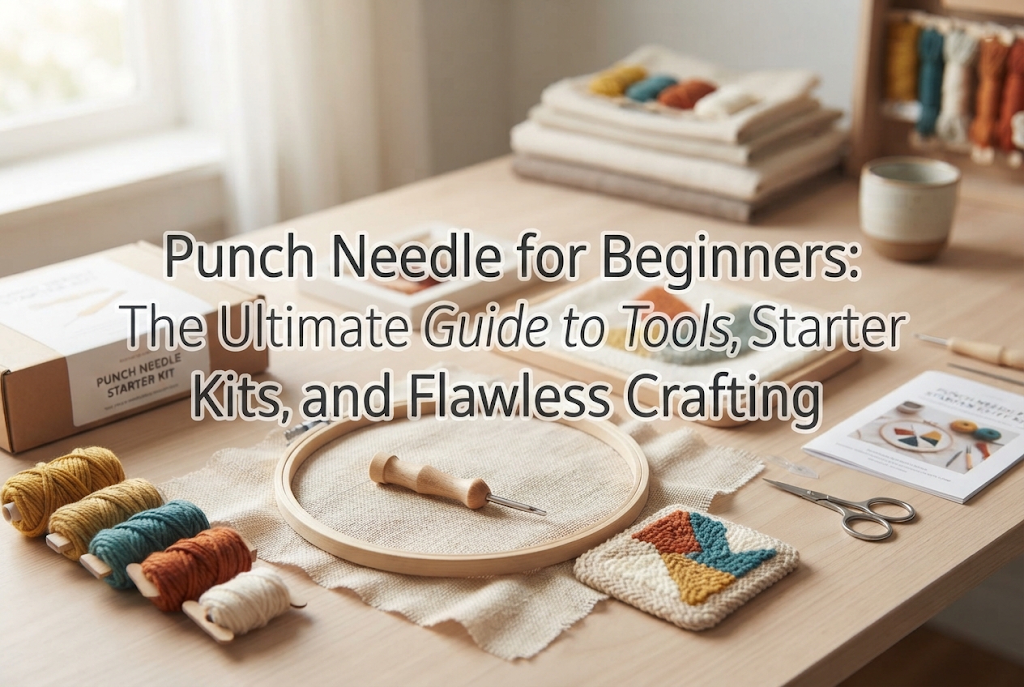
Punch needle is an embroidery technique that uses a hollow needle with a thread channeled through it. By repeatedly punching the needle into specialized fabric, loops of yarn or thread form on the opposite side. Internationally, related techniques are often known as needle punching or rug hooking, and they are widely loved for creating home décor and fashion accessories.
Compared to traditional hand embroidery or knitting, punch needle offers three major advantages that make it exceptionally beginner-friendly:
Unlike standard hand embroidery, you do not need to pass the needle all the way back and forth between the front and back of the fabric. With punch needle, you simply keep punching into the surface. The friction of the woven fabric holds the yarn in place, automatically forming neat loops on the underside.
Because of this continuous motion, you can fill large areas several times faster than traditional stitching. Even an absolute beginner can complete a palm-sized coaster in just one to two hours.
There are no complicated knitting patterns or crochet charts to decode. You simply follow the outline drawn onto your fabric and punch away. Because you repeat a single, rhythmic motion rather than memorizing dozens of different stitches, even those who consider themselves clumsy will find it easy to succeed without frustration.
Perhaps the most exciting aspect of punch needle is that both sides of the work can serve as the finished "front." You have the flat, crisp stitched side facing you, and the plush, looped pile forming on the back.
You can choose the fluffy loop side for a warm, plush look reminiscent of a soft toy, or feature the smooth, flat stitches for crisp, graphic illustrations. Having two entirely different textural expressions within one simple technique opens up immense creative possibilities.
When starting punch needle, your choice of tools accounts for roughly 80% of your success. Attempting to substitute standard embroidery gear or cheap, mismatched notions will almost guarantee frustration. Here are the core tools you need and the strict criteria for selecting them.
This is your primary tool. Punch needles come in various gauges, from chunky needles designed for bulky yarn to fine needles meant for delicate embroidery floss.
For beginners, I strongly recommend starting with a thicker needle designed for yarn. Ultra-fine needles meant for embroidery thread require precise fabric compatibility and delicate tension control, making the learning curve unnecessarily steep. A thicker yarn needle lets you punch quickly, fill space rapidly, and enjoy an immediate sense of accomplishment. Choosing an adjustable needle pen that lets you change the needle length in steps is also fantastic, as it allows you to vary the loop height easily.
This is where beginners most frequently stumble. If you try punching into tightly woven everyday fabrics like sheeting, regular quilting cotton, or Japanese tenugui cotton cloths, the thick needle will tear the weave fibers, leave gaping holes, and fail to hold the loops in place.
Punch needle requires a dedicated, loosely woven cotton foundation known as monks cloth. Its specialized weave allows a thick needle to slip between threads without snapping them, and the natural elasticity of the weave closes tightly around the yarn to grip it firmly by friction. Please do not cut corners here—dedicated monks cloth is essential.
Because you apply steady downward pressure with the needle, standard wooden hoops often allow the fabric to slip and lose tension during work.
Opt for a sturdy plastic hoop with a heavy-duty tightening screw, or a dedicated punch needle frame equipped with internal non-slip grooves. Keeping the fabric drum-tight is an absolute rule for creating consistent, beautiful loops.
Select yarn that matches the thickness of your needle. When working with a chunky needle, medium to bulky acrylic or wool yarn works wonderfully.
For newcomers, smooth acrylic yarn with clear, bright coloring is ideal. Avoid novelty yarns with bumpy textures or fuzzy bouclé fibers, as they tend to catch inside the needle's hollow shaft, preventing smooth yarn flow and causing loops to pull out.
You will need craft scissors for trimming yarn tails, fabric glue to secure the back of your finished piece, and craft felt for backing.
Because punch needle stitches are held in place purely by friction without knots, coating the back with fabric adhesive once completed is a vital step. Using a water-resistant fabric glue ensures that everyday items like drink coasters remain durable over time.
While the process is straightforward, missing one small technical detail can leave you wondering why your yarn keeps pulling out. Here are the three most common problems beginners face and their definitive fixes.
This is by far the most frequent issue: you punch down, pull the needle up, and the yarn simply follows the needle out, leaving no loop behind. This is entirely caused by yarn tension and friction balance. Check these three points:
If you repeatedly punch into an area and end up with stretched-out, gaping holes where the yarn will not stay, you are likely either using the wrong fabric or punching too many times in the exact same spot. When using genuine monks cloth, you can easily heal small irregularities simply by rubbing the surface weave with the tip of your needle.
Additionally, spacing your stitches too closely strains the weave. Keep roughly 2 to 3 millimeters (about 1/8 inch) between punches for a clean, stable finish.
When the fabric loses tension, the needle cannot enter at a true 90-degree angle, resulting in uneven loop heights and loose stitches.
Your fabric must remain as taut as a drum throughout the entire session. Periodically tug the edges of the fabric outward while working to maintain firm tension, or use a dedicated non-slip hoop to minimize slipping.
After learning about needle gauges, monks cloth weaves, and yarn matching, you might feel overwhelmed trying to purchase everything separately.
Here is my honest advice: do not buy your materials piece by piece as a beginner.
The most common reason beginners struggle is an accidental mismatch between needle diameter, yarn weight, and fabric weave. If even one of these elements is incompatible, stitches will not hold, no matter how carefully you follow the technique.
Online shops like Amazon or Rakuten offer a wide selection of thoughtfully assembled punch needle starter kits designed specifically for beginners. Starting with a curated kit offers major benefits:
Whenever I try a new handmade craft, I always start with a kit. Experiencing the joy of successfully completing a project with vetted materials is the single best way to fall in love with a craft without burning out.
When shopping online, look for the following three details:
Once your starter kit arrives, follow these five steps to complete your piece from start to finish:
Loosen your embroidery hoop screw, place your monks cloth over the inner ring, and press the outer ring down over it. Tighten the screw while pulling the fabric edges firmly outward on all sides.
When you tap the stretched fabric with your finger, it should produce a crisp, drum-like sound. If the fabric has any slack, the needle will push the fabric rather than piercing through smoothly.
Insert the long wire threader into the opening at the back end of the handle, pushing it through until it emerges from the needle tip. Slip your yarn through the threader's loop, then pull the threader back out through the handle.
Next, pass the threader through the small eye near the needle tip, pull the yarn through, and ensure you have about 1 to 2 centimeters (half an inch) of yarn tail protruding from the needle point. Check that the yarn feeds freely from the handle with zero catching.
Hold the needle comfortably like a pencil, keeping it perpendicular (90 degrees) to the fabric surface.
Punch firmly all the way to the hilt along the design outline. When lifting the needle, pull back gently just until the needle tip grazes the surface of the fabric, glide the tip a short distance forward, and punch down again. Never lift the needle high into the air, or you will pull the loop out from underneath. Think of it as a steady rhythm: punch down, lift slightly, glide, and punch.
Once you outline a color section, fill the interior using concentric circles or back-and-forth rows.
When you finish a color section, hold the needle down against the fabric, snip the yarn on the working side leaving about 1 centimeter (half an inch) of tail, and lift the needle away.
There is no need to tie knots. Punch needle ends are simply cut flush. To start a new color, re-thread the needle and continue punching where you left off.
Once your stitching is complete, remove the cloth from the hoop.
Apply a generous, even layer of fabric glue across the flat stitched side (or loop base) using a spatula or brush. This locks every stitch permanently in place so nothing unravels even if pulled. Once the glue dries completely, trim the excess cloth leaving a small border, fold the border inward, and glue a piece of cut felt across the back. You now have a polished, durable coaster or decorative mat ready for use!
Once you finish your first piece, punch needle becomes wonderfully addictive. Here are a few lovely ways to expand your new skill:
Punch needle embroidery is one of the most rewarding and accessible crafts for beginners, offering quick progress and immense creative joy.
Don't spend days wondering where to start. Search for a beginner punch needle kit on your favorite online shop, find a charming design that makes you smile, and take that first exciting step into the world of tactile, fluffy craftwork.
If you enjoyed this guide, feel free to share it with your craft-loving friends! Wishing you wonderful creative moments, and see you in the next tutorial—this was Yassy from Crafters!



For example, if you are looking for articles about mizuhiki, try searching for "mizuhiki"; if you are interested in tools, try keywords like "nippers" or "pliers."
