8 Techniques for Lettering and Decorating Japanese Pottery: Clay States & Pro Rules for Success
yassy
Crafters!
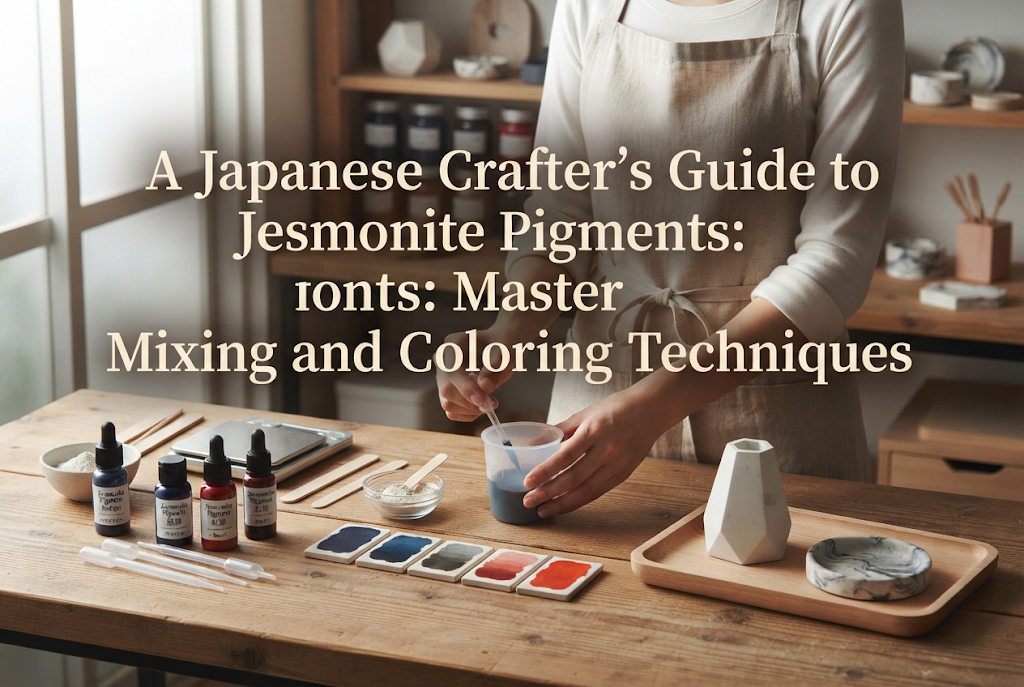

Hello, everyone! I'm Yassy from Crafters! (・∀・)
With its matte, high-quality finish similar to plaster combined with the durability of resin, Jesmonite has become an incredibly popular material in the handmade community for creating interior decor, jewelry trays, coasters, and more. I am one of many makers who fell completely under its spell, having poured it into molds countless times to create various handcrafted pieces.
When working with Jesmonite, the coloring process dramatically influences both the overall quality and the artistic vibe of your piece. Unlike highly transparent resin, Jesmonite’s opaque character means its expression changes entirely depending on how you add and mix colors. From elegant, muted nuance shades to eye-catching vibrant hues and stunning marble patterns, its expressive color potential is endless.
However, coloring is also the exact step where beginners frequently hit a wall. Common pitfalls include: "It didn't turn out to be the color I imagined," "The surface looks splotchy," "It looks faded after curing," or "It remained soft and wouldn't harden after I added color." Because Jesmonite is a unique water-based acrylic resin, its chemical rules for coloring are completely different from epoxy resin or traditional plaster.
In this guide, I will share all the practical knowledge I've gained through hands-on crafting—covering pigment selection, fool-proof mixing steps, color matching techniques for ideal shades, and popular decorative styles. Read on to master the art of coloring and take your Jesmonite creations to the next level!
Before mixing colors into Jesmonite, you must first understand pigment selection. Countless colorants exist on the market, including resin dyes, acrylic paints, and water-based paints, but you cannot simply use anything you have on hand. Using the wrong colorant can cause curing failures or severely compromise structural strength.
The golden rule for achieving the cleanest and most reliable finish is simple: use dedicated Jesmonite pigments (pigments designed for water-based acrylic resin). Let's look closely at why dedicated pigments differ from other colorants.
Pigments sold specifically for Jesmonite are highly concentrated, liquid-form dispersion pigments. They are specially formulated with ingredients that do not interfere with Jesmonite's chemical reaction, providing intense coloration with just a tiny amount.
The biggest advantage is that they dissolve instantly into the liquid component without clumping, resulting in a smooth, uniform blend. Furthermore, they offer excellent lightfastness, meaning your finished piece won't easily fade over time when exposed to sunlight. If you plan to sell your items or craft long-lasting home goods, dedicated pigments are your best choice and the shortest path to zero failures.
A common question I receive is, "Can I substitute dedicated pigments with acrylic paint I already own?" To put it clearly: watercolor paints are strictly off-limits, while acrylic paints are "acceptable only in microscopic amounts under strict conditions, though not recommended."
Because water-based acrylic paints share a water-based system with Jesmonite liquid, they might appear to mix well at first glance. However, acrylic paints contain excess water and unique binders (like thickeners). Mixing them into Jesmonite alters its chemical balance and adds extra moisture, making the cured piece brittle or causing dramatic shrinkage and cracking as it dries.
If you absolutely must use acrylic paint, limit it to less than 0.5% of the total weight as a subtle tinting accent. Never use acrylic paint to build the main base color of a project.
Oil-based dyes used for UV or epoxy resins, solvent-based oil paints, and alcohol inks must never be used with Jesmonite.
Jesmonite is a water-based material. Just like oil and water repel each other, adding oil-based or solvent-based colorants causes phase separation, stopping the hydration and curing reaction entirely. Your piece will either come out of the mold as a gooey, uncured mess or end up with a permanently sticky, oily residue floating on the surface. Makers transitioning from resin crafting often fall into this trap, so please take extra care!
Additionally, dry mica powders (pearl powders) and dry pigment powders can clump or repel water when added directly into the liquid. While techniques exist for pearl effects, always use liquid water-based pigments for your base coloring.
The most frequent mistake in coloring Jesmonite is adding too much pigment in an attempt to make a darker shade. While adding more colorant deepens the shade, Jesmonite has a strict upper limit for pigment additions.
When tinting Jesmonite (such as the standard AC100 system), the maximum allowable pigment weight is 2% of the combined total weight of Base (powder) + Liquid. This is an absolute rule.
Let's look at a concrete calculation example:If you combine 100g of Base with 40g of Liquid, the total mixture weight is 140g.Calculating 2% of 140g gives:
140g × 0.02 = 2.8g
This means the absolute maximum amount of dedicated pigment you can add to a 140g Jesmonite mixture is 2.8g. Exceeding this limit hinders Jesmonite's chemical crystallization process.
If you exceed the 2% limit, you will likely encounter the following problems:
Avoid pouring in large amounts of pigment just to achieve a pure black or bright red. Dedicated pigments are extremely potent even in tiny quantities. Add them carefully, drop by drop.
To respect the 2% maximum limit, do not rely on visual estimation. I have seen many beginners fail because they casually guessed their pigment drops.
Always use a precise digital scale capable of reading down to 0.01g. Standard 1g kitchen scales cannot accurately weigh a few tiny drops of pigment. Investing in a 0.01g digital scale is your very first step toward color success.
Once you have selected the right pigment and know the correct ratio, it's time to start mixing. Surprisingly, many crafters add pigment at the wrong stage. Here is the correct process for clean, vibrant color distribution.
Pigments must always be added to and thoroughly dissolved in the Liquid component before adding the Base powder.
Here is the incorrect method that many beginners accidentally use:
Incorrect Step: Mixing the Liquid and Base powder together to create Jesmonite slurry first, and then adding pigment afterward.
When you add pigment after introducing the powder, the slurry's viscosity is already high, preventing the pigment from spreading evenly. As a result, tiny pigment clumps remain, creating unsightly dots or splotches on the finished surface.
Follow these 4 sequential steps to ensure success every time:
By dispersing the pigment into the liquid phase first, the color spreads instantly and evenly as soon as the base powder is added, preventing 100% of splotchy color inconsistencies.
Have you ever tried making a dusty pink only for it to turn out muddy, or tried mixing a sophisticated greige only to end up with a dull, cold slate grey? Mixing colors in Jesmonite involves working with unique material properties that differ from mixing standard paints.
When Jesmonite Liquid and Base powder are mixed, the uncolored slurry does not turn pure bright white. The base powder naturally has a warm, soft ivory/off-white tone containing subtle yellow or grey undertones.
This natural off-white base significantly impacts color output.
For instance, adding a small drop of blue pigment to Jesmonite behaves differently than mixing blue into a clear medium. You are effectively calculating Off-White + Trace Blue. Consequently, instead of a bright cyan, you will yield a relaxed, slightly muted or greenish smoky blue.
Professional crafters always keep in mind that pigments blend directly with this underlying off-white base tone rather than behaving like pure primary colors.
Jesmonite colors undergo a visible shift between the wet state (right after mixing) and the fully dried state after demolding.
As a general rule, Jesmonite becomes one shade lighter and paler as it dries completely compared to when it is wet.
If your wet mixture looks like the exact shade of pink you want, the cured, dried piece will likely turn out noticeably paler and lighter. To get your desired final color, mix your wet slurry so it looks slightly deeper and richer than your target shade.
To avoid surprises on important projects, make a quick test piece by pouring a drop of colored liquid onto the bottom of a silicone cup to check the cured color before pouring your final mold.
Trendy muted tones (nuance colors) inspired by modern Scandinavian and Korean interior aesthetics are extremely popular in handmade decor. Here are practical blend recipes using primary pigments to achieve soft, elegant tones.
The secret ingredient for soft muted shades is adding a tiny trace of Black or Brown/Yellow Oxide.
Add a tiny drop of Magenta (or Red) pigment to your Jesmonite liquid. Add a microscopic dot of Yellow to shift it toward salmon pink, then add a tiny speck of Black picked up on the tip of a toothpick. The black instantly softens the brightness, creating a luxurious, mature rose beige.
Add a very small amount of Black pigment to turn the liquid soft grey, then add a few drops of Yellow Oxide or Brown. Pure black mixed with Jesmonite yields a cold, industrial concrete grey, but adding yellow or brown introduces warmth, transforming it into a refined greige.
Combine Red, Yellow, and Brown pigments in a 2:2:1 ratio into your liquid. When mixed with Jesmonite's ivory base, it produces a realistic, high-textured terracotta color reminiscent of unglazed ceramic stoneware.
Always add pigments incrementally using the tip of a toothpick rather than pouring directly from the bottle to control color development precisely.
Once you've mastered single-color tinting, try these popular decorative styling techniques that showcase Jesmonite's solid, opaque texture.
Marble patterns are a fan favorite, but over-mixing often leaves beginners with a muddy, blended single color. The secret to clean marble veins is having the courage not to over-stir!
Steps for Marble Effects:
As the mixture flows into the mold, the colors continue to move naturally. If you stir too much in the cup, it will blend into a single solid color inside the mold. Pouring while it still feels slightly unmixed creates crisp, well-defined marble contrast.
Terrazzo design—incorporating crushed colored chips into a base slurry—is a signature Jesmonite aesthetic. Strategic color planning makes all the difference here.
When designing terrazzo pieces, focus on contrast between the background base color and the embedded chips.
For example, if your base color is light ivory, use rich, bold accent colors for your chips, such as dark navy, terracotta, or forest green. Conversely, if your base is dark slate grey, pick bright white or pastel yellow chips. Selecting contrasting or complementary colors ensures that when you sand the surface after demolding, the cross-sections of the chips pop vividly.
Here is a quick diagnostic guide for common issues encountered during Jesmonite coloring, along with how to fix them.
Cause: Pigment content exceeded the 2% limit, excess water was present, or the piece was demolded too early while moisture evaporated rapidly from the surface.Solution: Keep pigment addition strictly under 2%. For existing pieces showing chalking, gently wet-sand the surface using a soft sponge or fine wet-and-dry sandpaper (1000+ grit). Once thoroughly dry, apply a dedicated Jesmonite sealer or wax to restore depth and vibrancy.
Cause: Adding pigment after the base powder was mixed in, or failing to blend the pigment completely into the liquid.Solution: Always mix pigment thoroughly into the liquid phase first. Inspect the bottom and sides of your mixing container to make sure no raw pigment streaks remain before adding powder.
Cause: Using incompatible oil-based/alcohol pigments, or drastically exceeding the 2% maximum limit for water-based pigments.Solution: Once Jesmonite's chemical reaction is disrupted, it will not cure further regardless of how long you wait. Discard the failed batch, switch to dedicated Jesmonite pigments, and weigh your ingredients carefully using a 0.01g digital scale.
We've covered everything from pigment selection and safety limits to proper mixing sequences, nuance color recipes, and design applications.
Here is a quick recap of the key rules:
When worked with correct techniques, Jesmonite reliably rewards crafters with stunning textures and rich custom shades. Demolding a perfectly colored, hand-poured object is an incredibly satisfying feeling!
Start with simple shapes like coasters or trinket dishes to practice color mixing. I hope your unique custom-colored creations bring joy and color to your everyday space!
If you found this guide helpful, please share it with your fellow crafter friends on social media! Thanks for reading, and see you in the next project! This was Yassy from Crafters!




For example, if you are looking for articles about mizuhiki, try searching for "mizuhiki"; if you are interested in tools, try keywords like "nippers" or "pliers."
