The Complete Guide to Kashime (Japanese Rivets): Types, Sizing, and How to Set Them Cleanly
yassy
Crafters!

Hello, crafters! It’s Yassy from Crafters! (・∀・)
There is something uniquely comforting about handmade wooden pieces. Just looking at them brings warmth, and when you craft them yourself, that attachment grows tenfold. From delicate accessories and miniature furniture to decorative home goods, wooden crafts continue to enjoy incredible popularity. As someone passionate about woodcrafting, whenever I visit craft boutiques, the very first thing I inspect is the cleanliness and strength of the joinery.
However, one of the most common frustrations I hear from woodworking beginners is: "My piece broke right away," or "The pieces just won't stick together!" It is genuinely heartbreaking when a piece you designed with care and sanded meticulously snaps right at the joint.
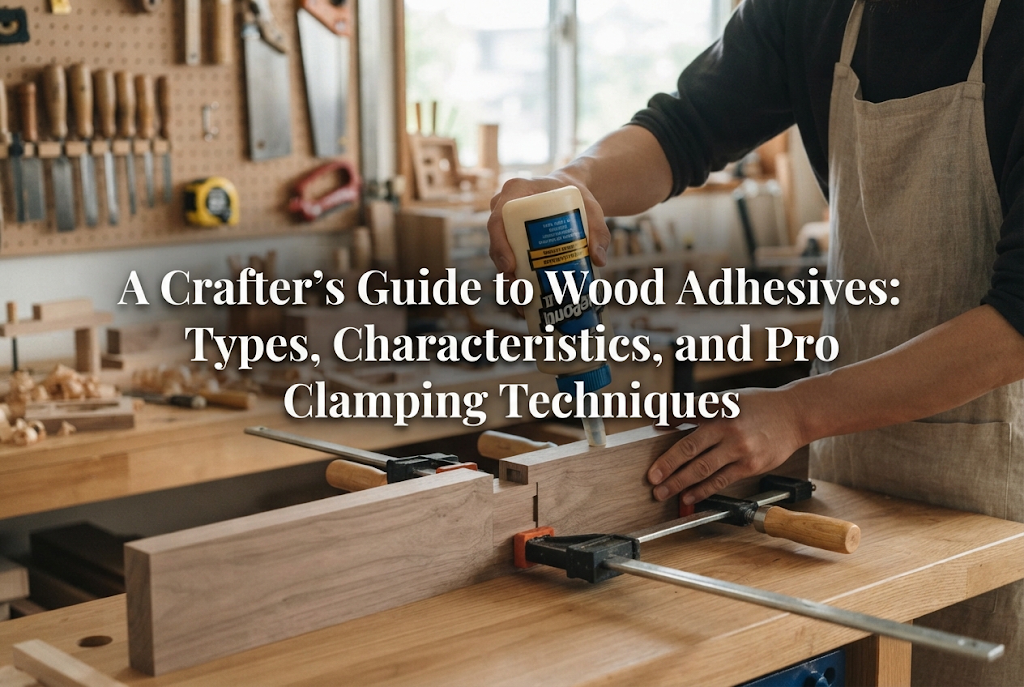
To bond wood pieces to each other—or to combine wood with completely different materials—understanding adhesives is essential. Wood is not like metal or plastic; it is a dynamic material that absorbs liquids and expands or shrinks with changing humidity. In this guide, I will break down the essential types of wood glues, their unique characteristics, the common traps beginners fall into, and practical clamping techniques to achieve professional-grade strength.
The first step to successful bonding is understanding the physical structure of wood. Wood is a porous material covered in microscopic channels called vessels. When adhesive penetrates these tiny pores and cures inside, it forms a mechanical interlock—known as the "anchor effect" or wedging effect.
Because of this structure, simply reaching for standard plastic or metal glue will not yield reliable strength. Wood might soak up the adhesive so quickly that nothing remains on the surface, or the glue film might be too brittle to flex alongside natural seasonal wood movement, resulting in sudden peeling.
Furthermore, wood features both face/edge grain (the smooth length of the board) and end grain (the cut ends showing the cross-section). End grain absorbs liquid rapidly, like a bundle of tiny drinking straws, making it notoriously tricky to glue securely. Selecting the right adhesive based on the grain direction and the demands of your project is an absolute requirement for creating durable work.
In craft and woodworking spaces, five main adhesive types are most commonly used. Understanding the pros, cons, curing profiles, and ideal applications of each will expand your crafting versatility.
This is the familiar white, water-based glue that most people have used at school or at home. It dries clear and penetrates the fine wood fibers deeply to create a dependable bond.
Often recognized through brands like Titebond, this yellow woodworking glue is a trusted global standard among woodworkers and professional crafters.
Epoxy cures through a chemical reaction when resin and hardener are mixed in equal parts. Because it does not rely on water evaporation to dry, it excels at filling gaps while maintaining immense bonding power.
This ultra-fast adhesive reacts with trace moisture in the surrounding air, curing in seconds. While standard liquid super glues tend to wick instantly into wood fibers and fail, formulations labeled for "Woodworking" or in "Gel" consistency are optimized specifically for porous surfaces.
These specialized adhesives cure into a tough, rubber-like consistency that retains permanent micro-flexibility. Often sold under names like "Heavy Duty Multi-Purpose" or flexible hybrid adhesives, they are invaluable workshop additions.
When wooden joints fail, the issue almost always stems from a few specific habits. Understanding why these errors occur will help you bring your joinery success rate close to 100%.
The cut end of a board (end grain) acts just like a bundle of open straws. Applying glue directly means the capillary action sucks the liquid straight into the internal fibers, leaving virtually no adhesive film at the actual mating surface. Once dry, the piece snaps off at the lightest tap.
The Solution: Always "size" end grain before the final glue-up. Spread a thin base layer of PVA glue over the exposed end grain and rub it in with a fingertip or spatula. Wait approximately 5 minutes for the wood pores to seal over. Then, apply your regular layer of adhesive and join the pieces. This quick extra step prevents starvation and produces a solid bond.
Holding glued pieces together with your hands for five seconds is one of the most common woodworking pitfalls. PVA and aliphatic glues rely on steady pressure to force the adhesive deep into microscopic surface pores. If pressure is too light, tiny air pockets remain trapped along the seam, reducing bond strength to a fraction of its potential.
The Solution: Secure joints with clamps or weights until the glue sets. The ideal indicator of proper pressure is when a small, uniform bead of glue squeezes out along the entire joint seam. Even for miniature accessory parts, apply steady pinch pressure for several minutes or clamp them down firmly.
In an effort to achieve maximum strength, it is tempting to slather on glue, letting it ooze generously across the surrounding surfaces. While water-based glues dry clear, they leave a thin plastic resin film over the wood fibers. When you later apply wood stains, oil finishes, or watercolors, that dried resin acts as a resist, leaving unsightly bare patches where the color cannot penetrate.
The Solution: Wipe away fresh squeeze-out thoroughly using a damp, tightly wrung cloth. For white or yellow water-based glues, wiping early removes the residue clean down to the pores. If you spot dried glue later, carefully scrape it away using a craft knife or sand the area down until raw wood is fully exposed.
Once surface glue turns clear, it is easy to assume the joint is fully set and rush ahead with sanding or attaching hardware. However, moisture remains trapped inside the joint line, meaning the glue has not achieved its full structural integrity. Stressing the joint too early snaps the forming polymer chains, causing internal bond failure.
The Solution: Respect the full cure time on the manufacturer label (typically 24 hours). Even if parts feel solid after the clamp-hold time, set aside load-bearing stress, drop tests, and aggressive sanding until the following day. Patience is key to crafting durable work.
Handmade projects vary wildly in their functional demands. Here is how I personally select adhesives depending on the craft category:
Jewelry components have minimal surface area, yet they endure daily wear, accidental tugs, and drops.
When working with parts that measure mere millimeters, setting up standard clamps can be difficult, and long dry times slow down complex, multi-part assemblies.
Serving trays, desktop organizers, and wall shelves must withstand the weight of daily objects and regular handling.
Modern craftwork frequently pairs wood with non-porous elements like glass panels, cast resin accents, or structural metal frames.
Beyond selecting the right glue bottle, small tweaks in technique make a dramatic difference in structural integrity and visual refinement.
Even smooth-looking lumber right from the craft store often carries loose wood dust or a glazed, burnished surface from industrial planers that hinders glue absorption. Lightly scuff every bonding face with 240-grit sandpaper before gluing. This opens the grain and adds microscopic texture, boosting the mechanical bond significantly. Always brush away sanding dust thoroughly before glue application.
If you encounter a small gap along a joint or an accidental nick in the wood, save the fine sanding dust from that exact lumber piece. Mix a small pile of dust with a drop of PVA glue on a palette until it forms a workable paste. Press it into the gap with a toothpick and let it dry before sanding flush. Because it uses sawdust from the identical wood stock, the repair blends far better than generic commercial wood filler.
You do not need an arsenal of expensive woodworking clamps to achieve strong glue-ups. Simple studio items work wonders:
Wiping wet glue immediately can sometimes smear a broad, thin film across the surrounding grain. Conversely, letting it dry rock-hard makes chipping it off risky. The sweet spot is roughly 5 to 10 minutes after clamping: when the squeezed-out bead turns into a rubbery, semi-firm gel. At this stage, you can cleanly lift the bead away using the tip of a bamboo skewer or a craft knife without staining the surrounding wood, followed by a light wipe with a damp cloth.
Both water-based and chemical glues depend on environmental conditions. When workshop temperatures drop below 10°C (50°F), curing slows down dramatically, and water-based glues can fail to coalesce properly. Keep your drying space near 20°C (68°F). During periods of high humidity, extend your clamping times by at least half a day to ensure moisture fully leaves the joint.
Even premium adhesive cannot perform if it has degraded in the bottle. Wood glues should always be kept tightly sealed in a cool, dark indoor spot away from direct sunlight.
Protect water-based adhesives from freezing. If PVA glue freezes, the water separates from the polymer emulsion permanently; thawing will not restore it. Avoid storing glues in uninsulated sheds or outdoor balconies during cold seasons.
Always wipe glue crust from the applicator tip before capping the bottle snugly. If glue separates into clear liquid and chalky residue that will not recombine upon shaking, or if it turns into a stringy, rubbery mass inside the container, the adhesive has reached the end of its lifespan. Replace old bottles promptly to protect your hard work from unexpected joint failures.
In the world of handmade wooden craft, adhesive works behind the scenes. Yet, the longevity and professional feel of every piece you build hinges entirely on choosing the right glue and applying it correctly.
Respect the nature of wood, tailor your adhesive to the project's physical demands, prepare your surfaces, and never skimp on clamping pressure. Master these foundational habits, and your wooden creations will boast the durability needed to be cherished—or sold—with total confidence.
There is nothing quite like that feeling when two pieces of wood unite into a seamless, unbreakable bond. Give these techniques a try on your workbench, and enjoy building woodwork meant to last!
See you in the next guide! This was Yassy from Crafters! (・∀・)






For example, if you are looking for articles about mizuhiki, try searching for "mizuhiki"; if you are interested in tools, try keywords like "nippers" or "pliers."
