How Calipers Can Transform Your Handmade Craft Precision: Buyer’s Guide and Studio Tips
yassy
Crafters!

Hi everyone, it's Yassy from Crafters! (・∀・)
I absolutely love making handmade items, admiring exquisite pieces created by fellow crafters, and collecting unique craft supplies. Among all the tools in my studio, there is one category I hold particularly close to my heart: molds.
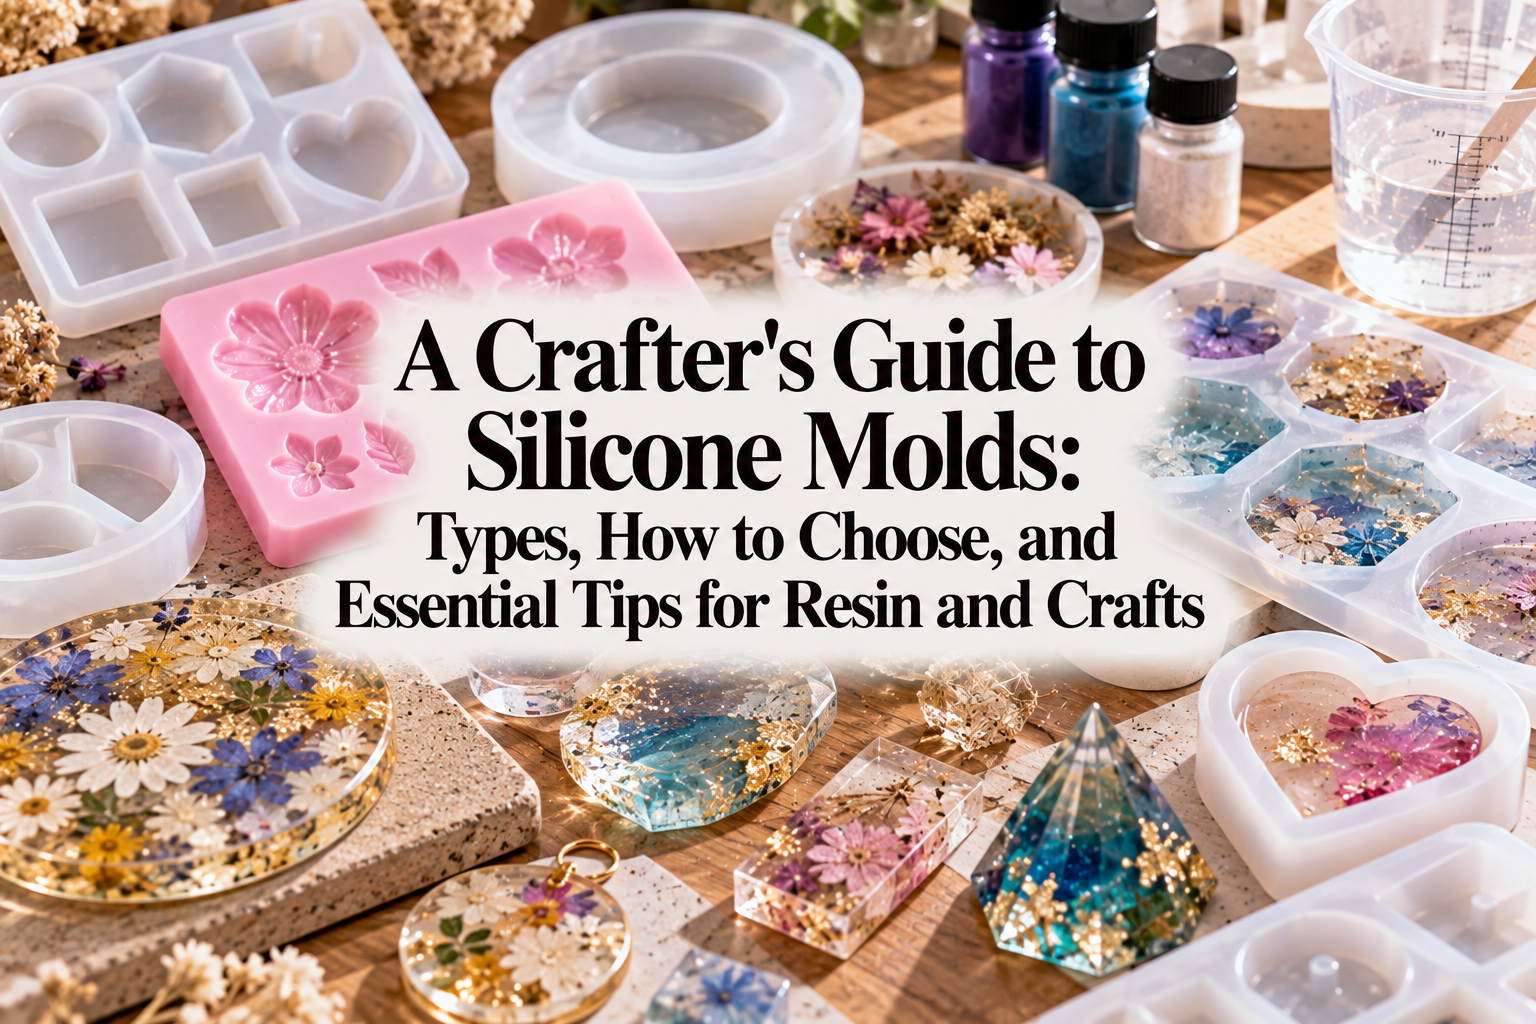
Whether you work with resin, candle wax, or plaster, molds are indispensable for bringing dimensional, three-dimensional designs to life. With the right mold, anyone can produce pieces with clean, store-bought precision right from the start.
However, when browsing craft shops or online supply stores, the sheer variety can feel overwhelming. Silicone, hard plastic, flat charms, intricate 3D shapes—beginners often find themselves wondering: Which mold should I choose for my project? How do I use them properly without damaging them?
To help you navigate these choices, here is a comprehensive guide to understanding mold types, how they compare to other shaping techniques, how to pick the right one, and how to care for them so they last for years to come.
In the handmade world, a "mold" refers to any hollow form into which liquid or pliable materials—such as resin, melted wax, gypsum, acrylic resin (like Jesmonite), or clay—are poured or pressed to set into a specific shape.
Today, silicone molds made from flexible silicone rubber represent the gold standard in craft supplies. Their elasticity and smooth release allow you to demold cured pieces effortlessly without damaging delicate details.
Over the years, I have collected and tested countless molds. What makes them truly special is their ability to instantly replicate complex, symmetrical, and perfectly smooth 3D forms that would be nearly impossible to shape consistently by hand alone.
Molds are remarkably versatile; a single mold can often serve completely different craft disciplines simply by swapping your casting medium:
To understand why molds are so popular, it helps to compare them to other common crafting techniques.
Open metal frames (bezels) and shallow trays are common in resin jewelry. With these, the metal border remains part of the finished accessory, functioning as a frame that permanently contains your resin and embedded elements.
A mold, by contrast, is purely a temporary casting tool. Once your material cures, you remove it from the mold completely. Because there is no outer metal rim, your piece displays 360 degrees of clear, uninterrupted dimension, allowing you to highlight the natural beauty and depth of the medium itself.
Shaping clay or wire entirely by hand produces wonderful organic charm, but creating exact duplicates is exceptionally difficult. Crafting uniform spheres, smooth geometric edges, or identical matching pairs purely by hand requires years of practice.
Molds eliminate that barrier. Whenever you need identical, symmetrical pieces—such as a matching pair of earrings—or need to produce uniform items for craft markets and online shops, molds deliver consistent quality every single pour.
The material of the mold dictates how it behaves and which crafts it supports best. The two most common types are silicone and hard plastic.
Silicone molds account for over 90% of modern craft molds. Their primary strengths are flexibility and high resilience. Because you can bend, twist, and peel the mold back from the cured piece, even deep undercuts and complex shapes release cleanly without breaking.
Silicone also features high heat resistance, easily withstanding the exothermic heat generated as resin cures, as well as the warmth of hot candle wax. Its natural non-stick surface makes releasing casts smooth and intuitive.
Often labeled as craft molds or plastic casting trays, these are made from rigid plastics like polypropylene (PP). Because the walls do not flex while pouring, they never bulge or warp under the weight of heavier materials. They produce exceptionally sharp edges and true, straight geometric planes, making them popular for bar soaps, molded clay, and large pillar candles.
However, because plastic does not stretch, rigid casting materials like cured resin can become permanently trapped inside. As a rule of thumb, reserve plastic molds for materials you can push out (like clay or soap), and choose flexible silicone for hard resins.
These molds feature shallow depths on a flat backing sheet. Common examples include alphabets, numbers, stars, and floral accents. The back of the cast cures flat, making it easy to attach brooch pins, earring posts, or glue onto other surfaces as decorative accents. They require very little resin and cure quickly, making them ideal for beginners.
These feature significant depth, encompassing spheres, cubes, crystal points, and teardrops. Half-sphere molds produce domed cabochons with flat backs—perfect for ring tops and pendants. Fully spherical or complex 3D objects often use capsule-style silicone molds or two-part interlocking molds.
The interior texture of your mold directly determines the exterior finish of your finished piece:
If you use UV or LED resin, you must select translucent or clear silicone molds. Opaque pink, blue, or thick white molds block UV and LED light, preventing rays from penetrating the bottom and leaving the interior uncured and sticky.
For two-part epoxy resin, plaster, or candle wax, transparency is not an issue since these cure via chemical reaction or cooling rather than light exposure. For these, prioritize heat resistance, depth, and wall thickness instead.
Softer, highly pliable silicone molds allow you to roll the edges back like a glove, making demolding deep or fragile shapes simple. Beginners will have the smoothest experience starting with pliable, semi-transparent silicone.
Thicker, stiffer silicone molds are useful for large trays or coasters because their sturdy walls prevent bowing, but using very stiff molds for tiny, intricate jewelry parts can make demolding frustrating and difficult.
When starting out, resist the urge to buy giant molds or designs with lots of tiny, sharp prongs. Large molds require substantial amounts of resin, trap more bubbles, and can suffer from uneven curing. Intricate corners often trap air, resulting in missing tips or chipped corners.
Start with simple shapes measuring 2 to 3 cm (about an inch) across—such as small domes, geometric plates, or mini cylinders. Once you feel comfortable pouring and clearing bubbles, move on to larger and more complex projects.
Silicone naturally attracts static electricity, pulling fine airborne dust, lint, and pet hair onto its surface. If you pour your medium over dust, those particles become permanently embedded in your piece.
Before every pour, take low-tack painter's tape or masking tape and gently pat the interior of the mold to lift away particles. Washing with water requires drying time and risks leaving mineral water spots, so tape is the quickest and cleanest preparatory step.
Dumping your medium in all at once traps air pockets against the bottom and within delicate corners. Instead, tilt your mold slightly and pour in a thin, steady stream from one side, letting the material flow naturally across the surface.
For sharp points and recessed textures, use a fine silicone tool, toothpick, or stirring stick to gently guide a drop of liquid into those crevices first. Lightly tap the base of the mold against your work mat to dislodge trapped bubbles, allowing them to rise to the top where they can be popped with a heat tool or pin.
Once your piece has fully cured, take your time demolding. Pulling violently can tear the silicone or strip its glossy inner finish, permanently ruining the mold.
First, gently flex the outer rim away from the cured piece to break the seal and let air slip down the sides. Once the seal releases, press upward from the bottom of the mold with your thumbs, and the cast will pop out smoothly. If a piece feels stubborn, apply a few drops of rubbing alcohol (or soapy water for non-resin crafts) around the edge; the liquid acts as a gentle lubricant to help the piece slide free.
While silicone molds are consumables that eventually wear out with repeated use, mindful care can double or triple their lifespan.
As resin cures, the combination of exothermic chemical heat and intense UV/LED light creates strong adhesion between resin and silicone. Over time, repeated thermal stress can pull microscopic layers of silicone away with each demold, causing cloudiness or tears.
Allow your mold to cool completely to room temperature before pouring your next layer or project. Avoid holding high-intensity UV lamps too close to the mold for extended durations, and adhere to recommended curing times.
In most cases, molds do not require washing with water after every use. If uncured resin residue remains, wipe it gently with an alcohol wipe. Avoid scrubbing vigorously, as abrasive pressure can leave micro-scratches on polished inner surfaces, dulling their mirror finish.
Keep these storage principles in mind:
Molds are among the most rewarding tools in any crafter's toolkit, giving beginners the ability to achieve clean, professional-grade results from their very first pour.
By paying attention to inner finishes, ensuring the right transparency for your resin, clearing away dust, and demolding with gentle care, you will be able to produce consistently stunning pieces while keeping your favorite molds in top condition.
Pick up a small, simple shape that catches your eye and give it a try—you will love seeing your creative ideas take dimensional shape! Until next time, happy crafting from Yassy!





For example, if you are looking for articles about mizuhiki, try searching for "mizuhiki"; if you are interested in tools, try keywords like "nippers" or "pliers."
