The Quality of Handmade Crafts is Decided by the Final Polish
Hello, everyone! It’s Yassy from Crafters! (・∀・)
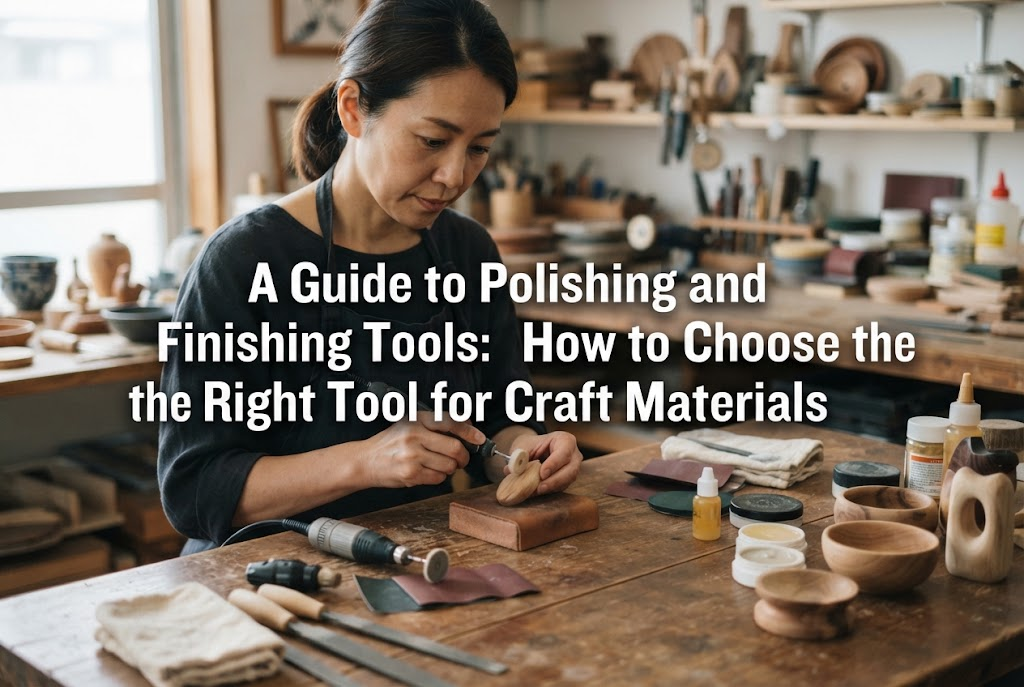
As someone who loves making various handmade crafts, looking at wonderful creations, and purchasing pieces from fellow makers, there is one thing I strongly realize every single day: the final quality of a handmade item is determined by the last sanding, polishing, and finishing touches.
No matter how brilliant the design is, or how meticulously the piece was molded or sewn, if the surface feels rough or if there are burrs left along the edges, the overall level of completion instantly drops in the viewer's eyes.
On the other hand, a piece that has been carefully sanded and polished feels delightful the moment you hold it. It reflects light beautifully and exhibits a truly professional finish.
However, when beginner crafters decide it's time to sand or finish their work, the very first hurdle they encounter is not knowing what tool to use because there are simply too many options. Even looking at sandpaper alone, you will find standard paper, waterproof paper, sponge sanding pads, and more. When you add leather burnishing tools, specialized cloths, and brushes into the mix, it is completely natural to feel overwhelmed.
In this guide, I have organized 10 representative polishing and finishing tools used in craft making by their specific purpose! Use this article as a roadmap to understand the full picture of finishing tools, what purpose each serves, and which materials they suit best.
Why Choosing the Right Polishing Tool Matters
Before introducing the tools, let's look at why it is essential to switch tools according to the task. The biggest misconception beginners fall into is assuming that "any material can be polished to a shine using a single type of sandpaper or cloth."
In reality, the finishing process consists of three main stages:
Shaping & Deburring: Removing rough edges (burrs) right after taking a piece out of a mold, or leveling uneven seams.
Smoothing & Scratch Removal: Erasing coarse scratch marks from the initial sanding to make the surface smooth to the touch.
Shining & Protecting: Using compounds or waxes to bring out a high gloss and coating the surface to protect the work long-term.
Each of these three stages requires a specific level of tool hardness, flexibility, and grit size. Using a tool that does not match the stage can cause unwanted scratches or prevent the piece from ever achieving a shine, no matter how long you polish it. Choosing the right tool is the fastest shortcut to preventing mistakes and boosting your work's quality.
amazon.comShop the MaterialsFind craft supplies and materials on Amazon.com.Explore on Amazon.com →
Some content displayed on this site is provided by Amazon. This content is provided as-is and may be changed or removed at any time.
10 Essential Polishing and Finishing Tools by Purpose
Here are the 10 essential sanding and polishing tools every crafter should know. Check which tools match the materials you work with!
1. Standard Sandpaper (Abrasive Paper)
Standard sandpaper consists of abrasive grains bonded to a paper backing. It is the most basic and widely available sanding tool.
Primary Use: Rough sanding and surface leveling in dry conditions on wood, cured clay, or plastics (where water is not used).
Characteristics: Lower grit numbers indicate coarser grains, while higher numbers mean finer grains. When you want to quickly shape woodwork or cured resin clay, start with standard sandpaper. Wrapping it around a hard sanding block creates a perfectly flat surface.
Caution: It is very weak against moisture, so never use it for wet sanding. Since dust flies easily during dry sanding, wearing a dust mask is essential.
2. Waterproof Sandpaper (Wet/Dry Sandpaper)
Waterproof sandpaper features durable silicon carbide abrasive grains bonded to water-resistant backing paper.
Primary Use: "Wet sanding" (sanding while applying water) on resin, Jesmonite, metal, and plastic.
Characteristics: Using water suppresses friction heat, prevents airborne dust, and dramatically reduces sandpaper clogging. Wet sanding creates a far smoother and more uniform surface than dry sanding. Grit sizes range from coarse (#400) to ultra-fine finishing grits (#2000 to #3000).
Key Advantage: Essential for removing burrs from resin crafts, restoring resin transparency, or clearly revealing the aggregate chips in Jesmonite terrazzo patterns.
3. Sponge Sanding Pads
Sponge sanding pads consist of abrasive coatings applied over high-density, flexible foam blocks or sheets.
Primary Use: Sanding curved surfaces, rounded edges, and intricate 3D shapes.
Characteristics: Standard paper can create unwanted flat spots or dig harsh edges into rounded clay or curved resin pieces. Sponge pads flex under palm pressure, sanding smoothly along curved contours without ruining the shape.
Key Advantage: They can be washed with water and reused repeatedly. They are unmatched for finishing miniatures, dollhouse items, rounded accessory parts, and clay sculptures.
4. Leather Edge Burnisher (Slicker / Edge Wood)
An edge burnisher is a dedicated tool used in leathercraft to slick and polish the cut edges (koba) of leather smooth.
Primary Use: Polishing raw leather edges after applying finishing agents such as Tokonole or edge burnishing compounds.
Characteristics: Made of dense woods (such as Henchi wood or ebony), plastic, or glass, featuring grooves of various widths along the sides. Fitting the leather edge into a groove and rubbing back and forth at high speed uses friction heat and pressure to bind the leather fibers into a solid, glossy edge.
Key Advantage: A round slicker bar works great for inner curves and small holes, while a round disk slicker finishes long straight edges quickly. An indispensable tool for making leather wallets and key cases.
5. Glass Slicker Plate
A glass slicker plate is made of heavy, polished tempered glass, primarily used in leathercraft to smooth the flesh side (back side) and cut edges of leather.
Primary Use: Flattening fuzz on the flesh side of leather or burnishing edges smooth.
Characteristics: After applying a finishing compound to the back of the leather, pressing and sliding the smooth edge or face of the glass plate in one direction flattens fibrous fuzz evenly under uniform weight.
Key Advantage: It can also be used as a smooth backing board when skiving or cutting leather. It creates a reference flat plane that elevates the tactile feel of leather items.
6. Microfiber Buffing Cloth (Compound Cloth)
This is a low-lint, specialized cloth designed for applying liquid or paste polishing compounds to achieve a mirror-like shine.
Primary Use: Final mirror-finish polishing after all sanding steps are completed.
Characteristics: Using regular towels or rags can leave fine hairline scratches due to coarse textile fibers. Microfiber buffing cloths hold fine compound particles securely while gently buffing the surface smooth.
Key Advantage: Keep separate cloths for each compound grade (coarse, fine, ultra-fine) to prevent cross-contamination. Crucial for bringing resin surfaces to crystal transparency or removing tarnish from metal jewelry.
7. Polishing Cloth (Pre-Treated Metal Cloth)
A polishing cloth comes pre-impregnated with ultra-fine abrasive micro-particles and protective wax components right inside the fabric.
Primary Use: Polishing silver, brass, gold, and other metal parts, as well as removing light tarnish during daily maintenance.
Characteristics: No liquid polishing compounds are needed. Simply rubbing the metal surface directly removes oxidation and minor scuffs instantly, bringing back a bright shine.
Key Advantage: A quick rub before shipping jewelry pieces serves as a final quality ritual. Do not wash these cloths, as water washes away the embedded polishing agents; use them until they turn dark.
Buffs are thick, soft polishing tools made of stacked layers of flannel, felt, or cotton fabric.
Primary Use: High-speed buffing for ultra-mirror finishes on resin, metal, and plastic parts.
Characteristics: Available as manual handheld blocks or attachment bits for rotary tools (like Dremel tools) and bench grinders. Rotating at high speed while holding compound generates friction heat and ultra-fine abrasive action simultaneously.
Key Advantage: Rotary felt or flannel buffs perform in minutes what might take hours by hand, delivering professional-grade optical shine.
9. Wax Applicator Brush (Pig Hair Brush)
A dedicated stiff-bristled brush used to evenly apply solid or paste waxes to wood, leather, or candle surfaces.
Primary Use: Evenly spreading protective or gloss waxes over textured surfaces.
Characteristics: Usually made with dense, firm natural bristles such as pig hair. Unlike flat cloths, brush bristles reach deep into wood grain texture, stamped leather crevices, and carved details.
Key Advantage: Prevents wax from clumping in low spots and turning into unsightly white residues. Essential for applying beeswax to wooden crafts or antique finishes to leather.
10. Horsehair Finishing Brush
A soft-bristled finishing brush used after applying wax or oil to buff out excess coat, generate friction shine, or sweep away sanding dust.
Primary Use: Buffing waxed/oiled surfaces to a deep sheen and cleaning fine dust out of carved areas.
Characteristics: Made with softer natural hair (such as horsehair or goat hair) to polish delicate surfaces without scratching. Rapid brushing after wax application generates friction heat that sets the wax layer firmly into a clear glow.
Key Advantage: An absolute must-have for checking final quality before photographing finished items.
Rules for Sanding and Polishing Success
To get 100% performance out of these tools and avoid ruined projects, follow these three rules:
1. Always Progress Through Grit Sizes Sequentially
Never skip directly from a coarse grit (e.g., #200) to a very fine grit (e.g., #2000) just to save time. Sanding works by erasing the previous tool's scratch marks with a slightly finer tool. Skipping steps leaves deep scratches trapped under a semi-polished surface, which will show clearly under light. Follow a logical sequence: #400 → #600 → #800 → #1000 → #1500 → #2000.
2. Use Light, Even Pressure
Pressing down hard causes uneven dips, distorts flat planes, and introduces unexpectedly deep gouges. With power tools, excessive pressure creates heat that melts resin or plastic. Let the tool do the work using gentle, consistent pressure and steady movement.
3. Clean Your Work Area and Tools Regularly
If you use fine buffing cloths in an area covered with coarse sanding dust, loose grit will transfer to your cloth and scratch your piece. Wipe down your craft project and work mat every time you move to a finer grit. Keep finishing buffs and cloths stored in sealed bags to protect them from ambient dust.
Tool Combinations by Craft Genre
You don't need to buy all 10 tools at once! Here are the best starter combinations based on what you create:
For UV & Epoxy Resin Crafts
Waterproof Sandpaper (#400 to #3000 set)
Sponge Sanding Pad (for curved surfaces)
Microfiber Buffing Cloth
Liquid Polishing Compounds (Coarse, Fine, Extra Fine)
For Leathercraft Projects
Wood Edge Burnisher (Slicker)
Glass Slicker Plate
Horsehair Finishing Brush
Metal Polishing Cloth (for hardware clasps)
For Woodworking & Wooden Cutlery
Standard Sandpaper (#120 to #400)
Pig Hair Wax Applicator Brush
Horsehair Finishing Brush (for beeswax or oil finish)
Horsehair Finishing Brush (for dusting off powder)
Yassy’s Pro Tips for a Superior Hand-Feel
Here are two personal habits I practice in my studio to take finishes to the next level:
Check Reflection at an Angle
When inspecting your work, hold it under a light source so the light strikes at an angle. Viewing straight-on hides fine scratches, but angled lighting instantly exposes remaining marks and subtle surface dips. Aim for a single, straight, undistorted line of light reflection across the surface.
Never Neglect Tool Maintenance
Hardened leather finish on slickers or dried wax on brushes will mar your next project. Wash waterproof sandpaper and sponge pads after use, and let them dry completely. Keep brushes clean and combed. Treating your tools with care directly reflects in the quality of your finished crafts.
Conclusion
We’ve covered 10 essential sanding and polishing tools, how they work, and how to avoid common mistakes. Finishing takes patience, but it is one of the most rewarding steps because your piece answers back by growing clearer and smoother with every pass.
Start by picking up two or three tools tailored to your current project. Carefully finished pieces carry an unforgettable tactile smoothness and radiance that your customers and loved ones will feel the moment they hold them.
If you found this helpful, please share this article with your fellow crafter friends! Until next time, happy crafting—this was Yassy!
■You can search using keywords to find information on topics that interest you or things you want to look up.
For example, if you are looking for articles about mizuhiki, try searching for "mizuhiki"; if you are interested in tools, try keywords like "nippers" or "pliers."
Search on Amazon.comFind these items and more on Amazon.com.