How to Fix Sticky Resin: 7 Causes of Uncured Resin and Pro Solutions
yassy
Crafters!

Hello, this is Yassy from Crafters! (・∀・)
Enclosing your favorite dried flowers or sparkling charms inside crystal-clear resin is one of the most exciting and magical moments in handcrafting. I personally love making, looking at, and buying all kinds of handmade items, but I am always especially captivated by the mystical beauty of resin crafts.
However, almost every resin beginner hits a wall at some point: failing with their embedding materials (inclusions). Have you ever created a piece that looked gorgeous at first, only to have the flowers inside turn brown over time, paper get soggy and turn black, or a cluster of tiny bubbles form around a charm that you just couldn't get rid of? We've all been there!
When it comes to resin crafting, you can't just throw any material you like into the resin. Understanding the chemical nature of resin and its compatibility with different materials—and applying proper preparation—is the only way to lock in that beauty permanently.
In this article, I will explain in detail how to correctly choose inclusion materials for resin work and share absolute rules to eliminate mistakes completely. These are reliable techniques I've developed through my own trial and error, so please read until the end and apply them to your craft!
Resin is a synthetic material that cures through a chemical reaction, transforming from a liquid into a solid. During the curing process, it generates heat, and even after hardening, it remains slightly affected by light and air. Because of this, there are clear rules for what materials are OK and what materials are absolute NOs.
Before selecting your materials, you need to firmly keep these criteria in mind. No matter how attractive a item might be, embedding an unsuitable material will definitely ruin your finished work.
At the top of the list of materials you must never embed in resin are those containing moisture or oil.
Fresh plants or food containing moisture will inevitably rot inside the resin. Because resin coats objects and shuts out air, it might seem like a good preservative at first glance, but the trapped moisture and bacteria will cause the item to turn brown from the inside out. In the worst cases, gas builds up and causes the piece to rupture. Fresh flowers, juicy fruits, and fresh leaves must never be embedded.
Furthermore, if liquid water drops or damp items mix into liquid resin, it will cause the resin to turn cloudy or result in incomplete curing, leaving the surface permanently sticky.
Materials with high oil content are equally problematic. Charms with essential oils or skin oils on them, or parts coated in un-dried oil-based paint, will repel the resin liquid, leading to separation and peeling.
On the flip side, materials suitable for resin embedding are completely dried items and inorganic materials.
Specifically, this includes dried flowers and pressed flowers that have been thoroughly dehydrated using silica gel, metal findings, glass, acrylic, porcelain, silicone, and water-resistant paper. Holograms, glitter, and natural gemstones also pair wonderfully with resin.
When choosing inclusions, always check two things: "Is it 100% dry?" and "Is it free from oil?" This is the absolute foundation of resin embedding.
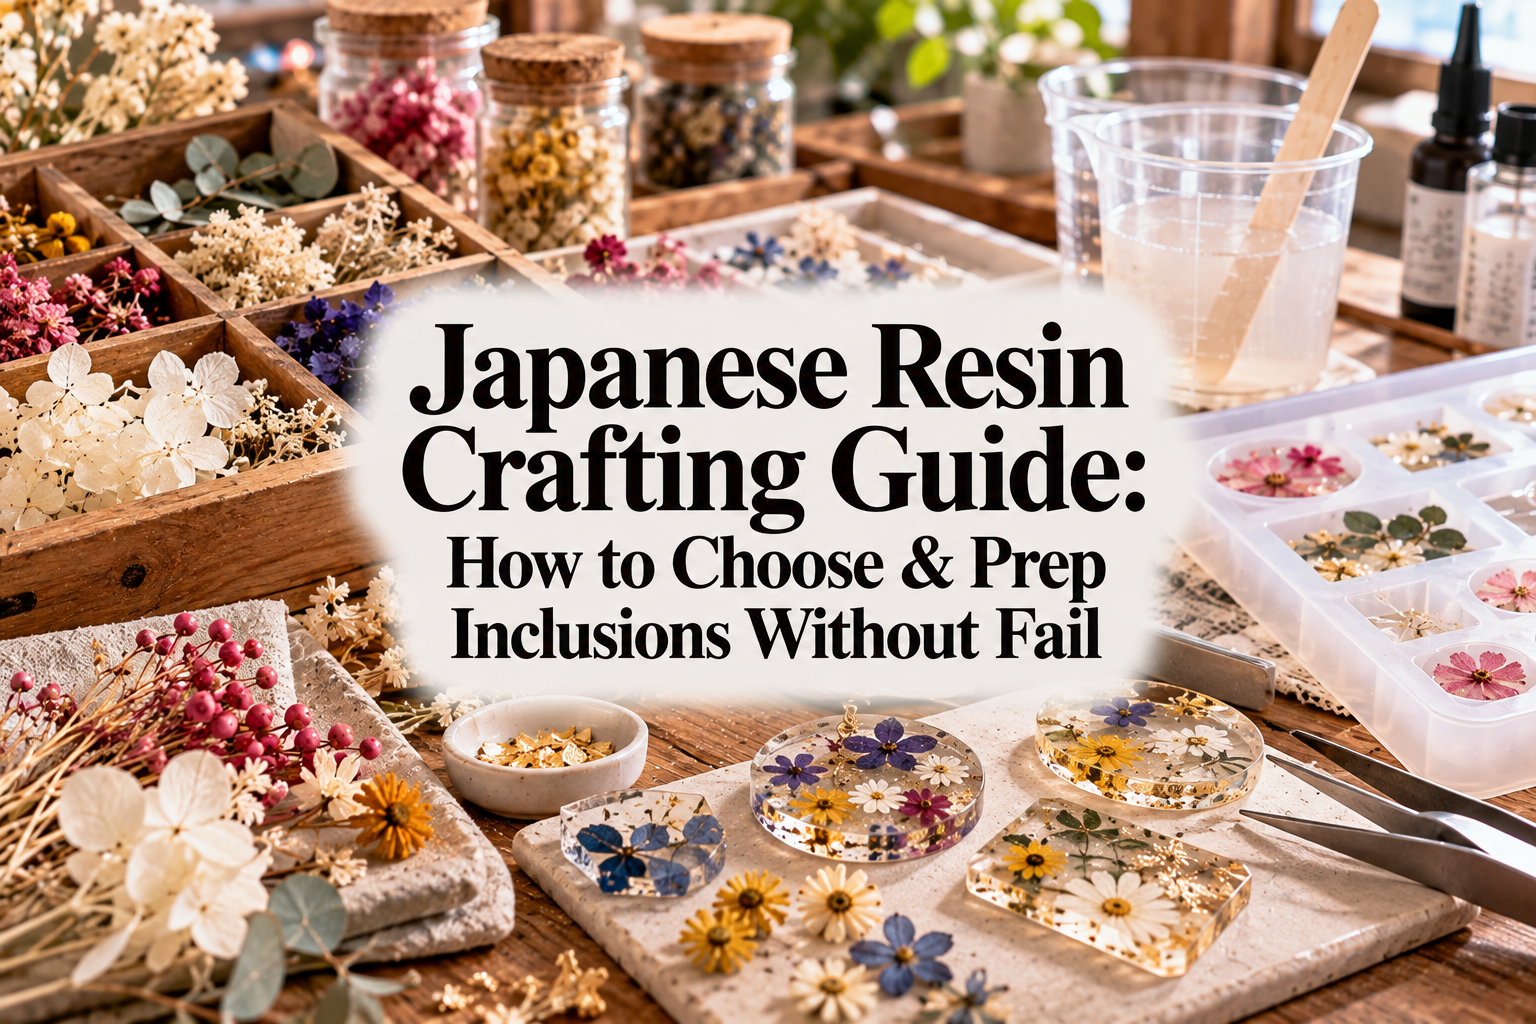
Botanical resin pieces with embedded flowers are always wildly popular in handmade marketplaces. However, because plants were once living things, they are among the trickiest and most prone to failure when used as inclusions.
The three main failures with flowers in resin are: translucency (oiling effect), fading (loss of color), and trapped air bubbles. All three can be 100% prevented with proper selection and pre-treatment.
When purchasing dried flowers or pressed flowers, pay close attention to the drying method and petal thickness.
Naturally air-dried (hanging dry) flowers often retain hidden moisture, and their colors tend to be dull. For resin work, the ideal choices are vibrant flowers dried rapidly using silica gel, or pressed flowers thoroughly dehydrated using dedicated pressing sheets.
Also, flowers with extremely thin petals (like white hydrangeas) will absorb the liquid resin and turn transparently clear if submerged directly. If you want a translucent background effect, that is fine; but if you want the flower's color to stand out vividly, choose flowers with thicker petals or dried flowers that have been pre-dyed.
Recommended flowers that resist fading well include Strawflower (Helichrysum), Statice, Globe Amaranth, and Rhodanthe. These have strong natural pigments and retain their gorgeous colors for years even inside resin.
Dropping flowers directly into liquid resin inside a mold is the most common mistake made by beginners. When placed raw into resin, air escapes from tiny crevices between petals, generating tons of bubbles, while the petals absorb resin and discolor.
My absolute rule when embedding flowers is to do a pre-coating step.
The process is very simple: before placing the flower into a mold or bezel, carefully apply a thin coat of low-viscosity resin or a dedicated coating liquid onto the flower using a brush, then cure it under a UV/LED light first.
By doing this, a protective barrier covers the petal surface, preventing the resin from over-soaking into the flower. At the same time, it pushes out air trapped beneath the petals, preventing bubble outbreaks during the final molding stage.
Many crafters love sealing illustrations of favorite characters, custom artwork, family/pet photos, vintage book pages, or postage stamps inside resin.
However, placing raw paper into liquid resin causes the paper to soak up the liquid, turning dark and translucent like an oil stain. Worse yet, the printer ink can dissolve, clouding the entire piece.
To embed paper cleanly, you must identify the ink type and apply a complete waterproof coating.
When embedding printed paper, durability varies greatly depending on the printing method.
The most resilient prints are laser-printed toner papers, commercial postcards, postage stamps, and tracing paper printed professionally. Because toner or commercial ink adheres to the surface of the paper, it resists bleeding relatively well.
Where you must be extra careful is with home inkjet prints. Photos or illustrations printed with water-based dye inks will bleed almost instantly upon touching resin or moisture. If you want to embed home-printed items, use pigment inks, or never skip the pre-treatment below.
When embedding paper, I always completely seal the paper using decoupage glue or water-based acrylic varnish.
Here are the step-by-step instructions:
The crucial point here is applying the sealer to the raw cut edges! Even if you coat the front and back, resin liquid will seep in through the raw paper edges, turning the borders blackish. Sealing the entire 360-degree perimeter traps the paper safely inside, preserving its original texture and color.
If you want an even safer method, sandwiching your printed item between commercially available protective sheets designed for resin embedding is also very effective.
Metal findings, open bezels, filigree charms, glass beads, and natural gemstones give resin pieces a luxurious and dimensional feel. Because these are inorganic, they carry no risk of rotting or fading, but their biggest enemy is trapped air bubbles.
When buying metal charms and findings, check the plating quality. Very cheap metal parts can tarnish, peel, or turn green (verdigris) due to the curing heat or chemical components of resin.
To keep your craft quality high, select parts with high-quality gold plating, silver plating, or solid brass.
Also, metal parts often carry machine oils from manufacturing or fingerprints (skin oil). If embedded directly, they repel resin and create air pockets. A professional secret is to wipe metal pieces thoroughly with a cloth or cotton swab dampened with alcohol (ethanol) before embedding.
Filigree parts, metal charms with hollow backs, faceted gemstones, and drilled beads tend to trap air inside their tiny crevices and holes. If you drop them straight into resin, micro-bubbles will continually rise while curing, leaving ugly holes on the surface.
When embedding 3D or textured items, perform the "Dip Method" before placing them into your piece.
Pour a small amount of resin liquid onto a mixing dish, pick up the charm with tweezers, and completely submerge/dip it into the resin. Use a toothpick or the gentle warm air of an emboss heater to pop any bubbles hiding in crevices.
Once pre-dipped, place the item into your mold or setting. This eliminates new bubbles from popping up during the main curing process! For drilled beads, fill the bead hole with resin liquid and cure it beforehand to destroy bubble sources at the root.
Glitter, holograms, crushed shells, and glass cullet are magical materials that reflect light and elevate resin pieces. However, resin crafting is not a case of "the more, the merrier." Packing in too much material loses the resin's transparency and can lead to incomplete curing.
Adding excessive amounts of inclusions like glitter or shell flakes disrupts the bond between resin molecules, significantly reducing the strength of your finished piece. It can cause edges to chip or break easily upon impact.
Even more important is light transmission. UV and LED resins harden when ultraviolet or visible light reaches all the way to the bottom. If you pack opaque shells or thick glitter layers tightly, light cannot penetrate, resulting in sticky, uncured resin inside.
The golden ratio is to stop when it feels slightly sparse. Aim for inclusions to occupy roughly 30% to 50% of the total volume. This maintains crystal transparency while maximizing beautiful light reflection.
If you try to pour resin and add all your inclusions in a single step, heavy parts will sink to the bottom, light glitter will float to the top, and your piece will end up looking flat.
To build a piece with true depth and 3D dimensionality, always build your work in layers.
Here is my basic layering process:
By arranging materials across 2 to 3 layers, you create clear visual depth inside the resin, giving your work a professional finish from every angle.
Even if you collect high-quality inclusions, poor storage can ruin them before you ever get to use them. Dried flowers and holograms are especially sensitive to their environment.
The three major enemies of inclusions are humidity, UV light, and oxygen.
As soon as you buy dried flowers or pressed flowers, store them in airtight zip bags or cases along with silica gel desiccant packets. If they absorb room moisture, they will slowly fade or grow mold inside the bag. Also, direct sunlight will strip their color completely within a few months. Keep them stored safely inside opaque drawers or light-shielding boxes.
For glitter, holograms, and metal findings, store them in stackable tower containers or compartment cases with snap-tight lids to prevent static scatter or spills. An organized workspace is the foundation for creating great crafts!
When shopping online or in supply shops, don't buy inclusions purely because they look cute.
When buying dried flowers, don't rely only on photos—check the product description for details like "silica-gel dried" or "color-dyed." Cheap "flower mix" packs often contain crushed blooms or damp, low-quality pieces. It is better to start by purchasing single-varietal packages from reputable specialty shops.
For metal parts and bezels, always check the exact millimeter dimensions and thickness. Items often look larger in photos than in real life, or they might be too thick to fit inside your molds. Get into the habit of measuring your planned design before buying!
We've covered the expert rules for selecting and pre-treating resin inclusions in depth!
More than 80% of mistakes in resin craft stem from incorrect material choices or insufficient prep work. Remember the core principles: choose 100% dry materials, eliminate moisture and oil, thoroughly seal paper and flowers in advance, and build in layers rather than stuffing everything in at once. Follow these guidelines, and you will never have to deal with muddy colors or ruined pieces again.
There is nothing quite like the joy of locking your favorite treasures inside clear resin, preserving their beauty as if time has stood still. Armed with the right knowledge and careful prep work, go ahead and craft your own unique, breathtaking resin pieces with confidence!
If you found this guide helpful, please share it with your craft friends on social media or messaging apps—it really encourages me!
Until next time, happy crafting! This was Yassy from Crafters!



For example, if you are looking for articles about mizuhiki, try searching for "mizuhiki"; if you are interested in tools, try keywords like "nippers" or "pliers."
