Beyond the Beginner Kit: The Golden Order for Upgrading Your Knitting Tools for Beautiful Stitches
yassy
Crafters!

Hello, crafters! It’s Yassy! (・∀・)
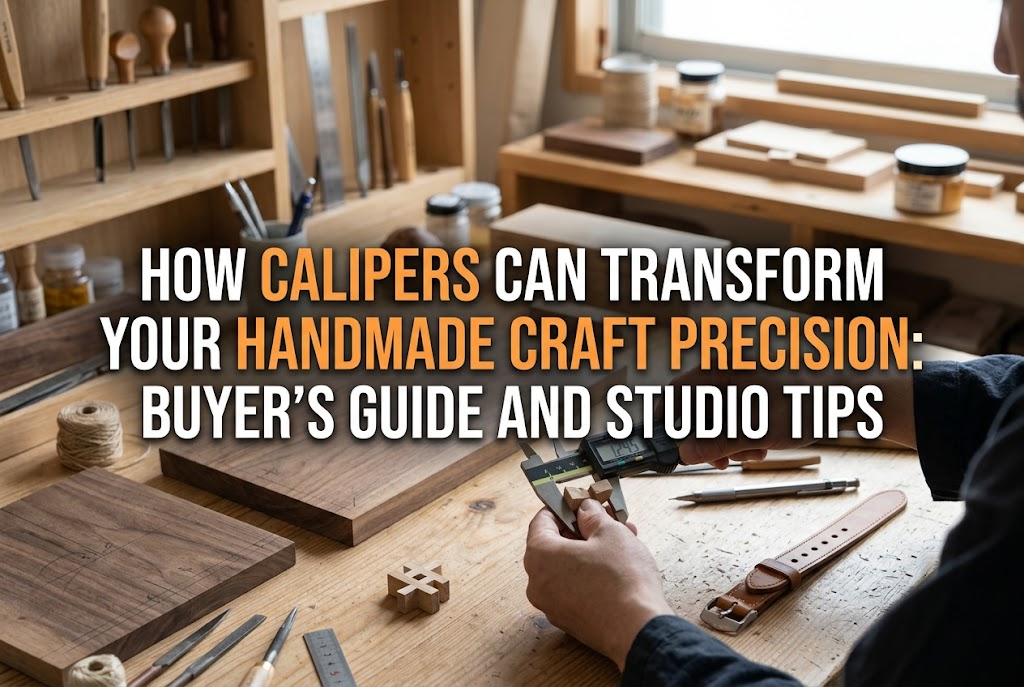
As someone who loves making, looking at, and buying all kinds of handmade items, there is one particular tool I want to talk passionately about today: calipers (often referred to in Japan as nogisu).
When you hear the word "caliper," you might think, "Isn't that a specialized tool used only in factories or heavy-duty DIY projects?" or "It looks complicated and irrelevant to craft making."
That is a huge misconception!
If you want to elevate the quality of your handmade pieces to a truly professional level, calipers are an absolute must-have essential tool.
In this guide, I will thoroughly break down the role of calipers in handmade crafting, how to use them, the characteristics of each type, and how to choose the right one without making a mistake.
Calipers are precision measuring tools designed to measure thickness, width, outside diameter, inside diameter of holes, and depth of grooves in extremely fine increments, down to 0.1 mm or even 0.01 mm.
If you have ever struggled with handmade projects where parts just won't fit together neatly, finished sizes vary every time, or the actual size differs slightly from the measurements listed in your online shop, the root cause almost always comes down to imprecise measuring.
When using a standard flat ruler, "parallax" (the viewing angle error) inevitably occurs depending on where your eyes are positioned relative to the scale.
Furthermore, it is physically impossible to get an accurate reading on spherical beads, curved clay pieces, or the depth of silicone molds just by laying a flat ruler against them.
Using calipers transforms measurements that previously relied on intuition or guesswork into precise, visible numbers. Gaining accuracy down to 0.1 mm will dramatically boost the precision and finish of your handmade pieces.
Calipers are not limited to one specific craft; they deliver incredible results across virtually every handmade medium:
Stepping up from "making by feeling" to "controlling with exact measurements" is the defining boundary between beginners and seasoned makers.
What sets calipers apart from ordinary rulers is their ability to handle four completely different types of measurements with a single tool. Understanding these functions will solve nearly every measurement headache in your studio.
The large, scissor-like claws at the bottom of the caliper are called the external jaws. By gently closing these jaws around your object, you can measure its outer diameter, thickness, or width.
Handmade applications:
Because the jaws can grip the widest point of spherical or curved objects, you get an accurate reading that a ruler simply cannot provide.
The smaller claws at the top of the caliper are the internal jaws. You insert these claws into a hole or hollow area and expand them outward to measure internal dimensions.
Handmade applications:
Even tiny openings where a ruler cannot reach can be measured instantly by hooking the internal jaws inside.
Extending from the very end (the tail) of the caliper is a slender metal or composite rod called the depth bar. By placing the flat base of the caliper body against the rim of an object and sliding the depth bar down until it touches the bottom, you can gauge exact depths.
Handmade applications:
Even for deep holes or hollows where the bottom is difficult to see, the depth bar gives you an accurate measurement in one step.
A lesser-known technique utilizes the stepped faces at the head of the caliper. By placing the top edge of the main beam and the slider against a stepped surface at a perpendicular angle, you can measure differences in height.
Handmade applications:
Once you master these four methods, you will never encounter an unmeasurable spot in your craft projects again.
Calipers generally come in three display styles. Understanding the advantages and disadvantages of each will help you choose the best match for your workflow.
This is the traditional, fully metallic caliper where you read measurements by aligning the primary scale with the sliding vernier scale.
While mechanically reliable, the extra time required to interpret the reading makes it less practical for crafters looking for quick efficiency.
This type features a round, clock-like dial built into the slider.
In craft environments where clay dust, wood shavings, or cured resin shavings are floating around, the risk of dust jamming the gears is a real drawback.
Digital calipers feature an LCD screen right on the slider, showing measurements directly in digits, such as "12.4 mm."
For handmade craft enthusiasts and beginners, digital calipers are undeniably the best choice. They eliminate reading fatigue and speed up your workflow significantly.
Along with the display type, the body material is a critical factor. Calipers are primarily made from either stainless steel or carbon fiber composites (reinforced plastic). Choosing the right material determines whether your work stays safe from scratches.
Made from plastic reinforced with carbon fiber, this is the most popular choice among Japanese handmade creators.
These models typically read to 0.1 mm, which is more than enough precision for handmade goods. The peace of mind that comes from knowing you won't gouge or scratch delicate materials is their greatest strength.
These are the hefty, durable calipers used in heavy industry, metal machining, and professional workshops.
Unless you are drafting leather patterns or doing heavy metalworking and woodworking, using steel calipers directly on delicate handmade craft materials carries too much risk.
If you work with delicate craft supplies, a carbon fiber digital caliper is the absolute right choice for your first purchase. Being able to measure quickly without worrying about scratches is a game changer.
You might wonder, "Can't I just use a regular ruler or tape measure I have around the house?" Each tool has distinct roles and strengths.
Rulers are meant for drawing straight lines on flat surfaces or measuring the length and width of flat paper or fabric. Because ruler markings sit on the surface, measuring 3D thickness creates an inevitable gap between the scale and the item, easily causing reading errors of 1 mm or more. Calipers, by contrast, physically sandwich the object with their jaws, eliminating gaps and parallax completely.
Tape measures are designed for long measurements—such as sizing garments, measuring finished bag exteriors, or cutting long fabrics and ribbons. While their flexibility is great for curves, they lack the capability to measure tiny parts of just a few millimeters. Avoid relying on tape measures for small craft components.
Micrometers are ultra-precise tools capable of measuring metal sheet thickness down to 0.001 mm. However, their measuring range is very narrow, and they cannot measure internal diameters or depths. For handmade crafting, a micrometer is total overkill, far more difficult to handle, and unnecessary.
To avoid buyer's remorse, look for these six essential features when selecting your craft caliper:
Even with great calipers, incorrect handling leads to flawed numbers. Keep these practical tips in mind:
The most common beginner mistake is pinching the slider down with excessive force. Squeezing too hard flexes composite calipers and crushes or deforms soft materials like cured resin and clay. Stop sliding the moment the jaws make gentle, firm contact with the surface.
If your piece is tilted diagonally between the jaws, the reading will register larger than the actual size. Ensure the contact surfaces of the jaws sit completely flat, parallel, and perpendicular against your object.
Here is an indispensable trick using the ZERO button. Suppose you want to check how much thinner a cured resin casting is compared to the original mold depth:
The screen will directly display the difference (for example, "-0.5 mm"). You don't have to do any mental subtraction, eliminating calculation mistakes and speeding up production.
Calipers are precision tools. Follow these basic care habits to keep them performing reliably:
Calipers are not just for industrial workshops; they are an invaluable ally for craft beginners whose measuring habits are not yet finely tuned. Having accurate readings down to 0.1 mm ensures components fit together perfectly and cuts down project mistakes dramatically.
Moreover, when you sell your creations online or at craft markets, you will be able to state exact dimensions with total confidence, earning stronger trust from your customers.
Add a lightweight, user-friendly digital caliper to your craft toolkit and enjoy stress-free, high-precision making!
If you found this guide helpful, please share it with your craft friends on social media! See you in the next post—this was Yassy from Crafters!


For example, if you are looking for articles about mizuhiki, try searching for "mizuhiki"; if you are interested in tools, try keywords like "nippers" or "pliers."
