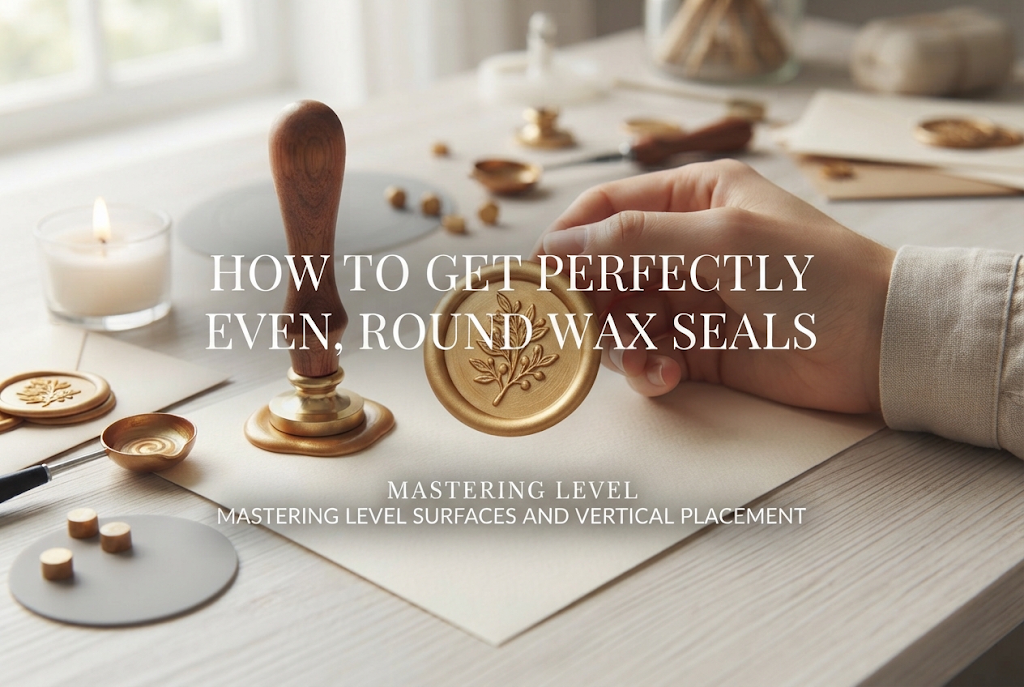
How to Get Perfectly Even, Round Wax Seals: Mastering Level Surfaces and Vertical Placement
yassy
Crafters!

Hello everyone, this is Yassy from Crafters! (・∀・)
Have you ever seen that nostalgic, luxurious wax emblem pressed onto the seal of a letter or gift wrapping? Chances are, you’ve admired one at least once.
This craft, known as "wax sealing" or "sealing stamps," is currently taking social media by storm. Just looking at them is mesmerizing, but making them yourself multiplies the enjoyment many times over!
I personally love making, looking at, and buying all kinds of handmade crafts. Naturally, I’m deeply hooked on the world of wax seals as well. That special thrill of watching the wax melt smoothly and gently pressing down the stamp head offers a unique satisfaction you won't find in other crafts.
Still, many beginners might have concerns or questions like, "Does it use open flames, making it difficult?", "How much does it cost to gather all the tools?", or "Can I do this in a small rented room?"
In this article, I’ll thoroughly cover everything from the basic knowledge of wax sealing to specific items you can make, difficulty levels, required workspace, and budget expectations. By reading this guide, all your questions about starting wax sealing will be cleared up!
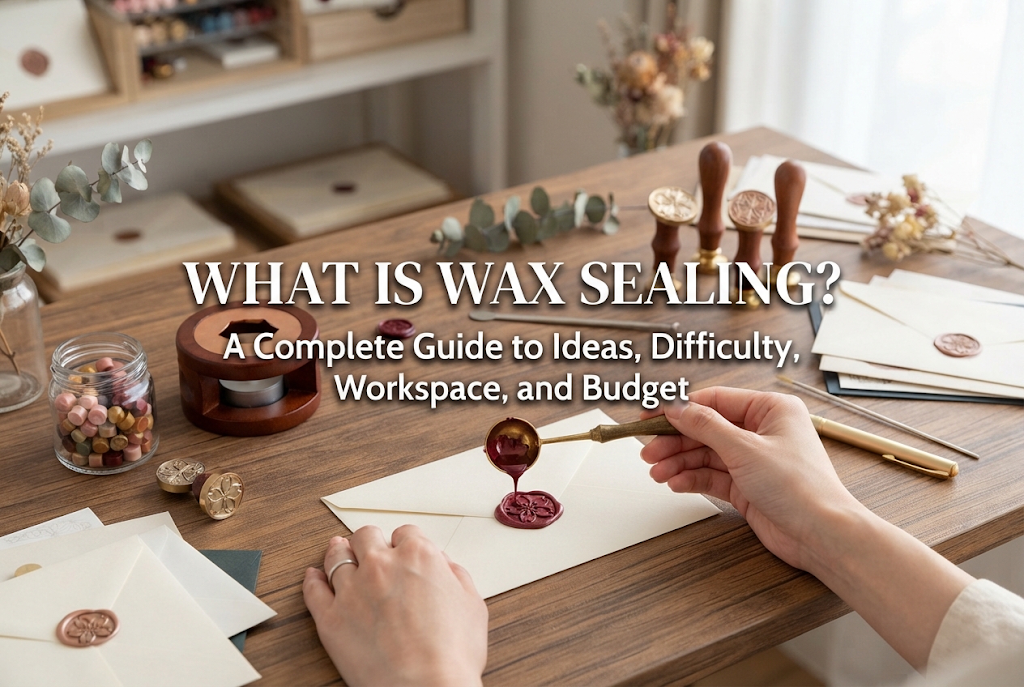
Wax sealing is a technique where heated, melted wax is poured, and a metal stamp head with an engraved design is pressed into it, cooling and hardening to leave an impression.
While it originally had a practical use rooted in historical context, today it has evolved into a sophisticated hobby and a popular decorative material for handmade items.
The history of wax seals goes back to medieval Europe. At that time, seals were used not only to close letters, but also as proof that the letter had not been opened by anyone along the way—a seal of authenticity and privacy.
Furthermore, it served as identity verification or a heraldic crest, proving that the sender belonged to royalty or nobility.
Historically, sealing wax was made from very brittle materials. If a third party tried to open the letter without permission, the wax would shatter completely, functioning as a perfect anti-tampering mechanism.
The sealing wax used in handmade crafts today is entirely different from historical formulations. The most common type now is flexible wax containing resin, which retains a moderate flexibility even after hardening.
Because of this, there is almost no fear of it shattering when sent through the mail. Rather than stamping directly onto letters, you can also use them anywhere as if applying pre-made stickers.
The range of available colors has also expanded dramatically. Beyond classic reds and golds, the creative possibilities are endless—including muted tones, pastel colors, transparent clear wax, and glitter-infused options.
Wax stamps aren't just for sealing envelopes. Depending on your ideas, they become the ultimate decorative tool to elevate any handmade project or everyday item.
Here are some of the ways I frequently use them, as well as popular applications among handmade creators.
The most basic yet impactful use is as an accent for paper items. Beyond sealing letters to loved ones, placing a wax seal on a message card instantly raises its sense of luxury.
Securing gift ribbons with a wax seal is also a stylish technique. Even simple brown kraft wrapping paper looks like it came from an upscale boutique with just one seal added.
Wax seal motifs created on their own can be used directly as jewelry parts. By attaching fittings like pony hooks or brooch pins to the back with adhesive, you can complete one-of-a-kind classical accessories.
They are also immensely popular for wedding stationery. From sealing invitations and decorating place cards to accenting welcome boards, wax seals have become a must-have item for brides-to-be.
By applying double-sided tape to the back of a finished wax seal, you can make your own original "wax stickers." The number of people enjoying them on notebooks, planners, and smartphone cases is rapidly growing.
Additionally, stamping directly onto transparent acrylic plates or glass containers creates delightful interior decor items. Simply decorating with or collecting the hardened wax creations themselves makes for a wonderful, heart-filling hobby.
Hearing that you need to melt wax using fire might make the difficulty level seem high. However, once you grasp the steps and key tips, the process itself is very straightforward.
Here is a detailed guide to the proper basic steps to prevent mistakes.
The fundamental method involves using a candle flame to melt wax held in a spoon. To work safely and comfortably, using a dedicated "melting furnace (stamp furnace)" is definitely the right choice.
Holding a spoon by hand for extended periods carries a risk of burns from unsteady hands, but using a furnace holds the spoon securely above the candle, dramatically increasing safety.
Place 3 to 4 wax pellets (small granules) into the spoon, set it on the furnace, light the candle underneath, and wait for it to melt gradually.
Once the wax is completely melted into a liquid state, remove the spoon from the flame. At this point, it's crucial not to let the wax boil. If air bubbles form, they will remain inside your finished seal.
Pour the melted wax onto the desired surface (or onto a silicone mat). The biggest secret to making a neat, round seal is to hold the spoon low and pour slowly into one spot, forming a circle.
Once the wax is poured, press the stamp head down immediately. Hesitating and taking too long will allow the surface to start setting, leading to wrinkles.
When placing the stamp, lower it straight down vertically and gently. There is no need to press down forcefully. The weight of the metal head itself will spread the wax naturally.
After placing it, do not move it at all, and wait until the wax cools completely. This takes about 20 to 30 seconds. Touch the metal head; if it feels cold, lift it gently. If it releases smoothly, it's a success!
In the world of crafts, the difficulty of wax sealing is in the "low to intermediate" range, meaning anyone can start enjoying it today.
However, starting without knowing a few pointers might lead to minor failures and frustration. Here are 4 common failure patterns beginners encounter, along with their ideal solutions.
The most common mistake is tiny holes (air bubbles) appearing on the surface of the finished seal, or the wax changing color due to scorching.
The cause is overheating. This happens when the spoon is held too close to the candle flame or kept over the heat long after the wax has melted.
The fix is simple: remove the spoon from the flame when about 80% of the wax pellets have melted, allowing the residual heat to melt the rest. If bubbles do appear, pop them with the tip of a toothpick before pressing the stamp.
Another frequent issue is the wax spreading unevenly around the stamp, resulting in a distorted or lopsided shape.
The cause is either pouring the wax too fast, applying force at an angle while stamping, or working on an inclined desk.
Always hold the spoon steady when pouring, letting the wax drop from directly above at a constant speed. When placing the stamp, lightly rest a finger on top of the head without shifting force to the left or right.
Sometimes, when you try to lift the stamp, the wax sticks stubbornly to the head and breaks your design.
The cause is insufficient cooling or the stamp head becoming too hot. Stamping repeatedly warms up the metal head, preventing the wax from solidifying properly.
As a preventive measure, placing the stamp head on an ice pack for a few seconds to chill it before stamping is extremely effective. Using a cold head solidifies the wax instantly, letting it peel off smoothly!
Stamping directly onto paper isn't an issue, but many people wonder how to attach wax seals that were pre-made on a silicone mat onto other objects.
The correct solution is using "round double-sided tape specifically designed for wax seals." Pre-cut double-sided tape matching the diameter of standard stamp heads (such as 25mm) is available online.
While you can cut strong standard double-sided tape into circles yourself, using dedicated tape speeds up your workflow significantly.
When starting a new craft, room space and environment are important considerations. In this regard, wax sealing is a very accessible discipline.
The workspace required for wax sealing is surprisingly compact. As long as you have enough room to open an A4-sized notebook or planner, you can comfortably enjoy creating.
No bulky tools or large machinery are needed. You can set up and start working on the corner of a dining table or a small desk whenever inspiration strikes.
It won't get in the way even in a studio apartment or a small corner of a living room, which is one of the big attractions of wax sealing.
While it requires minimal space, you are working with fire and a heated spoon, so protecting your work surface is essential. Please never work directly on an unprotected tabletop.
The golden rule is to lay down a silicone mat. Silicone mats have excellent heat resistance, and spilled wax peels off easily once hardened, making them an indispensable dual-purpose tool.
To be even safer, placing a wooden tray or thick mat beneath the silicone mat completely blocks heat from transferring to your furniture below.
When melting sealing wax, a subtle, distinct aroma of resin and wax is produced. Keep the room well-ventilated by turning on an exhaust fan or opening a window slightly so you stay comfortable.
Additionally, households with young children or pets (cats and dogs) must exercise extreme caution with open candle flames.
Never leave open flames unattended while working. If using fire concerns you, electric wax melting furnaces or wax glue guns are great alternative options.
When picking up a new hobby, initial costs are often a top concern. Bottom line: wax sealing can be started on a very modest budget!
The initial budget to start wax sealing from scratch is roughly 1,500 to 3,000 yen. Compared to handmade craft genres as a whole, it is remarkably affordable to begin.
The essential tools required are:
Even buying all of these individually usually stays around 2,000 yen total. It's a wonderful point that you can gather a complete set easily within a reasonable budget.
If you are a complete beginner, I definitely recommend buying a "starter kit."
Online retailers like Amazon and Rakuten offer a wide variety of starter kits containing all the essential tools listed above for around 2,000 to 3,000 yen.
Kits often come with a variety of wax colors mixed together, allowing you to start making seals the day your package arrives. You also don't have to worry about tool sizing compatibility.
Recently, 100-yen shops in Japan (such as Seria and Daiso) have started selling wax stamp heads, wax pellets, and melting spoons. These are excellent for introductory use.
However, there are clear differences in quality between 100-yen shop items and specialized craft shop supplies.
Wax from 100-yen shops tends to be slightly harder and more prone to cracking, or takes longer to melt. Furthermore, the engraving depth on stamp heads from specialty shops is far more precise and detailed.
My recommended approach is: "Basic tools (furnace, silicone mat) are fine from 100-yen shops, while stamp heads and wax are best bought from specialty shops." This keeps costs down while producing high-quality results.
Once you master the basic stamping procedure, try challenging yourself with arrangement techniques to expand your expression. The world of wax sealing becomes infinitely deeper and even more addicting!
Here are 3 simple yet professional-looking arrangement techniques I regularly use.
Rather than putting only one wax color into the spoon, this technique mixes 2 or 3 complementary colors of pellets.
For example, combinations like White × Gold, Muted Pink × Beige, or Navy × Silver work beautifully.
Instead of mixing them completely in the spoon, give the melted wax just 1 or 2 quick swirls with a toothpick to create a gentle swirl before pouring. You'll get a stunning, one-of-a-kind marble pattern.
This arrangement tops the poured wax with decorative elements right before pressing the stamp.
Using tweezers, scatter small dried flower petals, nail art gold foil, or delicate glitter onto the melted wax. Pressing the stamp over them using clear or pale wax encapsulates the materials like resin, creating an enchanting seal.
Combining clear wax with these toppings creates a high-end look reminiscent of boutique products, so please give it a try!
This finishing technique uses a metallic paint marker (like gold or silver acrylic pens) to color the raised details of the completed seal.
Adding this single step brings out intricate engraved designs clearly, dramatically boosting the seal's regal presence.
The trick is to glide the pen tip gently across the raised surface without pressing hard. Even if you make a mistake, you can wipe it off with an alcohol wipe before it dries, so beginners can try it worry-free!
We’ve covered basic wax seal knowledge, craft ideas, correct procedures, troubleshooting tips, and budget expectations in detail.
Wax sealing doesn't require a large room or a huge financial investment. With an A4-sized space and a starting budget of around 2,000 yen, anyone can jump into this incredibly charming craft today.
Watching the wax melt over the flame calms the mind, and the satisfying feeling of pressing the stamp down and peeling it off cleanly once cool is truly addictive.
Sending a letter adorned with a handmade wax seal or sticking one into your planner adds a bright, special touch to everyday moments.
Although it might look intimidating at first glance, wax sealing is actually a very friendly and welcoming world. I encourage you to take that first step!
If you enjoyed this article, sharing it with friends on social media or messaging apps would make my day and keep me inspired!
See you in the next article! This was Yassy from Crafters!

For example, if you are looking for articles about mizuhiki, try searching for "mizuhiki"; if you are interested in tools, try keywords like "nippers" or "pliers."
