The Essential Guide to Japanese Eraser Stamp Carving: Must-Have Tools and Flawless Techniques for Beginners
yassy
Crafters!
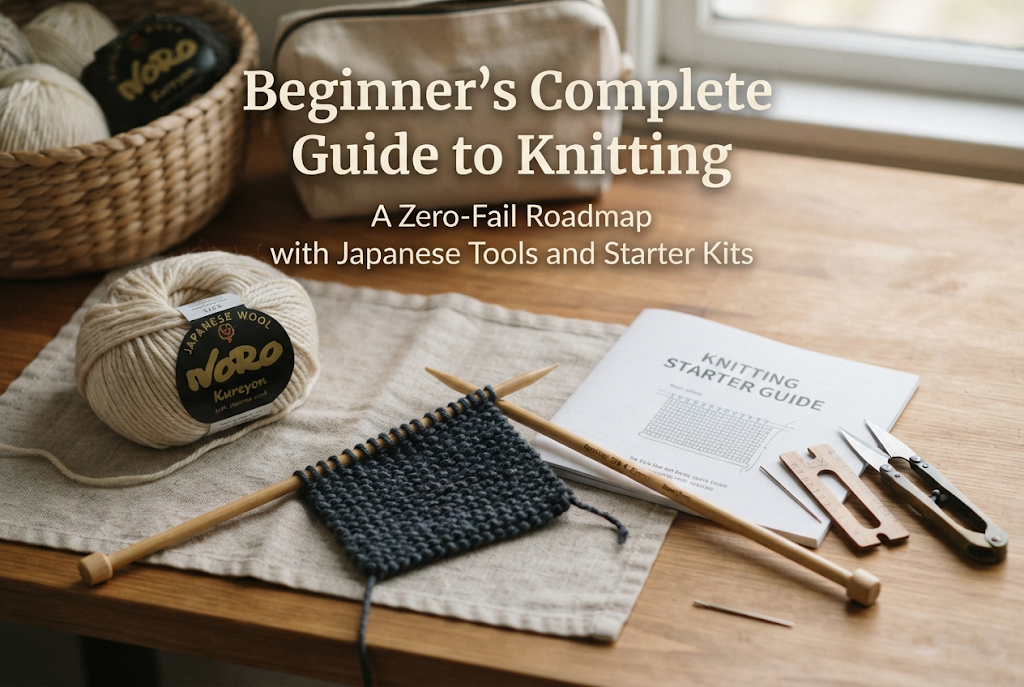

Hello, this is Yassy from Crafters! (・∀・)
I love making handmade items, looking at them, and buying wonderful crafting supplies and finished pieces! Today, I want to talk about a topic close to my heart: knitting with needles!
When the air turns chilly, don't you just want to touch soft, warm yarn? Seeing cute knitted scarves and hats in shops, I am sure you have experienced that exciting thought at least once: "How wonderful would it be if I could knit this myself?"
At the same time, though, have you given up thinking, "Knitting looks too difficult," "I don't have the dexterity to control two long needles," or "I have no idea what tools to buy"?
Please put those worries to rest today!
As long as you have the right knowledge and pick the correct tools to start with, even a complete beginner can finish a project without giving up.
In this guide, I will deliver a complete starter roadmap so that anyone wanting to take up knitting can make lovely knit items via the shortest, most hassle-free route.
Once you finish reading this article, don't hesitate to order a starter kit or supplies on Amazon and dive straight into the fun world of knitting!
When people hear "yarn crafts," many think of crochet and knitting with needles. Many wonder which one they should start, but if you are looking for fluffy softness and elasticity, knitting is definitely the ultimate choice!
First, let's clearly understand the unique charm of knitting and its decisive differences from crochet.
Crochet uses a single hook to scoop yarn into a dense structure, resulting in a firm, thick, and stiffer fabric. While perfect for bags, pouches, and amigurumi (plush toys), it can sometimes be a bit too stiff for wearable items that touch the skin.
Knitting, on the other hand, uses two or more needles to hold loops of yarn alternately. This creates an overwhelmingly soft texture filled with air, along with exceptional elasticity.
For items worn directly against the skin that require comfort and fit—such as scarves, snoods, sweaters, and socks—knitting yields the absolute best quality.
The basic structure of knitting is surprisingly simple. In fact, if you master just two stitches—the knit stitch and the purl stitch—you can knit over 90% of the world's knitwear!
Just by changing how you combine knit and purl stitches, you can create smooth and beautiful stockinette stitch, reversible garter stitch, dimensional ribbing, and even dream-worthy cable patterns.
Because there are very few core techniques to learn, once your hands memorize the movements, it becomes a lifelong hobby where you can rhythmically knit while watching TV.
When starting to knit, the very first obstacle beginners face is choosing tools. Looking at craft stores or online shops, there are so many types of needles and yarns that it can feel overwhelming.
Here, I will clearly state the standards for choosing tools and materials as a beginner. You don't need to buy anything extra.
Knitting needles mainly come in three types:
The needle I unconditionally recommend for beginners is circular needles (cable length 60 cm to 80 cm / approx. 24 to 32 inches)!
If you are thinking, "Wait, aren't circular needles meant for hats or tubular things?", that is a big misconception. Circular needles can perfectly handle flat knitting (straight pieces) by using both ends of the cable.
Furthermore, circular needles offer overwhelming advantages: the fabric rests on your lap so your hands don't get tired, long needles won't hit people around you in tight spaces like trains or cafes, and stitches stay safely on the cord, making them far less likely to drop accidentally.
Instead of buying straight single-pointed needles, getting versatile circular needles right from the start is the absolute correct choice to avoid failure.
Knitting needle materials include bamboo, metal (aluminum or stainless steel), and plastic.
Beginners should definitely choose bamboo knitting needles.
Needles made of metal or plastic are extremely slick, causing beginners' stitches to slide right off the needle mid-knit, resulting in a disaster.
Bamboo needles have just the right amount of friction to keep yarn from slipping off easily, holding your stitches securely. They also feel warm and comfortable in your hands, reducing fatigue during long crafting sessions.
Yarn comes in standardized weights such as lace, fine, medium, worsted/bulky, and super bulky. The needle size (thickness) to use is strictly determined according to the yarn weight.
In Japanese knitting needle sizing, the larger the number, the thicker the needle (from Size 1 = 2.4 mm up to Size 15 = 6.6 mm, plus larger jumbo sizes).
The yarn weight a beginner should choose first is bulky (gokubuto) or super bulky (chou-gokubuto) yarn, paired with matching needles around Japanese Size 10 to 15 (approx. 5.1 mm to 6.6 mm, or jumbo needles)!
If you choose thin yarn, knitting a single row takes an immense amount of time, and the stitches are hard to see, making you far more likely to give up midway. With thick yarn and thick needles, the stitches are clearly visible and easy to understand, and your work grows right before your eyes, giving you a wonderful sense of achievement.
These days, you can easily find knitting needles and yarn at 100-yen stores in Japan or discount shops elsewhere. It is easy to think, "I'll just start with cheap dollar-store tools," but if you genuinely want to enjoy knitting, I don't recommend 100-yen needles.
Cheap bamboo needles may have rough burrs that catch on precious yarn, splitting or damaging it. In the case of cheap circular needles, there is often a severe ridge where the needle meets the cord, creating stress every time you move stitches across it.
Using proper knitting needles and kits made by established craft manufacturers improves the smoothness of your knitting tenfold and speeds up your progress significantly. Not skimping on your core tools is the biggest secret to preventing frustration.
"I understand how to choose tools, but selecting needles, yarn, and small accessories individually sounds like a hassle…"
If you thought that, here is the fastest starting method I confidently recommend: Buy a knitting starter kit or tool set on Amazon!
Utilizing online shopping to buy all the necessary tools together in one go is the smartest and most efficient choice.
Once your tools arrive, it's time to practice! The knitting process consists of just four main steps. As long as you move your hands in this order, anyone can learn to knit.
Knitting begins with creating the initial base loops on the needle, called the "cast-on." While there are several methods, you should definitely learn the standard finger cast-on (long-tail cast-on). It creates a beautiful edge with just the right amount of elasticity.
[Fail-Safe Tip]: When casting on, do not pull the yarn tightly onto the needle! Keeping it relaxed enough for a finger to slide in easily is an absolute condition for knitting your first row smoothly.
Once you have cast on, it is time to build the fabric. The first stitch to master is the knit stitch.
Working only this knit stitch across every row is called garter stitch. Garter stitch creates a cute, wavy, bumpy pattern on both sides, with the wonderful characteristic that the edges do not curl up. Choosing garter stitch for a beginner's very first project is the smartest choice!
Once you are comfortable with the knit stitch, master the purl stitch next.
For the purl stitch, insert the right needle from back to front into the stitch, keep the yarn in front, wrap it around the needle, and push it through to the back.
By alternating one row of knit stitches and one row of purl stitches, you complete the classic smooth fabric known as stockinette stitch (flat knit). Most commercial knit sweaters are made with stockinette stitch.
When you reach your desired length, perform a bind-off (cast-off) to lock the stitches so they won't unravel from the needle.
Almost 100% of people who start knitting bump into the same walls. Knowing in advance why mistakes happen and how to fix them will keep you calm and collected.
Drawing from my own experience, here are the causes and solutions!
[Cause]: The most common mistake for beginners. Tensing up with the desire to make stitches neat leads to pulling the yarn too hard, wrapping loops tightly around the needle shaft.
[Solution]: Stitch size is determined by the needle diameter, not by how hard you pull the yarn! You never need to yank the yarn tight. Push the stitches onto the full diameter of the needle and focus on knitting gently and loosely. Aiming for what feels "a bit too loose" actually yields the perfect result.
[Cause]: Finishing a row only to find more or fewer stitches than you started with. 90% of stitch increases come from misidentifying the edge stitch or accidentally wrapping yarn around the needle midway to make an accidental yarn-over loop. Decreases happen when you mistakenly knit two stitches together at once.
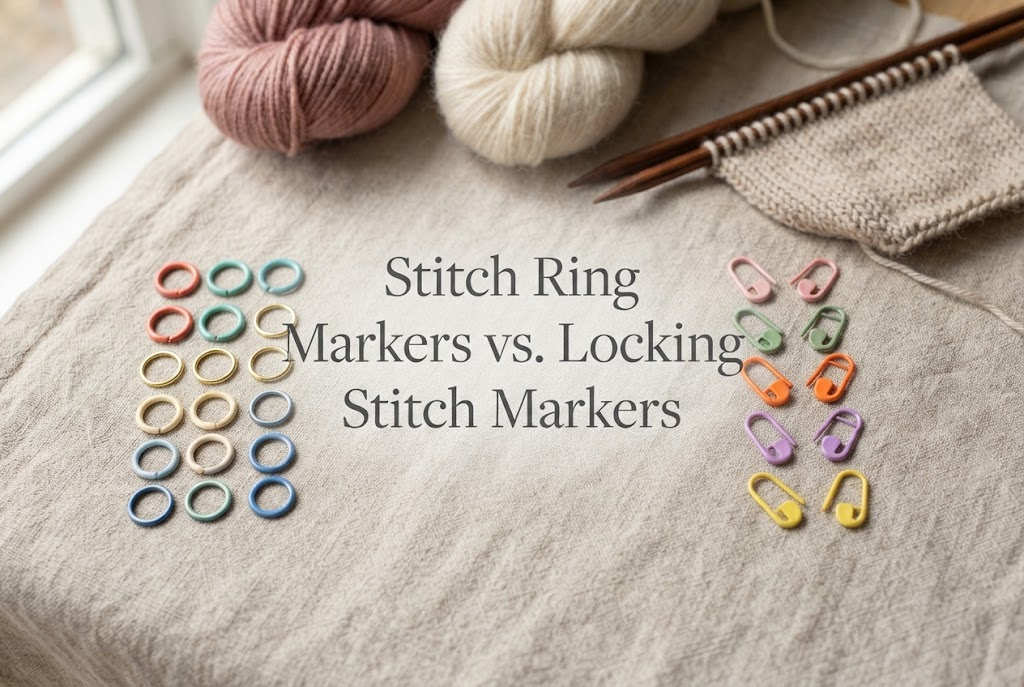
[Solution]: Until you get used to it, count your stitches out loud at the end of every row! If the count changed, unraveling back to that row to re-knit is the shortest path to a beautiful finish. Also, placing stitch markers at both ends completely prevents missing edge stitches.
[Cause]: Edge stitches stretch out or look bumpy and irregular.
[Solution]: Gently snug up the yarn slightly when working the very first stitch and very last stitch of each row. Additionally, when making garter or stockinette pieces, slipping the first stitch of a row without knitting it (a slip stitch) produces a gorgeous braid-like edge line like a pro.
[Cause]: Tying a simple knot in the middle of a project when switching to a new ball of yarn leaves a hard bump sticking out on the front side, ruining the finish.
[Solution]: Changing yarn should strictly be done at the edges (the start/end of a row)! When you reach the edge, leave a 10–15 cm tail of the old and new yarn, and simply start knitting the next row with the new yarn. After finishing the whole project, use a tapestry needle to weave the yarn tails neatly into the back of the fabric.
Now that you understand basic techniques, let's start crafting! A beginner's first project should be a straight-knit item with no complex increases or decreases.
Here are three carefully selected projects that guarantee success and a great sense of achievement:
The ultimate training project is a 10–15 cm (4–6 inch) square coaster or acrylic cleaning scrubber. Using bulky yarn, cast on about 15 stitches, knit every row in garter stitch for 15–20 rows, and bind off! Finishing in just 30 to 60 minutes gives you a huge sense of accomplishment: "I made a real knit item!" Plus, they are practical and ready for daily use.
Once you get the hang of stitch control with coasters, move on to fashion items. A snood or scarf knitted with super bulky yarn is ideal. Cast on 20–25 stitches and knit straight in garter stitch or 2×2 ribbing to your desired length (approx. 150 cm for a scarf, or 120 cm for a snood before joining ends). With thick yarn, progress is fast, allowing you to complete a dream handmade scarf in a few days to a week!
If you want to level up to a 3D wearable item, a knit hat using circular needles is best. With circular needles, you simply knit in the round row after row in a continuous tube without any seams. Cast on stitches matching head circumference, knit up to the desired height, and gather the remaining top stitches with a tapestry needle. Adding a yarn pom-pom on top creates an insanely cute hat rivaling store-bought goods!
In this guide, I have fully explained all the knowledge and know-how for beginners to start knitting with zero failures and maximum speed.
Let's do a quick recap of the key points!
Please throw away any preconceptions like "knitting looks too hard" or "I'm not handy enough."
Knitting is a craft where anyone can create beautiful items simply by acquiring the right tools and moving the needle loop by loop at a relaxed pace.
Woven with the comforting touch of soft yarn, creating your own item becomes the ultimate relaxing escape from daily stress.
Wasting time hesitating is such a shame! Open up Amazon or your favorite online craft store right now, search for a cute starter kit or fluffy bulky yarn, and place your order.
I sincerely root for your handmade life to become warmer and richer through knitting!
If you share this article with friends on social media, it would make me super happy and encouraged! See you in the next article! This was Yassy from Crafters!


For example, if you are looking for articles about mizuhiki, try searching for "mizuhiki"; if you are interested in tools, try keywords like "nippers" or "pliers."
