Techniques for Creating Patterns with Wax Seals: Tips for Marbling, Multi-Color Accents, and Inclusions
yassy
Crafters!
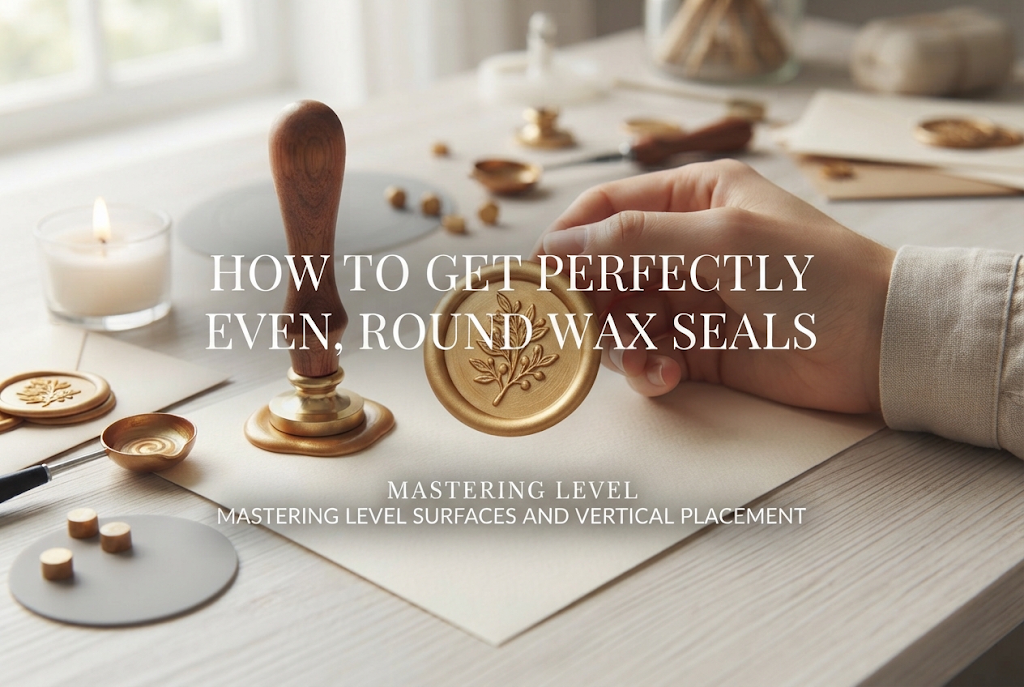

Hello, everyone! It’s Yassy from Crafters! (・∀・)
Wax seals are wildly popular for sealing letters, accenting gift wrapping, and adding a classic touch to handmade projects. That moment when you gently press a cool metal stamp into warm, melted wax is endlessly satisfying.
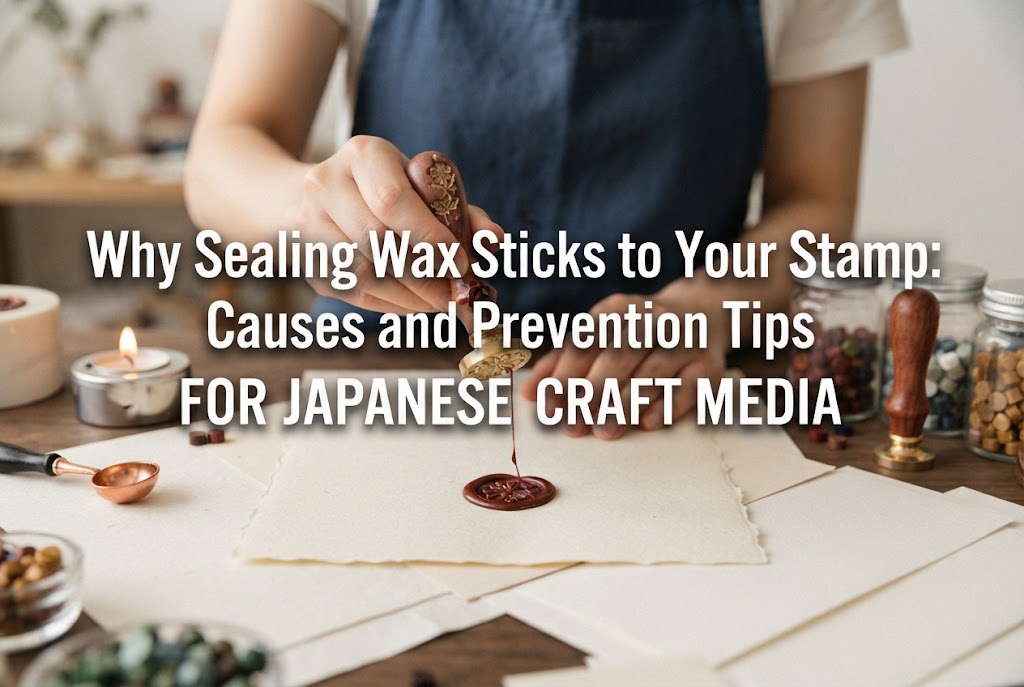
However, when lifting the stamp, have you ever encountered a seal where the wax was paper-thin on one side, or warped into an uneven oval? If so, you are definitely not alone.
Uneven wax thickness and distorted shapes do not happen by chance. There are clear physical reasons behind them, primarily rooted in two factors: a level stamping surface and the vertical landing angle of the stamp head.
In this guide, I will share professional techniques to help you achieve consistent thickness in every direction and create beautifully rounded, plump rims. We will dive deep into common beginner pitfalls as well as the body mechanics I developed through countless trials and errors.
First, let us look at the mechanics behind why melted wax spreads unevenly. Understanding the cause makes it much easier to pinpoint what to adjust in your hand movements and workspace.
When heated into a semi-liquid state, sealing wax has low viscosity and responds readily to gravity and external pressure. The moment the stamp head touches the wax pool, the liquid sandwiched between the metal base and the stamping board rushes toward the path of least resistance—meaning wherever the gap is widest.
If the stamp head is strictly parallel to a level surface, pressure is distributed evenly across 360 degrees, pushing the wax outward at a uniform speed. But if the head tilts by even a single degree on landing, strong pressure is applied to the edge that touches first, squishing that side paper-thin and sending a wave of wax flowing to the opposite side where the gap remains open.
The result is a lopsided, oblong seal that looks translucent on one edge and overly thick on the other.
Another critical factor is the rapid change in wax viscosity upon contact. Metal stamp heads have high thermal conductivity. The instant metal meets hot wax, it draws away heat, causing the wax to cool and solidify rapidly.
When a stamp lands at an angle, the side that makes initial contact chills instantly, losing its fluidity. Meanwhile, the side that has not yet touched the metal stays warm and fluid. Even if you try to press down afterward to correct the angle, the wax cannot flow back into the already chilled section. It simply pushes farther into the warm area, locking in the imbalance.
To achieve uniform thickness, the stamp head must contact the entire surface of the wax simultaneously, displacing the liquid while drawing heat away evenly in every direction.
It is easy to focus entirely on lowering the stamp straight down, but many crafters overlook an essential foundation: whether the work surface itself is truly level. No matter how vertically you drop your stamp, it will not matter if the receiving board is sloped.
Is your work desk completely horizontal? Standard study desks, dining tables, or folding utility tables can sag slightly in the middle over time or slope a few millimeters due to uneven floors.
Liners and mats also require attention. Self-healing cutting mats, thick silicone pads, or fabric underlays often retain slight bends or raised centers from how they were stored. Placing a stamping plate on top of an uneven mat can cause subtle wobbling or an invisible tilt.
I once had a phase where my seals consistently turned out thicker on the right side. After investigating every variable, I discovered that the edge of my favorite cutting mat had warped upward by just 0.5 mm. A flat foundation has a direct impact on your final results.
To produce clean, circular seals, avoid pouring wax directly onto an untreated desk. Instead, use a dedicated stamping plate. Here is an overview of common materials:
When setting up your stamping plate, place it directly onto a hard, flat table, or use a very thin non-slip rubber sheet underneath. Avoid soft, cushioned pads, as the downward pressure of the stamp can cause the plate to sink unevenly.
Relying purely on your eyesight can be deceiving. Room lighting, shadows, and table grain can trick your eyes into seeing a tilted surface as flat, or vice versa.
To verify levelness with certainty, place a small circular bubble level—readily available at hardware shops or online—on top of your stamping plate. If the bubble sits dead center within the ring, your base is ready.
If you do not have a level, place a single drop of water in the center of the plate with a spoon. If the droplet glides off in one direction, the board is sloped. If it rests in place as a clean, rounded dome, the surface is level. Be sure to wipe the water away thoroughly with a tissue before melting your wax.
Once your base is flat, the focus shifts to how you handle the stamp. Lowering a stamp vertically sounds straightforward, but due to the natural movement of human joints, hands tend to travel in a slight arc unless you consciously prevent it.
A common habit is to hold the stamp like a pencil or grip the very top of the handle tightly. Gripping high engages the wrist, causing the head to wobble forward, backward, or sideways upon impact.
The ideal grip for a clean vertical descent is a three-finger suspended hold:
Holding the handle near the top extends the distance between your hand and the wax, meaning a tiny tremor in your fingers can translate into a noticeable tilt at the base. Gripping near the connection point reduces that wobble significantly.
When pressing a stamp, do you lean back in your chair and view the wax pool from a 45-degree diagonal angle? That viewing angle can easily throw off your perception.
Viewing from an angle makes it difficult to judge whether the stamp face is landing parallel to the plate. Even if you think you are moving straight down, your wrist often compensates unconsciously along your line of sight, tilting the head.
When executing the landing, switch between a direct top view and a side view. Lean forward slightly so your chin is positioned directly above the stamp. Looking straight down allows you to check whether the circular outline of the metal head and the puddle of melted wax form concentric circles.
Because these tools are called "stamps," the natural instinct is to press down firmly. But if you want a seal with uniform thickness and a rounded edge, set aside the impulse to press. Aim to simply place and release.
Stamp heads made of metals like brass carry ample weight on their own. Once you bring the stamp down perpendicularly over the wax, ease the tension in your fingers and let the tool's own weight spread the wax outward.
Applying manual force with your arm almost always introduces uneven pressure from one finger, driving one side deeper into the puddle. Once the head touches the wax, use your fingers only to steady the handle and keep it from tipping over. Let gravity do the rest.
Here are frequent issues that arise during production, along with well-intentioned recovery attempts that actually ruin the seal.
Have you ever placed a stamp, noticed the wax pooling unevenly to the right, and quickly tilted or swirled the head to push wax back to the other side?
This is something you should avoid doing. As mentioned earlier, the instant the cold metal touches hot wax, a thin surface skin begins to solidify. Tilting or sliding the stamp at that moment tears the semi-hardened wax, creating creases, ridges, and cloudy streaks.
Wax can also lodge awkwardly inside the engraved grooves, causing the design to tear when unmolded. Once the stamp is down, leave it completely still until it has fully cooled, even if the alignment is imperfect. If a seal turns out uneven, simply remelt the wax and try again.
Another common mistake occurs before the stamp even touches down: the stamp misses the exact center of the poured wax mound.
Wax poured from a spoon naturally forms a dome due to surface tension, with the highest point right in the middle. If the center of the stamp head does not meet this peak, the wax will not spread symmetrically, regardless of how vertically you lower it.
Landing even 2 mm off-center leaves one side with excess wax while the other side ends up with too little material to form a rim. Practice aligning the center of your engraved design directly over the highest point of the wax dome before setting it down.
Here is the practical routine and posture I use in my own crafting sessions to eliminate hand tremors and achieve consistent seals.
Hovering your entire arm in midair allows shoulder and arm micro-movements to reach your fingertips. To keep your descent steady, anchor your arm using a three-point contact structure:
Anchoring your elbow and wrist eliminates overall arm wobble. From there, you simply lower your fingertips straight down using the wrist as a steady pivot point, giving you precise control over the vertical descent.
Another helpful habit is adjusting your landing speed to match the temperature and viscosity of the wax.
If you drop the stamp immediately after pouring while the wax is watery and boiling hot, it can splash or spread too thinly, losing that plump rim. Conversely, if the wax sits too long and becomes sludgy, the stamp’s weight will not be enough to spread it, resulting in a thick, undersized lump.
The ideal window is roughly 3 to 5 seconds after pouring, once surface ripples settle and the wax takes on the smooth consistency of warm honey.
When the timing is right, follow this four-step sequence:
Taking that brief pause 1 mm above the surface prevents rushed, crooked landings almost completely.
Wax sealing involves open flames from tea lights, candles, or spirit burners. For an enjoyable and worry-free craft session, keep fire safety at the forefront.
Before lighting your candle, clear your workspace of loose paper, tissues, curtains, and other flammable materials. When using a melting furnace or spoon stand, check the manufacturer instructions and use appropriately sized candles or fuel.
Place a heat-resistant mat or ceramic plate beneath your melting furnace to protect your table from accidental wax drips or tipping. Keep the setup away from drafts caused by air conditioners, fans, or open windows, as flickering flames can produce excess soot and uneven heating. A clean, calm environment helps you focus on producing clean stamps.
Struggles with uneven wax thickness often come down to two basic physical factors: keeping your stamping plate level and landing the stamp perpendicular to the surface.
Keep these core points in mind during your next session:
Once these posture habits and handling techniques become second nature, producing consistent, neatly rounded wax seals becomes far more predictable and satisfying. I hope you give these adjustments a try during your next craft session!
If you found this guide helpful, please feel free to share it with your fellow crafters. Happy crafting, and see you in the next article! This was Yassy from Crafters!



For example, if you are looking for articles about mizuhiki, try searching for "mizuhiki"; if you are interested in tools, try keywords like "nippers" or "pliers."
