Stuck in the Mold? Causes and Foolproof Fixes for Demolding Resin and Crafts
yassy
Crafters!

Hello, this is Yassy from Crafters! (・∀・)
As someone who loves making, looking at, and buying all kinds of handmade crafts, there is one craft genre that currently has my absolute full attention: interior home decor crafts made with plaster (gypsum) and Jesmonite (water-based acrylic resin).
You have probably seen these stylish items at least once on Instagram or in Korean-style aesthetic room decor posts. Elegant accessories like matte-finished jewelry trays, marble-patterned coasters, and warm diffuser aroma stones—all these sophisticated decor items can easily be made right in your own home.
If you are thinking, "Isn't working with plaster or resin difficult?" or "What tools do I even need to buy?", don't worry! As long as you have the right knowledge and follow the correct steps, even complete crafting beginners can produce store-quality pieces on their very first try.
In this guide, I will share all my practical know-how: from basic knowledge about plaster and Jesmonite to foolproof material selection, step-by-step tutorial instructions, and how to pick convenient starter kits on Amazon to get started right away.
Wasting time hesitating is a shame! After reading this article, grab a starter kit or supplies on Amazon and dive right into the charming world of plaster and Jesmonite crafts.
Why have plaster and Jesmonite crafts captured the hearts of so many handmade craft enthusiasts? The reason is clear: they offer both stunningly beautiful finishes and safe, hassle-free workability.
Traditionally, resin crafts meant UV resin or epoxy resin. However, conventional resin comes with hurdles: strong chemical odors, the necessity of constant ventilation, and the potential risk of resin allergies if it touches your skin.
In contrast, plaster and Jesmonite (a water-based acrylic resin) have virtually no smell during crafting. Because they contain no harmful organic solvents, you can comfortably focus on your craft at your kitchen table or living room desk. The biggest benefit is that you can enjoy them safely even in homes with young children or pets.
Furthermore, unlike the clear, glossy finish of conventional resin, plaster and Jesmonite cure into a smooth, matte texture resembling ceramics or natural stone. This premium, tactile quality blends perfectly with modern, refined interior decor.
The fast curing speed is another major advantage. While typical epoxy resin takes over 24 hours to fully cure, plaster and Jesmonite can be demolded in just 30 to 60 minutes. Being able to complete a finished piece on the very same day you get inspired boosts any crafter's excitement to the maximum.
I still remember the thrill I felt when I smoothly popped my very first piece out of the silicone mold. The moment you hold that velvety smooth, pleasantly weighty object in your hands, you will be completely hooked.
At first glance, plaster and Jesmonite look quite similar, but their material properties and characteristics are vastly different. Buying without understanding these differences can lead to disappointment. Here is a clear breakdown of each material's features to help you decide which one to choose.
Plaster is a natural mineral-derived material made by heating raw gypsum into a fine powder. When mixed with water, a hydration reaction occurs, causing it to harden.
The biggest advantages of plaster are its extreme affordability and ease of use. Since you can buy it for just a few hundred yen per kilogram in Japan, it is perfect for practice. Furthermore, because it is porous and absorbs liquid, plaster is the absolute best and only choice if you want to make aroma diffuser stones that absorb and disperse essential oils.
On the downside, plaster is brittle under impact and has low water resistance. It breaks easily if dropped and gradually degrades if soaked in water. Therefore, it is not suitable for practical everyday coasters or items used around sinks and water.
Jesmonite is a water-based acrylic resin originally developed in the UK. It is made by mixing a reactive mineral base powder with a water-based acrylic liquid compound.
The greatest advantage of Jesmonite is its high strength and durability. Unlike plaster, it does not shatter easily, offering a tough texture that falls right between plastic and natural stone. Color customizability is also exceptionally high, allowing you to achieve vibrant hues and intricate marble patterns flawlessly.
With excellent water and fire resistance, Jesmonite is by far the correct choice for practical lifestyle goods such as trays, coasters, candle holders, and plant pots.
If there are drawbacks, it is that the materials are more expensive than plaster, and the number of specialized suppliers carries limited availability compared to standard craft supplies.
Your choice comes down to your objective and budget:
Either material will give you a fantastic craft experience. Choose according to the specific item you want to create without hesitation!
Although plaster and Jesmonite are easy to handle, there are typical failure patterns that almost every beginner stumbles into. Knowing these causes beforehand will help you avoid troubles completely.
This is the most dangerous misconception! Both plaster and Jesmonite liquid mixtures have the property of hardening even underwater.
If you pour leftover mixture or slurry-covered tools directly down your kitchen or bathroom sink, the material will solidify hard inside your plumbing pipes. In the worst-case scenario, it will completely clog the pipes, resulting in expensive repair bills.
Never pour leftover mixture down the drain. Wipe out used mixing cups thoroughly with paper towels or newspaper, or allow the residue to fully harden inside the cup before disposing of it as non-burnable trash (or according to your local waste disposal rules). Always wipe dirty tools clean with wet wipes or towels before washing them.
Mixing plaster or Jesmonite is just like baking pastry. If you do not follow exact weight ratios, the material will fail to cure properly, leaving you with a sticky surface or a chalky, crumbly mess.
Always use a digital scale accurate to 0.1 grams, and strictly follow the manufacturer's specified weight ratio of powder to liquid. Measuring by volume (e.g., spoonfuls) will not work—measuring accurately in grams is the only path to success.
When stirring liquid and powder together, air is inevitably trapped, forming bubbles. If you pour the mix into a mold while ignoring these bubbles, your finished piece will be covered in tiny pinholes on the surface, ruining the look.
Unlike UV resin, you cannot remove bubbles with a heat gun or embossing heater. After pouring into the mold, you must tap the sides of the silicone mold repeatedly so the vibration forces trapped bubbles to float to the top where they can be popped.
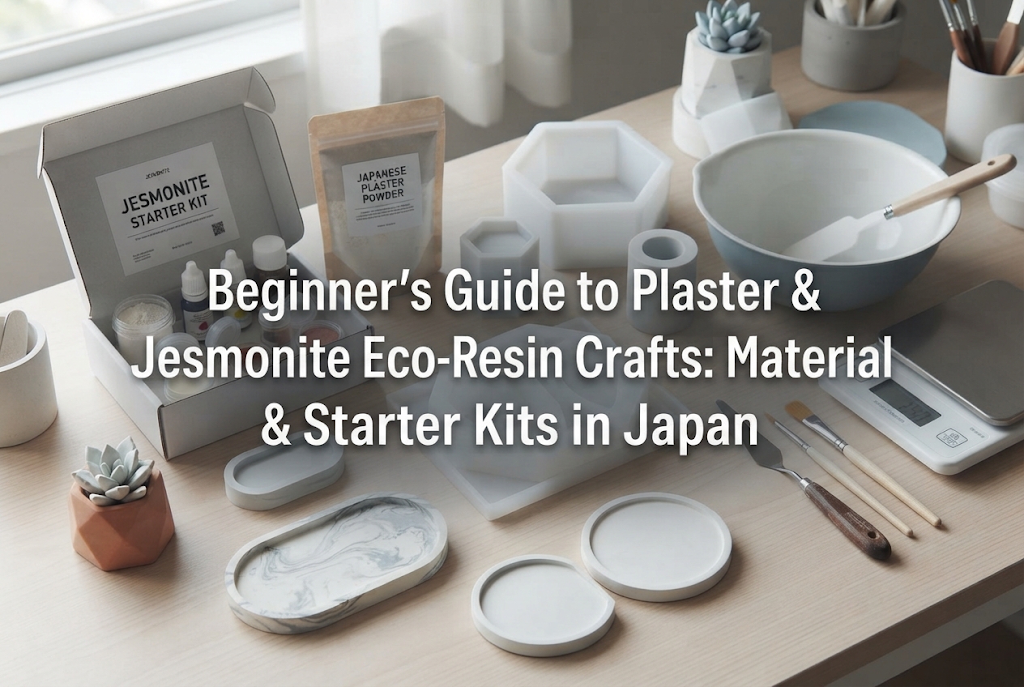
You don't need many tools to start plaster or Jesmonite crafting. Special machinery or expensive equipment are entirely unnecessary. Gather the following items, and you are ready to begin:
Most of these basic items can be purchased all at once on major online platforms like Amazon.
For beginners who feel overwhelmed buying tools individually or worry about material compatibility, my top recommendation is to start with a complete starter kit from Amazon.
Starter kits bundle everything you need in one box: main materials (powder and liquid), basic silicone molds, pigments, a digital scale, silicone mixing cups, stirrers, and sandpaper.
It is generally cheaper than buying items separately, and the biggest advantage is that you can open the box and start crafting on the very day it arrives.
When choosing a kit on Amazon, check these key points:
First, check if a clear instruction manual is included. Beginners often get confused about mixing ratios, so pick a kit that offers clear step-by-step instructions or video tutorials.
Second, look at the silicone mold shapes included. Deep or overly complex 3D molds make bubble removal difficult and demolding tricky for first-timers. Choose a kit featuring simple flat shapes like oval accessory trays or classic round coasters.
Searching for "Plaster Starter Kit" or "Jesmonite Eco-Resin Kit" on Amazon will bring up great options. Check customer reviews to pick a well-rated product.
Here is the exact procedure for making your first piece. Follow these steps, and anyone can complete a gorgeous piece on their first try!
Lay down sheets of newspaper or a plastic protective sheet broadly across your table. Because plaster and resin powder can drift easily in the air, avoid working directly in front of an air conditioner or fan draft.
Arrange your digital scale, silicone bowl, stirring stick, and molds within easy reach. If there is dust inside the silicone mold, clean it off beforehand using masking tape.
Place your silicone bowl on the digital scale and tare it to zero.
Following the manufacturer's specified ratio, pour in the liquid (or water) first, then gently add the powder. Adding powder into liquid prevents lumps from forming.
Using your stirring stick, scrape the bottom and sides of the bowl to ensure no dry pockets remain. Stir steadily and briskly for about 1 to 2 minutes without whipping wildly to avoid introducing unnecessary air bubbles.
If left uncolored, you will get a clean, bright white finish. If you want color, add pigment at this stage.
Add a few drops of pigment and stir thoroughly until the color is completely uniform.
To create a marble effect, do not mix fully! Drop a few drops of pigment on top of the white mixture, and swirl the stick 2 or 3 times in a figure-eight or "S" motion. Proceed to the next step while the marble swirl pattern is still distinct.
Gently pour the mixture into the narrow edge of the silicone mold. Rather than dumping it all into the center at once, pouring in a thin stream helps prevent trapping air bubbles.
Once filled to about 80%, hold the edges of the mold and tap it repeatedly against your table. The vibration will cause trapped bubbles at the bottom and sides to rise to the top surface.
Pop floating bubbles with a toothpick or blow lightly over them. Taking time with this step is the secret to achieving a flawless, professional finish.
Leave the mold undisturbed on a flat surface to dry. The material will generate mild heat as it hardens within 30 to 60 minutes.
Once completely firm to the touch, gently peel back the edges of the silicone mold to release your piece. Peeling the flexible mold away to reveal a smooth piece is an amazingly satisfying feeling!
If there are rough edges or burrs on the back side, place a sheet of wet/dry sandpaper on your work area, wet it with a little water, and sand the piece in gentle circular motions.
Wet sanding keeps dust from flying and creates an amazingly smooth texture. Wipe off excess moisture, let it dry, and your piece is complete!
Once you master the basic steps, take your quality to the next level! Here are my personal pro tips discovered through making many pieces to dramatically elevate your finish.
The terrazzo (flecked marble look) trend popular in modern decor shops can easily be recreated at home using Jesmonite.
To make terrazzo patterns, first cast thin sheets of colored Jesmonite, let them cure, and crush them by hand into colorful chips.
Mix a generous amount of these colorful chips into a fresh batch of white Jesmonite base mixture, then pour it into your mold.
After demolding, sand the surface thoroughly with sandpaper (#200 to #400 grit). Sanding exposes the cross-sections of the embedded colored chips underneath, revealing a rich, authentic terrazzo pattern. The sanding process and revealing moment are truly addictive!
Unsealed pieces can absorb oil from fingers or stain easily, and they lack water resistance. Applying a protective coating is key to keeping them looking beautiful over time.
If you want to preserve a soft, matte, natural look, apply two thin coats of a dedicated acrylic sealer.
If you prefer enhanced water repellency with a subtle satin shine and buttery smooth touch, rub natural carnauba wax or beeswax into the surface with a soft cloth, then buff dry. This extra step elevates your work to match high-end commercial boutique quality.
Finished plaster and Jesmonite pieces add elegance to everyday life in so many ways.
Placing your favorite rings or necklaces on a handmade accessory tray makes your morning routine feel special. They also work wonderfully as soap dishes by the bathroom sink or key trays in the entryway.
As your skill improves, taking the next step to sell your creations as a handmade artist is a fantastic adventure.
You can list your original creations on Japanese handmade marketplaces like minne or Creema, or on platforms like Mercari or your own online shop.
Jesmonite pieces are easy to differentiate because you can capture unique one-of-a-kind color gradients and subtle dusty pastel shades. One-of-a-kind handmade designs resonate deeply with buyers who care about interior aesthetics.
Having a piece you created with your own hands end up in someone else's home to decorate their living space is the ultimate joy for any maker.
Plaster and Jesmonite eco-resin crafts are a dream hobby: even without specialized artistic experience, anyone can create impressive decor items using the right basic tools and steps.
Odorless, safe, quick-curing, and yielding a luxurious matte finish, the joy of making these tactile items yourself is unbeatable.
If you are looking for a fresh handmade hobby to try or want to craft stylish interior goods for your home, jumping into plaster and Jesmonite is definitely the right choice.
Instead of overthinking, taking that first action is key! Open up Amazon or your favorite online shop today, search for a plaster or Jesmonite starter kit, and place your order.
The day your kit arrives at your doorstep marks the start of your new creative journey. Enjoy every minute of your exciting craft time!
If you found this guide helpful, sharing it with your friends on social media or messaging apps would mean the world to me! See you in the next article—this was Yassy from Crafters!




For example, if you are looking for articles about mizuhiki, try searching for "mizuhiki"; if you are interested in tools, try keywords like "nippers" or "pliers."
