Craft Punches, Metal Dies, Die Cutters, and Steel Rule Dies: A Guide to Differences, Materials, and How to Choose
yassy
Crafters!

Hello, I'm Yassy from Crafters! (・∀・)
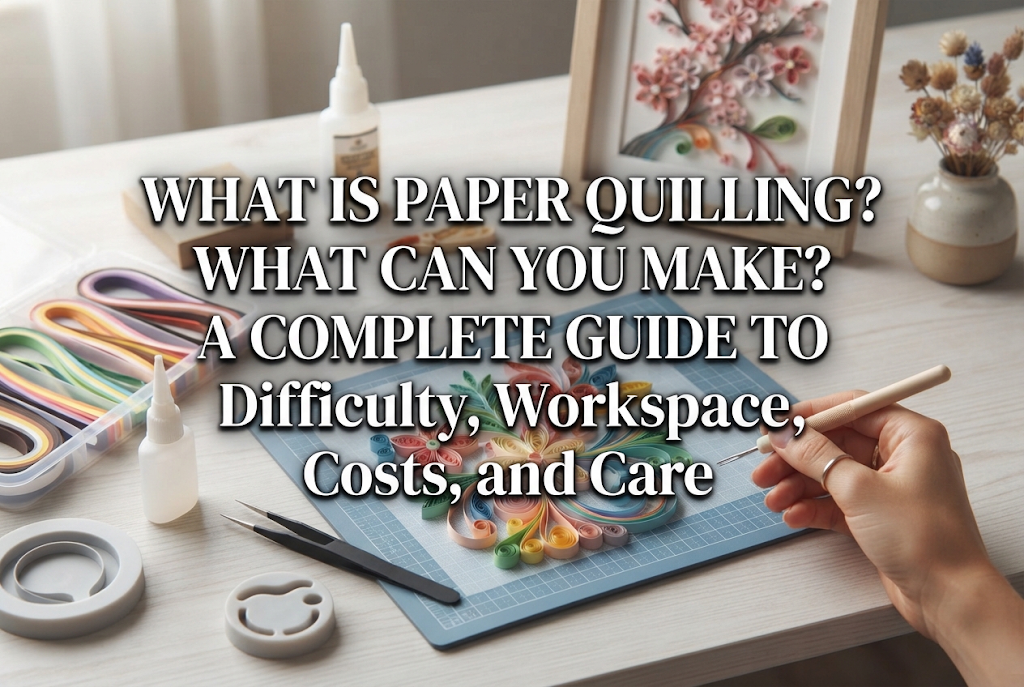
There are so many fascinating genres in the handmade world. Among them, there is one craft that allows you to start with surprisingly affordable material costs while creating breathtakingly delicate and beautiful three-dimensional works. That craft is paper quilling, which I am excited to introduce to you today!
As someone who loves making, viewing, and buying all kinds of handmade items, I have experienced countless crafts over the years. Yet, no other genre maximizes the potential of a familiar material like paper quite like paper quilling. The moment a single narrow strip of paper transforms into a lovely flower or a gorgeous motif through the magic of your fingertips and a few tools gives me goosebumps every single time.
Many people have questions and concerns like: "Can you really make such incredible pieces just by rolling paper?", "Isn't paper weak against water and dust, making it hard to care for?", or "Can a beginner like me actually do it?" In this article, I will share all of my knowledge and experience to provide a complete guide—covering everything from the basic structure of paper quilling and items you can make, to actual difficulty levels, required workspace, startup costs, and protection techniques that dramatically increase the durability of your creations!
Paper quilling is a paper craft technique where thin strips of paper, cut to a width of a few millimeters, are rolled using a specialized tool. The resulting coiled elements are then shaped and assembled to create a wide variety of three-dimensional motifs.
Its history is ancient, said to have originated in European monasteries during the 15th and 16th centuries. Nuns and monks wrapped precious scraps of paper left over from bookbinding around feather quills to create beautiful religious decorations—which is where the name "quilling" comes from. Once cherished as a refined pastime among the nobility, this technique has evolved today into a popular, sophisticated contemporary art and craft worldwide.
The defining structural feature of paper quilling lies in the three-dimensional depth created by the paper's edges and curves. Unlike flat paper collages or cutouts, the thickness of the standing paper strips and the shadows created by the gaps in the rolled spirals bring depth and an elegant texture to the artwork. The way the highlights and shadows change moment by moment depending on the angle of the light source is a unique charm found exclusively in paper quilling.
The primary materials used are simply paper and glue. Because it requires no large machinery or complex chemicals, I firmly believe it is an eco-friendly and versatile craft art that anyone can enjoy safely.
Hearing "just rolling paper" might make it sound like there are limits to what you can create. However, that is a huge misconception! The range of projects you can make with paper quilling extends far beyond your imagination. Here are the main types of creations categorized in detail:
The most iconic quilling creations are wall art displays arranged inside picture frames. Dimensional paper petals depicting blooming seasonal flowers, Christmas trees, or traditional New Year motifs bring vibrant color to room walls and entryways. Using a deep shadow box frame seals out dust while highlighting the three-dimensional depth, resulting in a luxurious home decor piece.
Adorning memorial cards for birthdays, weddings, or baby showers with quilled accents instantly adds a sense of warmth and custom elegance that mass-produced items simply cannot match. It is a particularly popular technique for wedding welcome boards. Framing the bride and groom's initials or wedding date with graceful quilled roses and lacework creates a memorable piece that captivates guests.
It might surprise you, but paper quilling is fantastic for jewelry making! By combining miniature quilled parts into floral earrings or pendant tops and applying a proper waterproof coating, you can create functional accessories for daily wear. Because they are made of paper, even large, bold designs weigh virtually nothing. This light weight ensures your ears won't hurt, making quilled jewelry immensely popular in the handmade market.
By building upon basic quilling techniques, you can expand paper coils into dome or cone shapes. This allows you to construct fully 3D objects like animals, miniature sweets, dollhouse props, and small figurines. The feeling of sculpting a standalone 3D figure out of nothing but paper becomes addictively fun once you experience it.
Beginners interested in paper quilling often worry: "Since it's paper, won't it crush or break easily?" or "Won't humidity and water droplets make it soggy?" Let me state the conclusion upfront: if you apply proper protective finishes, paper quilling works can maintain their beauty for years or even decades!
If left bare and unprotected, paper is naturally vulnerable to moisture, water, and dust. However, professional and experienced crafters always practice three reinforcement and protection approaches. Once you master these, care and maintenance become completely hassle-free.
For wearable accessories or 3D items that are handled directly, apply a finish of water-based polyurethane varnish or acrylic paper coating. Using a brush to let the varnish soak thoroughly into the gaps between parts fuses the paper fibers together as it dries, transforming the paper into a sturdy, plastic-like hardness.
Quilled pieces coated with multiple layers of varnish gain water resistance capable of repelling light rain, sweat, and water drops. Furthermore, the coating adds a lovely gloss (or elegant matte finish), dramatically raising the visual quality. In jewelry making, varnish coating is an indispensable core step.
For framed artwork and home decor, the ideal solution is to seal them inside a deep shadow box frame with a glass or acrylic front panel. Physically blocking external air prevents dust from settling into the intricate crevices 100% of the time. It also completely eliminates the risk of small children or pets accidentally touching and crushing the delicate paper.
The greatest enemy of paper art is color fading caused by ultraviolet rays. The first step to counteract this is choosing high-quality, acid-free, lightfast quilling paper. Additionally, lightly spraying the finished piece with a UV-resistant clear coat helps preserve vivid colors over long periods. Finally, avoid placing items in spots that receive direct sunlight all day long, such as right next to a sunny window.
When starting a new craft, difficulty level is a crucial consideration. Paper quilling falls squarely into the beginner to intermediate category—learning the basic techniques is remarkably easy!
Unlike knitting, there are no complex charts to decode, nor is there any risk of temperature or curing failures like in pottery or resin craft. The motion of slipping paper into a tool and winding it can be mastered on day one by anyone, from children to seniors.
However, precisely because it is simple, there are a few handy tips needed to achieve a neat finish. Here are three common hurdles beginners face, along with reliable solutions:
When inserting paper into the slot of a quilling tool and pulling forcefully to start winding, unsightly creases can form near the tip. The fix is simple: after inserting the paper, do not push it all the way to the back of the slot. Relax your grip and focus on smoothly rotating the tool itself. Rather than pulling the paper, think of guiding the paper around the turning tool—this instantly produces smooth, even coils.
Applying glue directly from the bottle to secure paper ends often releases too much adhesive, soaking the paper and leaving white blobs when dry. This is a classic beginner mistake. Always squeeze a small amount of glue onto a piece of parchment paper or scrap paper, then use the tip of a toothpick or a fine nozzle to apply a microscopic dab. This single adjustment will make your work look ten times cleaner!
If you try to make six identical flower petals but every rolled part turns out a different size, your flower won't look balanced. Sizing coils consistently by feel alone is difficult even for experts. That is where a circle sizing board (circle template) becomes essential. Simply drop your rolled paper coil into one of the template holes, and it will automatically expand to the designated diameter. Relying on this simple tool lets beginners produce uniformly sized parts like a pro.
Having sufficient workspace at home is a major practical concern when starting a craft. When it comes to paper quilling, you don't need to worry about space at all!
All you need for paper quilling is enough room to lay down an A4-sized cutting mat (roughly 30 cm × 20 cm / 12 in × 8 in). A corner of a dining table, a small desk, or a coffee table provides more than enough room for full-fledged crafting.
The reasons why it requires so little space are clear:
For those living in compact apartments or parents who want to craft in the living room while keeping an eye on family, paper quilling is one of the most space-friendly crafts available. Cleanup takes just a quick wipe, making preparation and pack-up entirely stress-free.
Cost is an important factor when exploring a new hobby. Fortunately, the initial cost for paper quilling is among the lowest of any handmade genre!
To put it simply, a budget of about 1,500 to 3,000 JPY (roughly $10 to $20 USD) is all you need to assemble a complete set of tools and materials to start quilling today.
Here is an estimated itemized breakdown of the essential starter tools:
Even combined, the total comes out around 2,000 JPY. By smartly substituting some general items (like precision tweezers, craft glue, or cutting mats) from budget craft stores, starting for under 2,000 JPY is very doable.
Consumables like quilling paper packs cost only a few hundred yen for hundreds of strips, keeping ongoing running costs amazingly low. Even if you make a mistake, losing a single strip of paper costs less than a few cents, allowing beginners to practice freely without worrying about wasting money.
When purchasing tools, many crafters wonder whether to buy a complete starter kit or select individual items separately. Here is my straightforward advice: beginners should definitely start with a starter kit!
Let's objectively compare the pros and cons of each approach:
Searching for "paper quilling starter kit" on online marketplaces brings up many sets priced around 2,000 to 3,000 JPY that include tools, multi-colored paper packs, templates, and basic project patterns.
This approach involves carefully choosing high-quality Japanese slotted tools and specialized papers from major craft manufacturers one by one.
The ideal path is to get a feel for the workflow using an affordable kit first. Once you develop specific preferences for tools you use frequently or particular paper widths, you can upgrade to premium individual tools seamlessly.
The wonderful thing about paper quilling is that once you learn a few basic shapes, you can combine them to create infinite designs!
Here are eight fundamental shapes essential for building quilled projects. Mastering these is the fastest route to creating lovely artwork:
A firm circular coil formed by winding the paper completely around the tool and gluing the end immediately without letting it expand. Frequently used for flower centers, animal eyes, and small berry accents.
The foundational starting point for almost all shaped elements. After winding, remove the coil from the tool, place it in a circle template to expand to the desired size, and glue the outer end.
Made by shifting the center of a loose coil slightly and pinching one side firmly between your fingertips to form a point. This is the most common basic shape used for flower petals.
Formed by pinching both opposite ends of a loose coil simultaneously, creating a double-pointed shape like a rugby ball. Great for leaves and sleek petal designs.
Created by gently pressing the rounded side of a teardrop inward to form a tulip-like petal shape. Perfect for adding dimension to floral arrangements.
After creating a marquise, rotate it 90 degrees and pinch the remaining two curved sides to form a four-pointed square. Essential for architectural motifs, tiles, and geometric patterns.
Made by pressing one side of a loose coil inward with the pad of your thumb to create a curved moon shape. Used for ocean wave textures and decorative curved borders.
A technique where paper strips with tiny, closely spaced cuts along one edge (fringe paper) are rolled up and flared open to make fluffy 3D flowers like dandelions or daisies. It instantly adds lavish detail to any design.
To help you elevate your craft quality to a sellable standard, here are five secret rules to keep in mind whenever you work:
Quilling paper strips commonly come in 3mm, 5mm, and 7mm widths. Changing the width completely changes the character of your work:
As emphasized earlier, excessive glue is the biggest enemy of clean quilling. Avoid applying glue directly from a standard bottle opening. Applying microscopic dabs ensures your work dries completely clear while maintaining strong adhesion.
Tweezers act as an extension of your fingers when shaping coils and gluing delicate parts together. Instead of flimsy plastic tweezers, invest in precision metal tweezers whose tips align perfectly. This dramatically improves both working efficiency and component precision.
When gluing completed shapes onto a backing card or board, avoid applying glue onto the piece itself. Instead, spread a thin, flat layer of glue on a plastic tray, then gently touch the bottom edge of your paper shape onto it. This stamps an even, minimal layer of glue on the bottom, preventing messy glue squeeze-outs on your background.
When making hollow 3D objects, like domes or standing figurines, paper shapes can collapse if pressed. Coat the inner/reverse side of the expanded shape with a brush dipped in slightly diluted craft glue or varnish, then let it dry. It hardens into a sturdy shell from the inside, preventing it from crushing even under finger pressure.
Here are answers to common questions and misconceptions beginners often have before starting:
Q. Can I just cut regular origami or construction paper into strips myself?A. While technically possible, I strongly advise against it! Hand-cutting dozens of uniform 3mm or 5mm strips is extremely difficult. A discrepancy of even a fraction of a millimeter will cause uneven part heights, ruining the polish of your work. Specialized quilling paper is manufactured with precise grain direction and weight to roll smoothly. Buying pre-cut quilling paper saves immense time and yields far superior results.
Q. Can you sell quilling art? What is the potential for handmade selling?A. There is very strong demand and sales potential! On handmade platforms like minne or Creema (and globally on sites like Etsy), quilled wedding boards, dimensional framed art, and ultra-lightweight earrings enjoy great popularity. Because material costs are remarkably low, honing your skills and design aesthetic allows you to build a highly profitable creative craft business.
Q. Do I need to be naturally nimble or dexterous to make intricate parts?A. Natural dexterity isn't required at all! Success relies not on innate skill, but on using the right tools correctly (like circle sizing boards and precision tweezers). Following straightforward steps guarantees reproducible, beautiful shapes from day one—which is one of paper quilling's greatest strengths.
In this guide, we've explored paper quilling from its fundamental history and project versatility to protective care, difficulty levels, required workspace, startup budget, and pro techniques.
Let's recap what makes paper quilling so special:
With minimal tools required and zero mess, paper quilling stands out as a relaxing, fulfilling hobby to enjoy amidst a busy routine. The rhythmic motion of rolling paper strips provides a wonderful therapeutic break to unwind from daily stress.
Pick up an affordable starter kit online, and experience the magic of paper transforming right at your fingertips. I am confident that paper quilling will add vibrant color and joy to your creative journey!
If you enjoyed this guide, please share it with your craft-loving friends on social media or messaging apps—it means the world to me and keeps me motivated!
Until next time, happy crafting! This was Yassy from Crafters!

For example, if you are looking for articles about mizuhiki, try searching for "mizuhiki"; if you are interested in tools, try keywords like "nippers" or "pliers."
