What Are Plaster and Jesmonite? A Complete Guide to Modern Japanese Decor Crafts, Difficulty, Workspace, and Costs
yassy
Crafters!


Hello, this is Yassy from Crafters! (・∀・)
Candles add an instant lift to any room with their cozy glow and soothing fragrance. On the other hand, aroma sachets (wax sachets) offer gentle scents and delightful visual appeal simply by hanging them on a wall or inside a closet. Both have become immensely popular interior items among handmade craft enthusiasts. I am completely captivated by the world of fragrance and wax myself—not only making candles and sachets, but also constantly buying cute pieces whenever I spot them in craft shops!
You might be thinking, "I want to make those beautiful candles and aroma sachets myself!" Yet, when you actually consider getting started, doubts might creep in: "How do I melt wax?" "What tools do I need?" "Is it difficult because it involves heat?" Looking up supplies online can quickly get overwhelming because of the sheer variety of waxes available.
In this guide, I will explain the fastest, fail-proof route for handmade beginners to start crafting candles and aroma sachets today without getting lost. To state the conclusion upfront: you do not need to buy tools and materials individually from scratch. Purchasing a complete starter kit from online shops like Amazon is absolutely the best way to begin! Armed with the right knowledge and simple steps, let's start your wonderful aroma craft journey.
Candles and aroma wax sachets are ideal entry-level projects for craft beginners. They are easy to tackle and yield highly polished, professional-looking results. First, let me share what makes each of them so special from my own perspective and experience.
The greatest charm of a candle is the gentle flicker and warmth of its flame. Gazing at a dancing flame brings a sense of calm, while the subtle aroma drifting from the melting wax provides a luxurious respite from daily fatigue. Lighting a candle you made yourself for the first time brings a truly special kind of joy.
Aroma sachets, on the other hand, are widely loved as "flame-free candles." They are stylish wax ornaments made by pouring melted wax into molds—such as silicone molds—and decorating them with dried flowers, preserved florals, or herbs before they harden. You can easily hang them on a wall, display them in a closet, or loop them over a doorknob as lovely home decor.
Because they require no flame, a major benefit is that they can be displayed safely in homes with young children or pets. They look gorgeous, and arranging dried flowers lets you create one-of-a-kind designs that make heartfelt, cherished gifts. Candle and aroma sachet making combines the joy of crafting, decorating, and gifting all in one!
Before diving into creation, let's look at the basic differences between candles and sachets, as well as the types of wax used. Understanding these fundamental points will dramatically reduce any chances of failure later on.
Candles are crafted specifically to be burned. Because of this, a cotton or wooden wick is placed in the center, and you must consider wax blends and shapes that ensure safe, even melting. Candle styles range from container candles (poured into jars or cups) to pillar candles that stand independently when removed from a mold.
Aroma sachets are flame-free room fresheners and decorative ornaments. They do not use a wick; instead, a hole is created at the top to thread a ribbon through. Since they sit at room temperature, sachets are made using harder waxes to prevent them from melting or warping during warm summer weather.
Several types of wax are used in candle craft, each with unique properties and handling characteristics. Here are four main types to keep in mind:
As a beginner, a simple rule of thumb to remember is: use hard waxes (paraffin or hard blend wax) for sachets, and soft, fragrant waxes (like soy wax) for container candles!
Almost everyone taking their first step into handmade crafts hits the wall of gathering tools and materials. Browsing online tutorials or videos reveals endless lists of equipment, which can quickly leave your head spinning.
"Do I need an induction cooktop?" "What kind of thermometer is best?" "Can I use a regular kitchen pot?" "Can I just use my regular essential oils?" Question after question keeps popping up.
Here is a common pitfall that beginners fall into: buying cheap household utility candles, melting them in a kitchen pot, and trying to improvise. I strongly advise against this! Please avoid this shortcut.
Standard household candles are not formulated for craft candles or sachets. When melted, they can emit off-putting odors, and colorants won't mix smoothly into them. Even worse, heating wax directly in standard cooking pots without temperature control poses a serious risk of wax smoking or catching fire. Additionally, once wax clings to cooking utensils, removing it completely is extremely difficult.
Wax crafting is very much like a science experiment. Neglecting temperature control and proper materials can lead to scorched flowers, wax stuck stubbornly in molds, or scentless creations. Giving up because of early stumbles with improper tools is a huge shame!
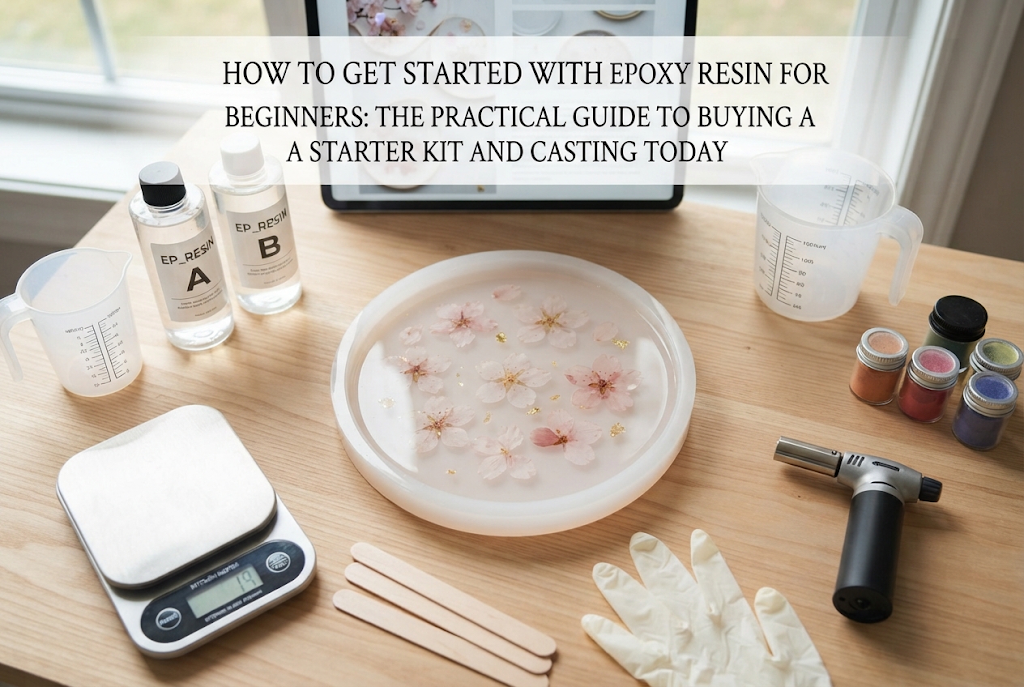
So, how can a beginner eliminate failure and take a fun, successful first step? My absolute recommendation is to purchase a candle and aroma sachet starter kit from online retailers like Amazon. It is the fastest, smartest, and most economical choice.
Here are three clear reasons why starter kits are the ultimate choice:
First, everything you need comes in one box. The kit includes wax, a melting pitcher (stainless steel pot or pouring beaker), a thermometer, silicone molds, wicks, fragrance oils, dried flowers, and even color pigments. Being able to unbox everything and start crafting on day one is a fantastic advantage.
Second, the materials are pre-tested for compatibility. The included wax is formulated to work seamlessly with the provided silicone molds, containers, and fragrance oils. This prevents technical issues like wax failing to harden or sticking inside molds.
Third, kits include clear, step-by-step visual instruction manuals. They guide you through ideal temperatures and pouring sequences, helping even complete beginners achieve professional results.
When searching online for candle or sachet starter kits, you will find many options. Here are three criteria I recommend to ensure you select a great kit:
Temperature control is the absolute key to successful candle making. The exact temperatures at which you melt wax, add fragrance, and pour into molds determine 90% of your final result. Make sure the kit includes a thermometer—preferably a digital thermometer for quick, accurate readings.
Also, ensure the kit provides a stainless steel pouring pitcher (wax pot) with a spout. Without it, transferring hot melted wax from a double boiler into molds can easily cause dangerous spills.
If your focus is aroma sachets, verify that the kit contains sachet silicone molds (with pre-shaped holes for hanging) and a wax blend that hardens sufficiently. Kits featuring 2 to 3 classic mold shapes, such as rectangles, hexagons, or circles, offer great versatility.
Comprehensive kits that allow you to make both botanical candles and wax sachets also offer fantastic value!
To make beautiful pieces right out of the box, choose a kit bundled with assorted dried or preserved flowers. Kits packed with colorful globe amaranth, hydrangeas, mimosa, or statice are an absolute delight to open!
Check that multiple bottle scents of fragrance oil (designed specifically for wax) are included as well. Classic options like lavender, rose, or citrus scents will fill your space with lovely aromas immediately.
Once your starter kit arrives, it's time to begin! Here is a step-by-step walkthrough for creating wax sachets and botanical candles, along with pro tips to guarantee success.
Before starting, prepare your work area. Spilled wax can stick firmly to surfaces. Cover your table generously with newspaper or baking parchment paper. Since you will be working with fragrance oils, ensure your room is well ventilated.
For heating, use an portable induction cooktop or a double boiler (hot water bath) on your kitchen stove. Never heat wax directly over an open flame! Always melt wax safely using hot water heating.
Weigh the required wax using a digital scale based on your mold capacity. Place the wax into your pouring pitcher, set it inside a pot with hot water, and melt it slowly over gentle heat.
Use your thermometer here! Monitor the temperature as the wax melts, bringing it to around 80°C to 85°C (176°F to 185°F) until completely liquid. Once fully melted, remove the pitcher from the water bath and allow it to cool slightly.
This step is where beginners make the most common mistake! If you add fragrance oil while the wax is too hot (above 80°C / 176°F), the heat will cause the fragrance to evaporate instantly, leaving your finished sachet scentless.
The ideal temperature for adding fragrance is 65°C to 70°C (149°F to 158°F)! Check your thermometer, and stir in the fragrance oil once the wax hits around 70°C. A standard ratio is 5% to 10% fragrance oil by weight of the wax.
Stir gently but thoroughly with a stick or bamboo skewer for a full minute, mixing from the bottom without introducing air bubbles. Incomplete stirring causes fragrance oil to separate and pool on the wax surface after cooling.
Once mixed, pour the wax steadily into your silicone molds. The optimal pouring temperature is 60°C to 65°C (140°F to 149°F). Pouring at excessively high temperatures can stress silicone molds and lead to surface sinkholes or cracks as it cools.
Fill the mold to about 80%–90% capacity with a smooth, continuous pour.
The trickiest part of sachet making is knowing when to place your dried flowers. If placed immediately while the wax is completely liquid, heavy flowers will sink right to the bottom. If you wait until the wax hardens too much, flowers won't adhere and will fall off later.
The perfect window is when the wax turns milky white around the edges and a thin film starts forming on top—usually a few minutes after pouring, when the surface reaches a soft, custard-like consistency!
Working quickly in this window, use tweezers to place larger blooms and leaves first, followed by smaller accents. Gently push the stems or bases slightly into the wax to ensure they lock in place permanently.
Once decorated, leave the mold untouched at room temperature to cool completely. Do not rush the process by placing it in the fridge or touching it prematurely! Sudden temperature drops cause wax surface fogging or cracking. Allow it to sit undisturbed for at least 1 to 2 hours.
When completely hardened, gently flex the outer edges of the silicone mold and press up from the bottom to release your piece. Thread your favorite ribbon or twine through the top hole, and your boutique-quality aroma sachet is complete! (・∀・)
Here is a summary of typical mistakes encountered by beginners, along with their causes and solutions:
Once you master the basics using your starter kit, try exploring these creative variations!
Shave candle pigments or wax crayons into melted wax to create custom shades. Pouring subtle variations in layers lets you create lovely gradient candles or elegant two-toned sachets.
As you gain experience, experiment with blending pure essential oils. Combining lavender with sweet orange creates a relaxing scent, while eucalyptus with peppermint offers a refreshing atmosphere—tailoring scents to seasons and moods is wonderfully fun!
Slip finished sachets into clear OPP bags tied with ribbons and custom stickers for a professional presentation. They make fantastic handmade gifts that surprise and delight friends!
With refined skills, you could even open a shop on handmade platforms like minne or Creema, or online marketplaces like Amazon and Rakuten, embarking on your journey as a craft maker.
We’ve covered everything from the unique charm of candles and sachets to key wax knowledge, fail-proof techniques, and the benefits of beginner kits.
Spending time worrying about where to start is a missed opportunity! The true joy of candle and sachet making lies in experiencing the moment you melt wax, arrange flowers, and surround yourself with delightful scents.
Take action today! Open an online shop like Amazon or Rakuten and search for "candle starter kit" or "aroma sachet kit." Unboxing a kit containing everything you need is your fastest, most exciting first step toward craft success.
I hope your crafting journey is filled with warm light and wonderful fragrances!
If you enjoyed this guide, please feel free to share it with your friends on social media or messaging apps—it means the world to me. See you in the next article! This was Yassy from Crafters!


For example, if you are looking for articles about mizuhiki, try searching for "mizuhiki"; if you are interested in tools, try keywords like "nippers" or "pliers."
