Japanese Craft Guide: What Is Beeswax Polish? Features, Application for Wood & Leather, and Foolproof Maintenance
yassy
Crafters!


Hello, this is Yassy from Crafters! (・∀・)
In pottery, after kneading clay, shaping it, and completing the bisque firing (suyaki), the most exciting step is applying the glaze (yuyaku or uwagusuri)! Vessels that looked rustic in their raw clay state transform as if by magic into glossy, glass-like works of art after glazing and going through the final high-temperature firing (honyaki). I make pottery myself, and I also love looking at and collecting colorful ceramics, but without a doubt, it is the glaze that determines the final quality and aesthetic worldview of a piece.
However, glaze selection and the glazing process itself (seyu) are precisely where beginners struggle and fail the most. Many crafters experience frustrating mishaps: "The finish turned out completely different from what I imagined," "The surface became bumpy and uneven," or "The glaze ran down to the bottom and fused the vessel to the kiln shelf." Glaze is not mere paint; it is liquid glass that undergoes complex chemical reactions inside a high-temperature kiln.
In this article, I will thoroughly explain the basic types and characteristics of Japanese pottery glazes, their relationship with clay and temperature, and essential rules for successful glazing. Let's set aside vague guessing and master the fundamental principles to craft beautiful ceramic pieces just as you envisioned!
Glaze (yuyaku) refers to a mixture of materials applied to ceramic surfaces that melts during firing to form a thin, glassy coating. Bisque-fired clay is porous like a fine sponge and absorbs or leaks liquids if left untreated. Coating it with glaze and firing seals the surface, providing complete waterproofing and hygienic usability for daily dining.
Glaze consists of three main components: glassy materials (such as silica/quartz), melting temperature regulators (such as feldspar and lime), and coloring agents (metal oxides). When mixed with water into a liquid suspension, applied evenly to bisque ware, and exposed to high heat, these ingredients fuse into a hard glassy layer. Beyond waterproofing, glaze reinforces the structural strength of the piece while providing decorative color and texture.
The biggest reason beginners fail with glaze is that the liquid color before firing looks completely different from the final result after firing. For instance, it is quite common for a glaze that looks like cloudy pink liquid in the bucket to fire into a brilliant, vivid green. Understanding the chemical properties of ingredients and kiln firing conditions is your very first step toward predictable success.
Glazes are categorized into three main types based on their post-firing surface texture and gloss level. Select the type that best matches the vision for your creative work.
Clear glaze (tomei-yu) fires into a completely transparent glass layer. It is indispensable when you want to show off the natural color and grain of the clay body, or display hand-drawn illustrations and patterns created with underglaze colors (shitae-nogu). As the foundational glaze of ceramics, it pairs exceptionally well with almost any clay body.
The crucial rule when using clear glaze is to avoid applying it too thickly. Excessive thickness leads to a cloudy white cast or trapped air bubbles instead of clear transparency. If you want your underglaze artwork to show crisp and clear, keeping the glaze application slightly thin is key.
Milky white glaze (nyuhaku-yu) forms an opaque, soft white glass finish, giving vessels a warm, gentle aesthetic. Because it covers the underlying clay color, you can produce clean, white tableware even when working with dark red or black clay bodies. Classic Japanese examples include traditional glazes like Shirahagi-yu and Kohiki-yu.
These glazes yield a creamy, inviting texture that is perfect for café-style mugs or soup bowls. A charming characteristic of this type is yuhage (glaze break), where the glaze thins slightly along edges and rims, allowing hints of the underlying clay body to peek through naturally.
Matte glaze (tsuyakeshi-yu) produces a low-gloss, non-reflective finish. Rather than a slick glass feel, it offers a smooth, buttery tactile feel and a sophisticated, contemporary vibe. It has become immensely popular in craft markets and handmade exhibitions in recent years.
Because matte surfaces do not reflect light, they highlight the sculptural form and silhouette of the vessel. However, because matte textures feature microscopic surface variations, they can absorb food oils or tea stains more easily. When making practical dinnerware, choose stain-resistant matte formulations, or save matte finishes for decorative vases and interior display crafts.
Vibrant colors in glazes are produced by natural minerals and metal oxides. Understanding which metals create specific shades will deepen your mastery of glaze chemistry.
Iron (iron oxide) is the oldest coloring agent in pottery history. Depending on the iron concentration and firing method, colors change dramatically from yellow and amber-brown to reddish-brown and deep black.
A small addition of iron (1–2%) produces warm yellow Kisetoh-yu. Increasing iron to around 5% creates Ame-yu (amber glaze), offering a rich, translucent shade like tortoiseshell. Raising iron content to 10% or more results in a glossy, jet-black Koku-yu. Iron-based glazes are exceptionally stable, making them highly reliable choices for beginners.
Copper (copper oxide) creates rich, intense hues. Under standard firing conditions, copper yields Oribe-yu, a deep, striking green glaze that is a celebrated staple of traditional Japanese tableware, beautifully complementing both Eastern and Western cuisine.
However, if the same copper glaze is fired in a kiln atmosphere strictly deprived of oxygen (reduction firing), the color shifts drastically from green to a dramatic crimson red known as Shinsha-yu (flambé glaze). This dramatic transformation highlights the fascinating nature of copper glazes.
Adding cobalt oxide produces a breathtaking, vibrant cobalt blue known in Japan as Ruri-yu (lapis lazuli glaze). Even a tiny addition (under 1%) generates intense color payoff with remarkably consistent coverage.
Ruri-yu looks striking on modern plates, tray accents, or accessory dishes. Because cobalt glazes show minimal color variation across different firings, they serve as a dependable ally for beginners aiming for predictable blue shades.
To master pottery glazes, understanding the firing atmosphere inside the kiln is essential. Even with the exact same clay and glaze, changing the firing atmosphere produces entirely different results. Make sure you know which firing environment your kiln provides.
Oxidation firing supplies abundant oxygen into the kiln chamber throughout the burn. Standard electric kilns operate primarily on oxidation firing. Because no fuel is combustion-burned, the kiln air remains clean, allowing metal oxides in glazes to bond stably with oxygen.
This method offers excellent color consistency and accurate reproducibility. If you are a craft artist seeking to produce uniform pieces for a handmade shop, oxidation firing is your best option.
Reduction firing intentionally starves gas, oil, or wood kilns of oxygen during combustion. Seeking oxygen, the flame strips oxygen molecules directly from the clay body and glaze ingredients. This chemical reduction alters the elements, yielding subtle, earthy tones and delicate color gradations.
As mentioned earlier, red Shinsha glazes and bluish-gray Seiji (celadon) glazes can only be achieved through reduction firing. It is ideal for one-of-a-kind art pieces, though controlling kiln airflow and temperature demands advanced skill, and results vary slightly from batch to batch.
To help you avoid disappointment after opening the kiln, here are four typical glazing mistakes beginners encounter, along with pro tips on how to prevent them.
Instead of melting smoothly, the glaze pulls back into beads or patches during firing, exposing bare bisque clay beneath. This crawling occurs when glaze is applied too thickly.
Solution: The golden rule for dip-glazing is a brief 2 to 3 seconds. Dipping a vessel for longer than 5 seconds or applying multiple heavy layers will almost certainly cause crawling. Furthermore, oils from fingers or dust on the bisque surface repel glaze; always wipe your bisque ware thoroughly with a tightly wrung damp sponge just before glazing.
Small, needle-point holes form across the glazed surface after firing. Beyond affecting visual appeal, pinholes make food vessels harder to clean thoroughly.
Solution: Pinholes occur when trapped air pockets or organic matter inside the clay escape as gas during the main firing. To prevent this, ensure proper bisque firing temperatures and maintain a "soaking" phase (nerashi) holding the top kiln temperature for 20 to 30 minutes. This soak gives the molten glaze time to smooth out and heal gas bubbles.
A network of fine, mesh-like crackles appears in the glass layer. This is not a structural crack in the pot itself; it happens when the thermal expansion and contraction rates of the clay body and glaze do not match as the kiln cools.
Solution: In traditional Japanese pottery, kannyu (crazing) is often celebrated as an artistic feature. However, if you desire a perfectly smooth, unblemished surface, it is considered a defect. To prevent crazing, select clay bodies and glazes engineered with matching thermal expansion rates.
During firing, molten glaze runs down the sides onto the foot ring (kodai) and fuses the vessel permanently to the kiln shelf. Removing the vessel usually breaks the pot and damages expensive shelf boards.
Solution: Always wipe glaze completely clean from the bottom base up to about 5 millimeters from the bottom edge using a wet sponge. When using runny glazes (like crystalline glazes or thick applications), leave up to 1 centimeter unglazed from the base, or apply a wax resist / water-repellent coating (dogu-tsuchi) around the lower foot.
If I were starting over as a pottery beginner today, I would follow these steps to build glaze skills effectively without unnecessary setbacks:
Avoid highly sensitive, runny, or complex glazes at first. Start by practicing with just two reliable glazes: clear glaze (tomei-yu) and white matte glaze (shiro-matte-yu).
Clear glaze helps you master consistent application thickness (the 2-to-3-second dip feel). White matte glaze teaches glaze flow behavior and the importance of base wiping. Mastering these two basics allows you to create elegant, professional-looking tableware.
Applying a single glaze can sometimes feel monochromatic. Once comfortable, try kakewake—dipping or layering two glazes on different sections of one vessel.
For instance, dip a mug entirely in white matte glaze, then dip just the rim briefly into blue Ruri-yu. This creates a gorgeous contrast between white and blue with a custom, handcrafted look. Enjoying the new shades created where two glazes overlap is one of the true joys of ceramics!
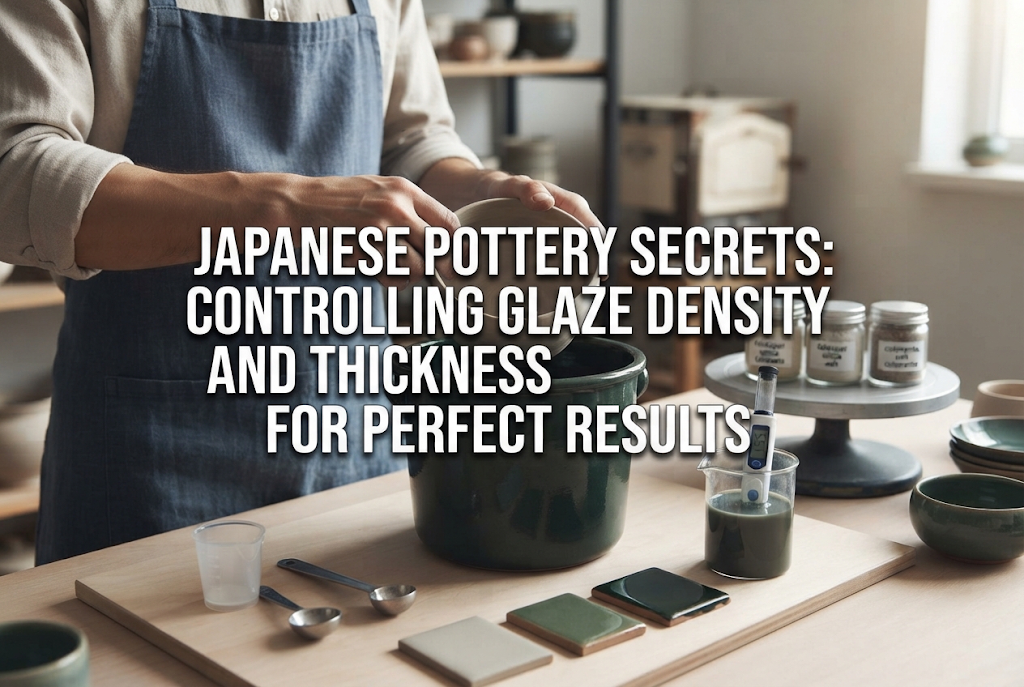
Applying glaze directly to a finished piece without testing is a gamble. Skilled crafters always make small clay test pieces (test pieces or shisaku-ita) to record glaze behavior before firing major works.
On a single test tile, apply glaze in three thickness gradients: thin, medium, and thick. Scratch the clay type and glaze name onto the back with a needle before firing. Keeping these finished test tiles on hand gives you solid confidence for future projects, knowing exactly how a specific glaze will perform on your clay body.
In pottery, glaze is the soul of your work. Beautiful finishes are not random luck; they rely on clear principles involving clay compatibility, firing atmosphere, and coating thickness.
Let's review our essential rules for glazing success:
Pottery glazing can feel unpredictable at times when unexpected colors emerge from the kiln. But once you grasp the underlying mechanisms, opening the kiln to find vibrant colors and smooth glassy finishes exactly as planned is an unforgettable joy. Use these technical secrets to bring your ceramic vision to life!
If you enjoyed this guide, please share it with your fellow crafters on social media or messaging apps—it keeps me inspired to share more ceramic insights! See you in the next article! This was Yassy from Crafters!





For example, if you are looking for articles about mizuhiki, try searching for "mizuhiki"; if you are interested in tools, try keywords like "nippers" or "pliers."
