How to Choose the Best Molds for Jesmonite: Rules for Flawless Casts and Long-Lasting Silicone
yassy
Crafters!

Hello, everyone! It’s Yassy from Crafters! (・∀・)
As someone who loves crafting, the sheer transparency and sparkling finish of UV resin always makes my heart skip a beat. Whether creating jewelry with my favorite inclusions embedded inside or browsing stunning resin art made by fellow creators at craft fairs and online shops, admiring resin work is my ultimate form of relaxation.
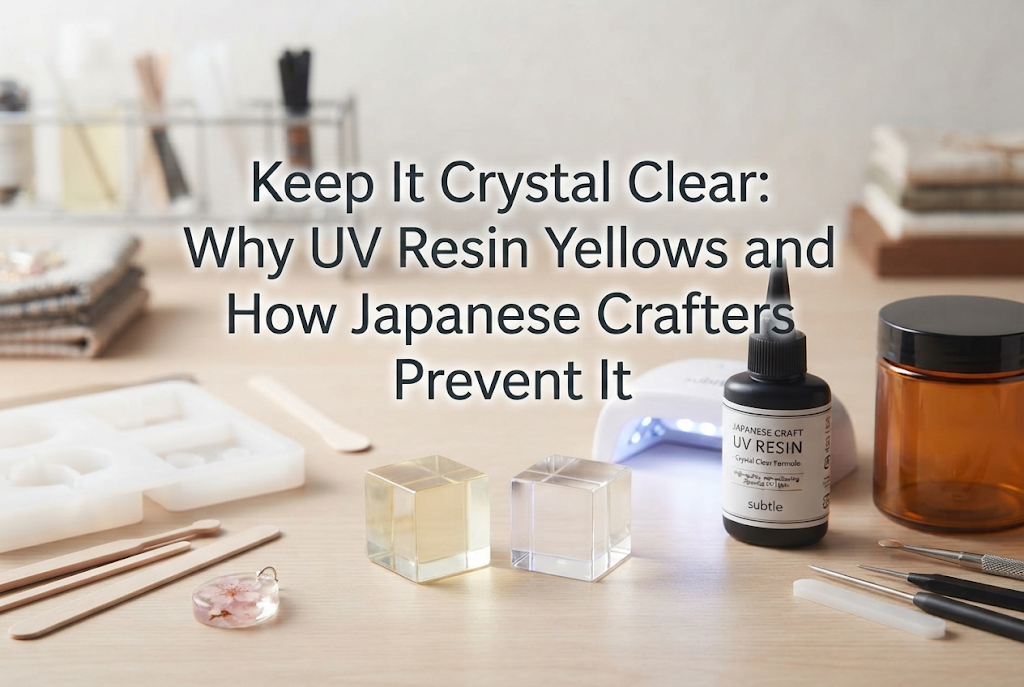
However, almost everyone who works with UV resin eventually hits the same frustrating wall: over time, pieces turn cloudy and yellow. This discoloration is known as yellowing (ohen in Japanese).
It is heartbreaking to discover that an earring or keychain you poured your heart into has faded into a muddy sepia tone just a few months later. When I was just starting out in handmade crafts, I experienced this disappointment many times with pieces I truly treasured.
Here is the good news: with the right understanding, careful resin selection, and proper handling and storage, you can reliably prevent UV resin from yellowing!
In this guide, I will break down the root causes of yellowing, share foolproof tips for choosing yellow-resistant resin, and walk you through professional techniques to preserve that brilliant crystal clarity over the long run.
Why does perfectly clear resin turn yellow over time? There are clear chemical mechanisms and environmental factors behind it. You cannot prevent a problem until you understand its source, so let’s look at the three primary causes first.
The single biggest cause of yellowing is ultraviolet light, whether from sunlight or fluorescent lighting.
UV resin is formulated to cure when exposed to ultraviolet light from a curing lamp. However, when cured resin is continuously exposed to UV rays in everyday life, that strong energy breaks apart the molecular bonds within the hardened polymer.
As these broken molecules bind with oxygen in the air, an oxidation reaction occurs, producing chemical compounds that carry a yellow pigment. This is why resin yellowing progresses when exposed to sunlight over extended periods. Pieces displayed near windows or worn outdoors regularly are especially vulnerable to this mechanism.
The second factor lies within the raw formulation of the liquid resin itself.
To turn liquid resin into a solid, chemical agents called photoinitiators are essential. These photoinitiators absorb UV light, initiating the polymerization reaction that hardens the resin into a solid block.
However, photoinitiators do not disappear after curing; they remain embedded inside the finished piece. Over time, these residual photoinitiators continue reacting with ambient light, micro-exposure, and atmospheric oxygen, gradually creating a yellowish tint. Furthermore, inexpensive resins often contain lower-grade thickeners and stabilizers that degrade much faster, speeding up the discoloration process.
The third cause occurs during the crafting process itself: heat and excessive light exposure.
UV resin generates exothermic reaction heat while curing. If you attempt to cure a thick piece all in one pour or use an excessively high-wattage lamp to cure it instantly, the temperature spikes dramatically.
When the resin reaches high temperatures, thermal degradation can scorch the resin, giving it a faint yellow hue right from the moment it hardens. It is essentially heat-burned resin.
In addition, keeping a piece under a UV lamp for many minutes under the assumption that "more is better" is counterproductive. Subjecting uncured resin to far more intense ultraviolet radiation than required initiates polymer breakdown during the curing process, accelerating future yellowing.
Beginners often carry misunderstandings about how and why resin discolors. Crafting without understanding these points can lead to unexpected disappointment, so let’s clear them up.
Many believe that using modern LED resin paired with an LED lamp guarantees zero yellowing. This is a misconception.
LED resin is formulated to cure under a specific wavelength (typically around 405 nm), which allows it to cure quickly with relatively less heat, giving it a tendency to resist immediate discoloration better than older UV-only formulas. However, LED resins are still acrylic-based polymers at their core.
If exposed to sunlight containing natural UV rays after curing, polymer degradation occurs regardless of the light source used initially. Just because a resin is labeled for LED use does not mean it will remain crystal clear forever without care.
Another common belief is that brushing a UV-blocking top coat over finished resin will completely protect any resin piece from turning yellow.
A protective surface coating acts as an effective shield against external UV rays hitting the piece. However, it cannot stop internal degradation caused by residual photoinitiators or heat damage sustained during curing.
If the underlying base resin is low in quality, the interior will slowly discolor from within regardless of surface protection. A top coat should always be treated as a supportive defensive layer, not a miracle cure.
Assuming that budget craft-store resins and premium manufacturer formulas will discolor at the same rate—and therefore opting exclusively for the cheapest bottle—is one of the biggest pitfalls in resin crafting.
The price difference among resins directly reflects the purity of the raw ingredients and the inclusion of light stabilizers (often labeled as non-yellowing agents). High-grade resins use specialized acrylic compounds that resist breakdown under light, retaining brand-new clarity for years. Low-grade options, on the other hand, can turn distinctly cloudy and yellow in weeks or months. The difference in performance is significant.
What criteria should you look for when shopping for resin? Based on my testing and experience collecting and making pieces, here are the core principles for picking resins that maintain their clarity.
When purchasing, always check the packaging and product specs for explicit terms such as "non-yellowing" (in Japanese products, look for 難黄変, nan-ouhen) or "high lightfastness."
Resin manufacturers invest heavily in research to combat discoloration. Products formulated to resist yellowing prominently feature claims such as "anti-yellowing formula" or "designed for lasting clarity." Generic discount brands or bottles that merely say "clear" without any performance claims carry a high risk of degrading quickly.
When it comes to UV resin, using well-regarded products from established Japanese craft manufacturers is one of the most reliable choices you can make.
In Japan, top craft supply brands put their flagship resins through rigorous testing, balancing hindered amine light stabilizers (HALS) and UV absorbers to protect the polymer matrix. Extremely cheap, unbranded resins frequently cut costs by using lower-purity industrial components or photoinitiators that degrade easily. For keepsakes and pieces meant to last, investing in reputable maker-grade resin makes a tangible difference.
Two easily overlooked factors are resin viscosity and the bottle's light-blocking capability.
Very watery, low-viscosity resins release air bubbles easily, but when spread thin, they are sensitive to ambient oxygen and can trap reaction heat during rapid curing. Medium- to high-viscosity resins form stable layers more reliably, promoting consistent chemical curing.
Equally important is packaging: choose resins sold in fully opaque black or heavily shaded bottles. Resins sold in clear or semi-translucent containers can begin degrading from ambient shop lighting before you even unscrew the cap.
Once you have a quality resin, defense comes down to your crafting process and storage habits. Here are the specific techniques I use to keep yellowing to an absolute minimum.
Do not leave your piece under a UV lamp for extended periods out of fear that it might remain tacky.
Stick strictly to the curing times recommended by your resin manufacturer for your lamp's wattage. With standard craft lamps (around 6W to 36W), curing a high-grade resin for 60 to 120 seconds on the front, followed by 30 to 60 seconds on the back, is generally sufficient for a full cure.
Tacking on an extra five minutes "just to be safe" stresses the resin with excessive radiation and triggers early degradation. Use a timer to keep curing durations accurate.
When creating thicker items such as molded cabochons or dimensional charms, never pour the entire mold in a single pass.
Curing a thick block all at once sparks a rapid, concentrated chemical reaction that can cause internal heat to approach 100°C (212°F). That internal thermal shock scorches the resin and causes discoloration.
Instead, use a layered approach: pour resin in increments of roughly 3 mm to 5 mm (about 1/8 to 1/5 inch), curing between each layer. Spreading out the heat dissipation completely prevents scorch-related yellowing.
After your piece is fully cured, seal the surface with a UV-blocking clear coat or varnish.
You can find brush-on UV top coats and spray-on UV-resistant clear finishes designed for crafts. Applying a smooth, thin layer over your finished piece blocks the vast majority of surface UV rays from penetrating the core. For outdoor accessories like keychains, bag charms, and hair clips, this finishing step makes a dramatic difference in preserving transparency years down the road.
Sometimes the resin itself has not yellowed, but degraded inclusions or dyes make the piece look discolored.
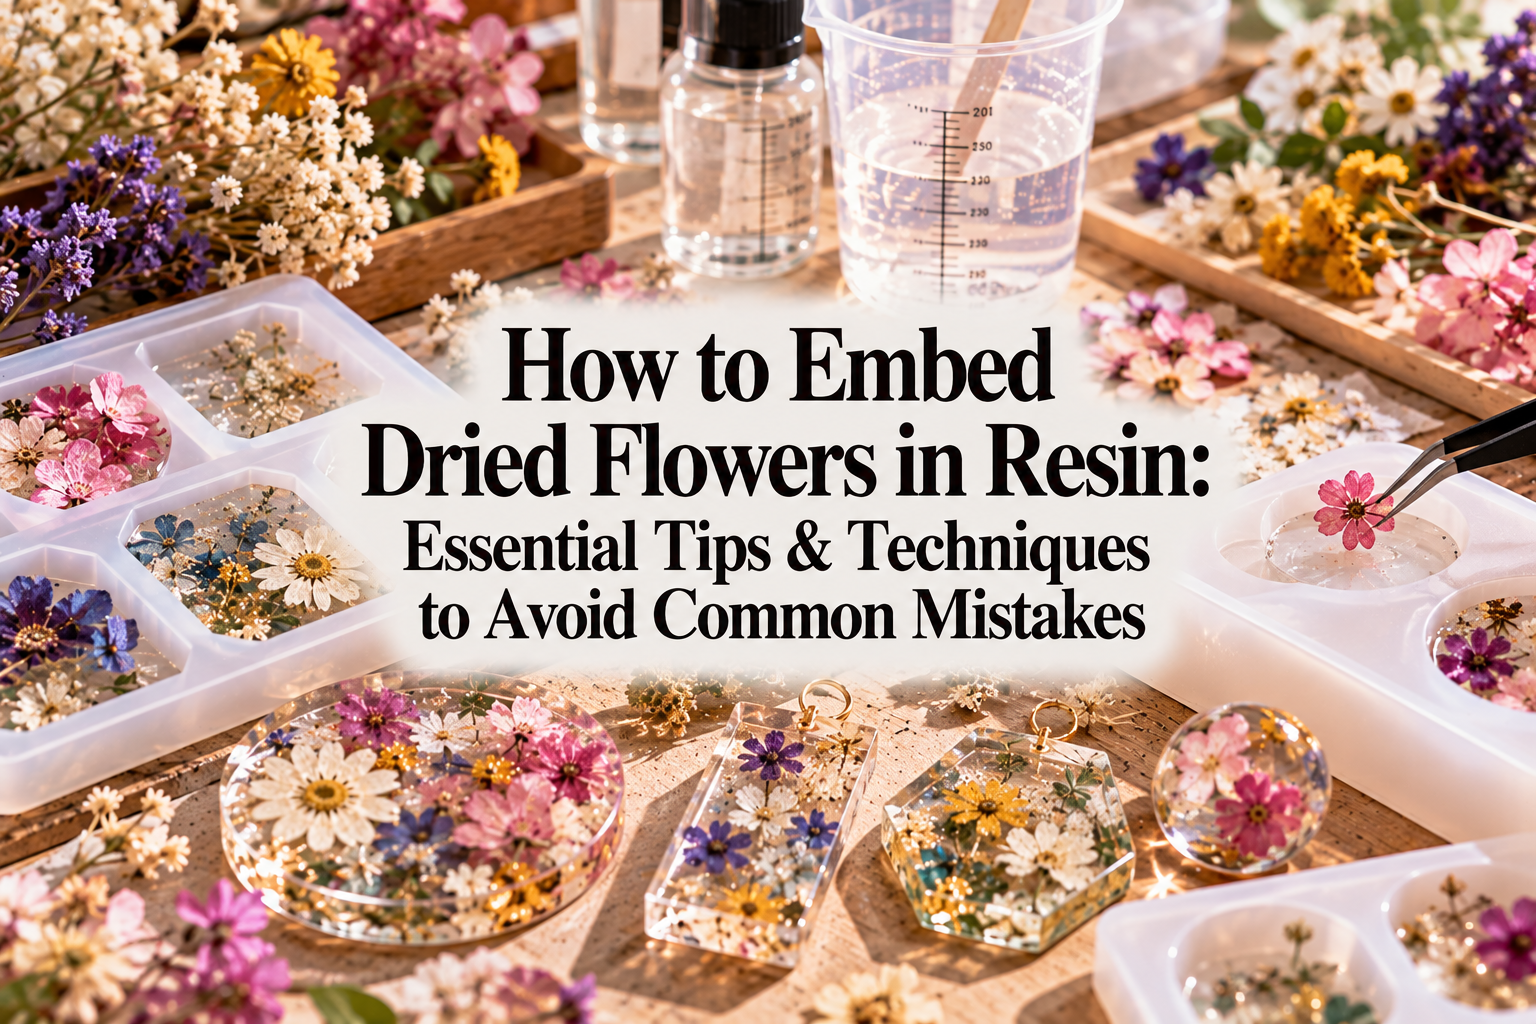
Pay close attention to dried flowers and budget colorants. Natural botanical specimens lose their natural green and pink pigments over time, turning straw-yellow or brownish. When this happens inside a clear dome, it creates the illusion of yellowed resin. If you use dried flowers, prep them with a dedicated sealant spray or select color-treated florals that resist fading.
Similarly, use concentrated liquid pigments formulated specifically for UV resin. Repurposing non-craft printer inks or cheap paints often leads to fading and discoloration upon light exposure.
Where you store finished pieces and how you display them in your room matters just as much as how you make them.
Avoid placing resin pieces in these locations:
If you display pieces in your room, place them away from direct window light or inside display cases fitted with UV-filtering glass or acrylic. When storing craft inventory or out-of-season jewelry, keep them in light-tight boxes or drawers. Blocking ambient light slows down age-related degradation significantly.
Here is how I adjust my approach depending on what kind of piece I am making. Tailoring your materials to the specific project allows you to craft efficiently without wasting high-end supplies.
When making items whose beauty depends entirely on pristine transparency—like faux water drops, ice cubes, or clear domes—I accept zero compromises.
For these projects, I exclusively use top-tier Japanese resins clearly rated for maximum yellow-resistance. I work meticulously to avoid dust, keep lamp times to the exact minimum needed, apply a UV top coat, and store finished pieces in dark storage pouches. Purely transparent works warrant the highest investment in materials and care.
What about pieces tinted with deep shades such as navy, black, deep emerald, or dark red?
Because the base color is heavily saturated, slight ambering in the resin will never be noticeable to the eye. For these items, using a dependable standard resin rather than the most expensive formula is a sensible way to manage costs.
However, pastel and milky tones (such as baby pink or soft cream) are a different story. Pale colors show yellowing very quickly—soft pink shifts toward peach, and pure white turns into dingy beige. Treat pastel and milky pieces just like clear pieces, using top-tier non-yellowing resin.
If you have an older piece that has already turned amber, do not throw it away! You can transform discolored resin into something intentional and stylish with a quick makeover.
The amber, sepia tone of yellowed resin closely resembles aged amber or antique glass. Instead of viewing it as ruined, lean into that vintage character.
Pair the piece with gold foil, brass findings, and deep brown or charcoal beads. Embracing the warmth turns the piece into a retro-inspired vintage accessory that looks deliberately styled.
Lightly sand the surface of the discolored piece using fine sandpaper (around 800 to 1000 grit) to create tooth. Then, apply a thin coat of deeply tinted resin—such as jewel-toned blue, purple, or black—and cure it.
Alternatively, buff metallic mirror powder over the surface and seal it with a top coat to turn it into a faux-metal gold or silver accessory. The yellowed core stays completely hidden beneath a fresh, gleaming finish.
Discoloration in UV resin is not an unavoidable fate. The primary causes come down to UV degradation, chemical reactions in photoinitiators and additives, and excess heat or overexposure during curing.
By understanding these mechanisms and following these core habits, your creations will hold onto their original clarity:
The greatest charm of resin craft is that captivating, glassy clarity. With the right foundation and thoughtful technique, you can create pieces you feel proud of for years to come.
Give these tips a try on your next project, and enjoy every minute of your sparkling resin craft journey!
If you found this guide helpful, sharing it with your fellow makers means the world to me. See you in the next article—happy crafting from Yassy!


For example, if you are looking for articles about mizuhiki, try searching for "mizuhiki"; if you are interested in tools, try keywords like "nippers" or "pliers."
