Essential Craft Tools for Beginners: What to Buy First and What to Skip
yassy
Crafters!

Hello crafters, it's Yassy from Crafters! (・∀・)
I absolutely love making handmade jewelry, browsing craft shops, and collecting beautiful materials. Gemstone beads, in particular, are so exciting to work with because each and every stone has its own distinct personality and expression.
However, beginner jewelry makers almost inevitably hit a wall when choosing gemstone beads. Online shops and craft stores are filled with countless varieties, making it difficult to judge which ones are truly right for your intended project.
These mistakes can be completely avoided once you know what criteria to evaluate. Let's move away from relying on guesswork and master the fundamental standards for choosing gemstone beads.
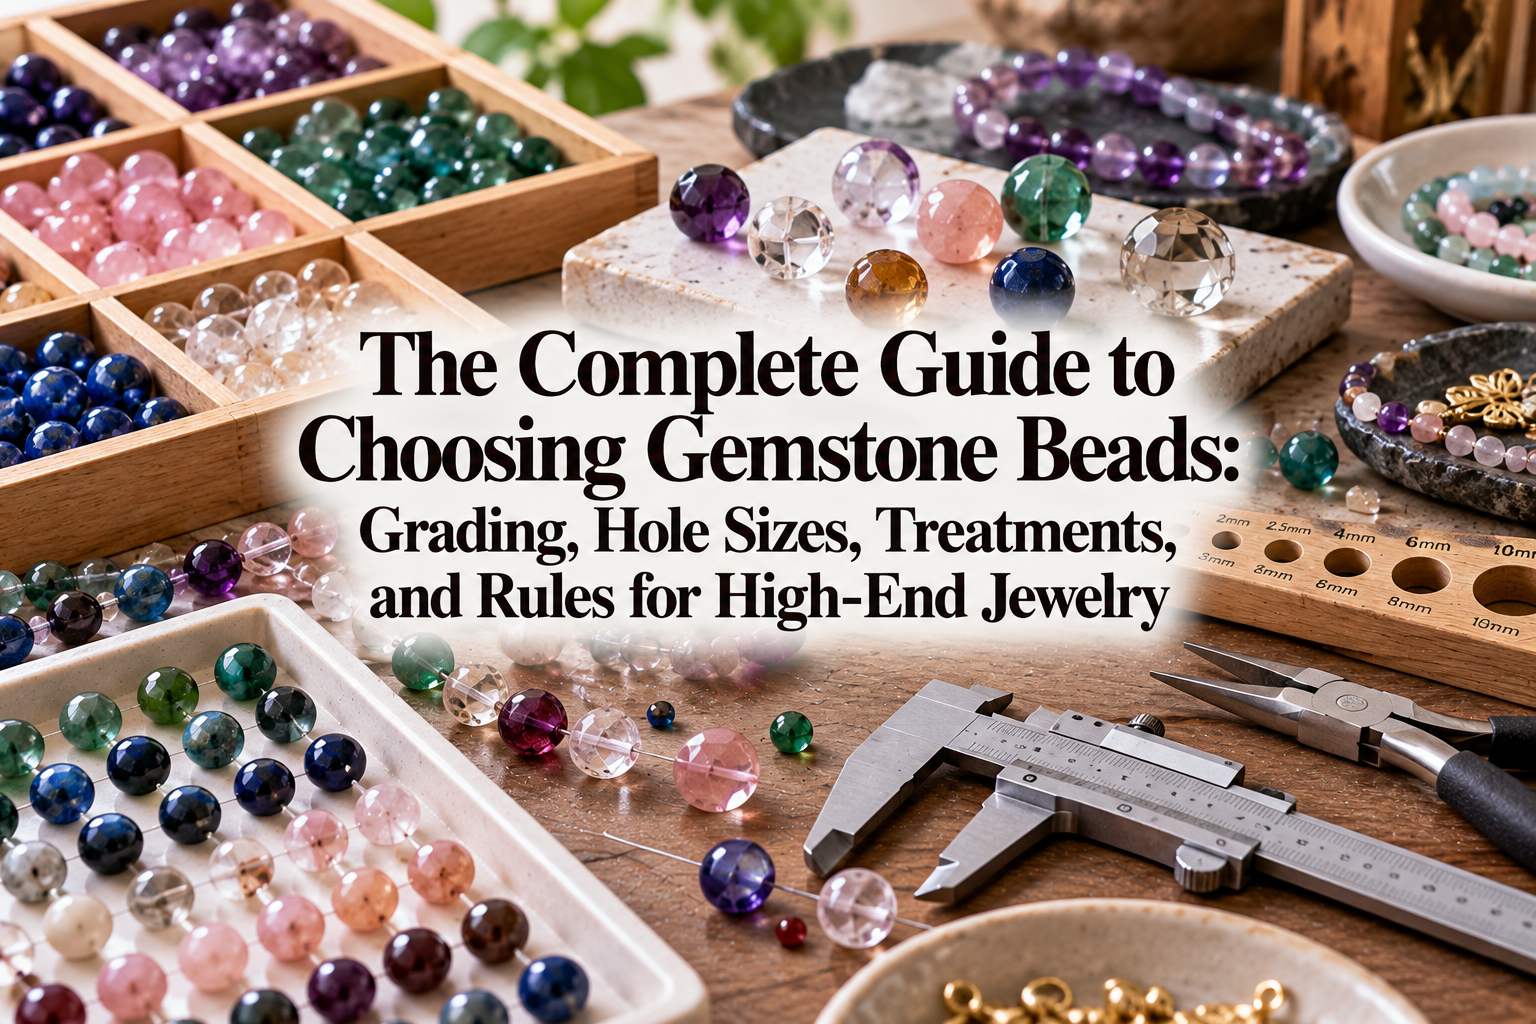
In this guide, I will walk you through the essential technical specifications, the reality behind grading tiers, artificial treatment methods, and hole size compatibility based on practical studio experience. With these rules in hand, you'll be able to choose the perfect gemstone beads for your creations every time!
When purchasing gemstone beads, never base your decision solely on whether a stone looks pretty or comes in a color you like. The very first step is checking the three structural specifications that directly impact how your jewelry is built.
Ignoring these factors will disrupt your design and, in the worst cases, make it structurally impossible to assemble your jewelry.
Gemstone beads are generally sized in millimeters (mm). For round beads, standard sizes typically include 4mm, 6mm, 8mm, 10mm, and 12mm.
The general rule for choosing sizes is straightforward: if you are creating delicate earrings that swing gently near the ear, 4mm to 6mm beads are ideal. If you want a prominent centerpiece for a bracelet or an eye-catching statement necklace, 8mm to 10mm beads work best.
A common beginner pitfall is estimating scale purely by imagination. A difference of just 2mm creates a drastically different volume when assembled three-dimensionally. Always verify dimensions against a ruler or compare them with findings and beads you already own.
Hole size is where most beginner crafters encounter problems. Unlike metal findings or glass beads, natural gemstones have irregular drill hole diameters depending on stone hardness and drilling precision.
Standard gemstone beads typically have hole sizes around 0.8mm to 1.0mm. However, micro-faceted beads (2mm to 3mm) or particularly hard minerals frequently feature ultra-fine holes measuring only 0.5mm to 0.6mm.
If you purchase beads without checking the hole size, your headpins, eye pins, craft wires, or elastic cords may not fit, forcing you to repurchase supplies. Always match the hole diameter to the gauge (thickness) of your stringing or wrapping material before ordering.
Beyond smooth round beads, gemstones come in a wide variety of cuts and silhouettes. The cut dramatically affects light reflection and overall aesthetics:
Select the shape that aligns with your design. If you prioritize ease of assembly, sticking to round or rondelle beads is the safest starting point.
You often see descriptions like "AAA Grade" or "5A Premium Quality" on gemstone retail listings. It is easy to assume that more "A"s automatically guarantee a superior gemstone, but that is not always the case.
Unlike diamonds, colored gemstone beads have no universally standardized international grading system. These letter grades are assigned independently by individual retailers. Misunderstanding this can lead to overpaying.
A "3A" stone in one shop might be comparable in clarity and polish to a "5A" stone from another vendor. Think of grade letters not as certified laboratory evaluations, but simply as an internal comparison indicating a shop's high-tier, mid-tier, and entry-level stock.
Instead of relying strictly on letter counts, evaluate actual product photographs for color saturation, transparency, surface luster, and visible flaws.
I recommend being cautious with shops that do not provide actual sample photographs or rely on a single generic image alongside inflated grade labels.
Smart jewelry making means selecting the right quality tier for your intended design and price point. Here is how I divide grades based on project goals:
Higher price does not automatically equal better suited. Choosing the right tier for your specific design balance is the true secret to elevating jewelry quality.
Many gemstone beads on the market undergo artificial treatments to enhance their color, luster, or durability. These treatments are standard industry practices and do not mean a stone is "fake," but they do require specific handling during crafting.
Among treated stones, dyed beads require the most caution. Materials like chalcedony, agate, and howlite are often dyed in vibrant pinks, bright blues, and rich greens. Their pop of color makes them tempting for beginners, but they must be handled carefully.
Dyed beads can transfer pigment onto clothing or skin when exposed to sweat and continuous friction. Furthermore, when used as inclusions in UV or epoxy resin jewelry, dyes can seep into the liquid resin, causing discoloration and cloudiness.
When crafting items that will come into direct contact with moisture, skin, or chemical mediums, always choose natural, undyed stones.
Because minerals are brittle, drilled holes represent the weakest point on a gemstone bead. Understanding hole conditions and matching them to the correct findings is vital for durable construction.
When holes are drilled through minerals, small chips around the hole rim frequently occur. Minor edge chips can easily be concealed using bead caps or adjacent spacer beads.
However, you must strictly avoid beads with radiating hairline cracks spreading from the drill hole. When you insert a headpin or wire and apply pressure to bend a loop, that internal stress will often split the bead clean in two. Always inspect hole edges carefully during sourcing and sorting.
Using findings that are too thick can crack the stone, while findings that are too thin will wobble and weaken the structural integrity. Here are reliable combinations I recommend:
If you are working with micro-gemstones that have tiny 0.5mm holes, standard commercial headpins will not pass through. In such cases, use fine 0.3mm to 0.4mm (28–26 AWG) artistic wire and finish them using wire-wrapped briolette loops.
The greatest charm of natural stones is that no two beads are identical. However, uncurated natural variance can lead to mismatched earring pairs or an unbalanced piece.
When making earrings or matched pieces, never grab two beads at random from a strand.
Even within a single strand, beads vary in color saturation, banding, transparency, and cut proportions. Lay your beads out on a bead mat and select two individual beads that closely match in dimension, hue, and internal clarity. Taking the time to curate matched pairs instantly elevates your work to a professional finish.
Certain gemstones exhibit striking optical phenomena when catching light at specific angles. Curate these based on how their flash appears:
Positioning beads with prominent optical effects as centerpieces ensures your jewelry commands attention.
Where you purchase your gemstone beads changes the risks involved. Physical bead shops and online suppliers each carry distinct advantages.
The primary advantage of brick-and-mortar shops is being able to inspect stones firsthand.
Be mindful of harsh, direct retail spotlights. Under intense display lighting, nearly any stone appears brighter and more lustrous than it actually is. Shield the stone with your hand or step away from overhead spotlights to view it in diffuse, natural ambient light.
Examine drill holes up close to rule out radiating cracks, and take advantage of the opportunity to lay beads side by side to assemble matching pairs before purchasing.
Online stores offer wider selections and competitive pricing, but photos can sometimes mislead. Follow these practices when ordering online:
Let's clear up three frequent misunderstandings among beginners when buying gemstone beads.
While bubbles or cracks inside synthetic glass beads represent manufacturing flaws, internal mineral inclusions and veil-like fractures in gemstones are natural hallmarks of formation.
Varieties like inclusion quartz (garden quartz, strawberry quartz) and crackle quartz are cherished specifically for their interior patterns and light scattering. While you should avoid cracks that reach the outer surface where a fingernail catches, internal veils and mineral specks should be appreciated as authentic natural character.
Assuming that a noticeably heavy stone is more authentic or valuable can be misleading. A mineral's specific gravity is dictated entirely by its chemical composition.
Minerals like hematite and tiger's eye feel dense and weighty in the hand, whereas amber and jet are exceptionally lightweight. Natural amber is so light that it floats in saturated saltwater. Judge gemstones by the authentic characteristics of their mineral family rather than simple heft.
While thin wire can physically pass through beads, durability requires careful consideration of structural stress.
Strung onto delicate nylon-coated wire alone, heavy 8mm or 10mm round gemstone beads put substantial strain on crimp tubes and findings under everyday arm movement, leading to premature breakage. For hefty gemstone beaded bracelets, multi-strand flat elastic (operon cord) provides far superior shock absorption and longevity. Match your stringing medium to the finished weight of your piece.
Choosing the right gemstone beads comes down to clear observation and structural awareness:
Because no two natural gemstones are ever quite the same, working with them gives your handmade jewelry an authentic depth that synthetic materials simply cannot duplicate.
Use these sourcing and assembly guidelines to pick materials with confidence and create stunning, durable gemstone jewelry! If this guide helped you, feel free to share it with your fellow makers. See you in the next article—Yassy from Crafters signing off!

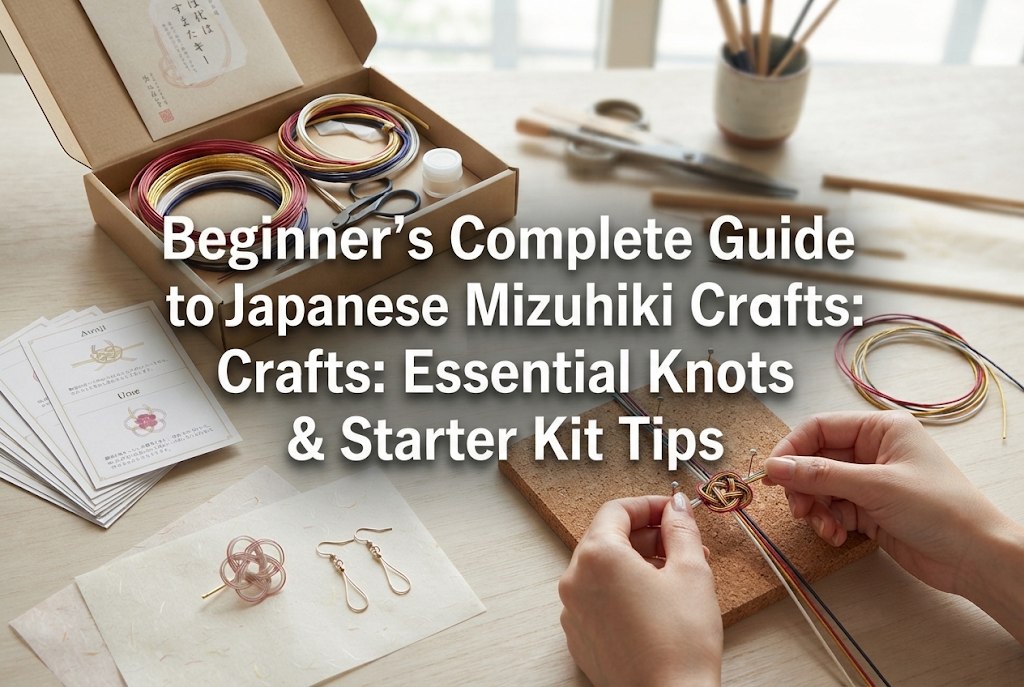




For example, if you are looking for articles about mizuhiki, try searching for "mizuhiki"; if you are interested in tools, try keywords like "nippers" or "pliers."
