Mastering Japanese Resin Clay Shrinkage & Assembly: A Complete Sizing and Gluing Guide
yassy
Crafters!
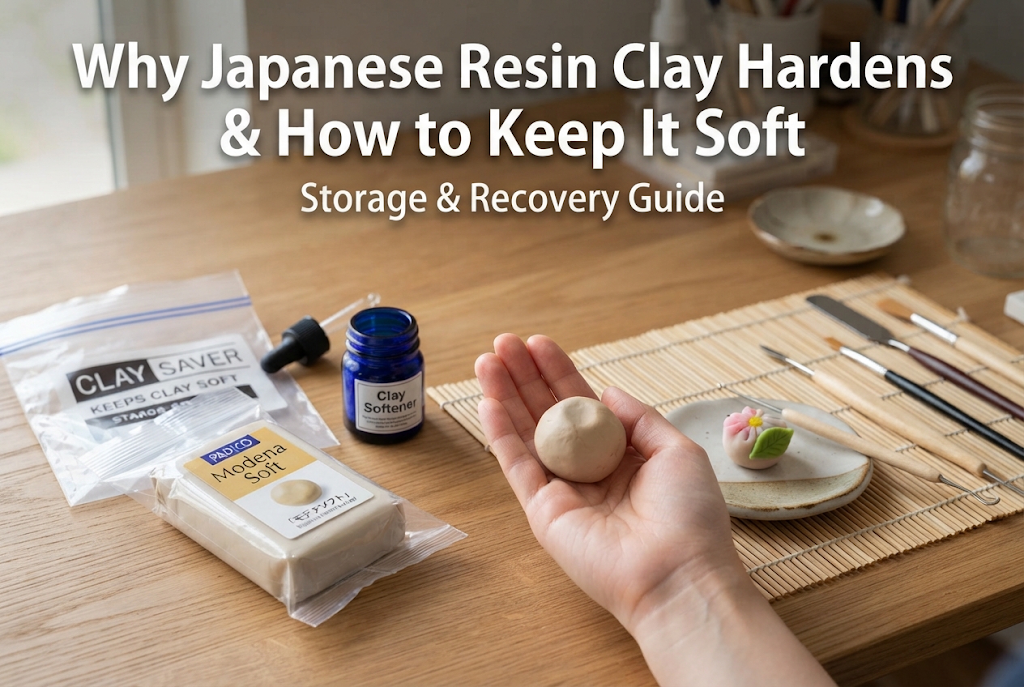

Hello! This is Yassy from Crafters! (・∀・)
Have you ever opened a bag of resin clay after a while, excited to start a new handmade project, only to find it rock-hard and completely unusable? Touching the package and realizing, "Oh no, this is ruined…" is a disappointing moment that almost every beginner crafter goes through at least once.
Wasting clay you spent your hard-earned money on is such a shame. Resin clay is a fantastic, user-friendly material known for its smooth texture and vibrant color payoff, but if you don't understand its basic properties, it can dry out and harden surprisingly fast.
In this article, I'll thoroughly explain the root causes of why resin clay hardens, common storage mistakes beginners tend to make, how to recover clay that has started to stiffen, and my foolproof storage techniques to keep your clay soft and pliable whenever you need it!
To prevent resin clay from hardening, it is essential to understand the mechanics of how it sets in the first place. Hardening usually occurs when multiple factors overlap.
The main components of resin clay are synthetic resins—such as vinyl acetate emulsion or acrylic resins—along with water and plasticizers that give the clay its flexibility. Unlike polymer clay, which requires oven baking to cure, air-dry resin clay hardens naturally as water evaporates upon contact with oxygen and air.
Because of this air-drying property, the moment you open the package, the clay comes into contact with air and moisture begins escaping. As water evaporates, the resin molecules bond tightly together, transforming the soft clay into a firm, plastic-like state. This is the basic mechanism behind how resin clay hardens.
I often receive questions like, "I closed the ziplock bag tightly, so why did my clay still harden?" In reality, standard ziplock bags and original product packaging have microscopic gaps, and moisture can gradually permeate directly through the thin plastic film over time.
Even if you think it is sealed completely airtight, slight air movement occurs, slowly but surely drying out the clay over weeks or months.
The room environment where you store your clay also plays a huge role in how fast it hardens. Rooms with active air conditioning or heating have extremely dry air, which dramatically accelerates moisture evaporation from the clay.
Furthermore, exposing clay to direct sunlight or high summer indoor temperatures raises the temperature inside the clay, causing moisture to vaporize quickly. Leaving your clay stored without considering seasonal changes or room conditions is a major reason for rapid drying.
When working with resin clay, good intentions or assuming "this little bit will be fine" often end up ruining the material. Here are common mistake patterns beginners frequently fall into.
While making small parts, do you leave the main lump of clay sitting uncovered on your craft mat? A dry skin starts forming on the surface of resin clay within just a few minutes of air exposure. Once this thin outer crust forms, kneading it back into the lump creates lumpy bits that spoil the smooth texture of your work. The golden rule is to keep any clay not actively in your hands wrapped tightly in plastic wrap, even during work sessions.
Simply wrapping clay loosely with air trapped inside halves the effectiveness of plastic wrap. Any trapped air pockets allow moisture from the clay to escape into that space, causing the outer surface to dry out. You need to press the wrap directly against the clay surface, pushing out all air pockets so it fits snugly like a second skin.
Another very common mistake is pouring tap water directly onto stiff clay in hopes of softening it quickly. Adding a sudden surplus of water turns the surface into a slimy, sticky mess while leaving the core hard. Furthermore, mixing in unboiled tap water introduces bacteria, which can cause mold growth or foul odors during subsequent storage.
High-quality resin clay is readily available at 100-yen craft stores in Japan nowadays. However, because 100-yen shop packages contain smaller quantities, they tend to dry out much faster than larger packages from specialized manufacturers once opened. Assuming it will be fine for a few days just because it's a small single-use pack often results in rock-hard clay. Regardless of the clay's brand or price, thorough moisture protection is required the moment it is opened.
If your clay is starting to harden, don't panic! You don't necessarily have to throw it away. As long as it hasn't turned completely into rigid plastic, you can restore it using the proper steps. Here are reliable recovery methods I use myself.
If the clay feels slightly stiff or has minor surface dryness (roughly the firmness of a dense rubber ball), hydrating it with warm water rather than cold water is very effective.
The key here is not to knead it immediately after spraying water. Kneading while water is only on the surface makes it sticky and messy. Letting it sit gives moisture time to soak deep into the clay's structure.
If water alone doesn't bring back elasticity or if the clay feels brittle, adding moisture-retaining oils helps. Take a tiny droplet—about the size of a single grain of rice—of oil-based hand cream or drugstore glycerin, and knead it into the clay. Replenishing oil significantly improves stretchability and cohesion. However, adding too much reduces final dry strength and leaves a sticky finish, so always start with a minute amount.
Craft stores and online suppliers sell specialized "clay softeners" or "softening liquids" formulated specifically for resin clay. These dedicated liquids restore flexibility without breaking down the clay's chemical structure. If you want to avoid potential failures with water or cream methods, keeping a bottle of commercial clay softener handy is the safest and most reliable recovery solution.
Unfortunately, there comes a point where clay is beyond saving. If the clay cannot be dented with a fingernail, snaps brittlely when bent, or feels like a hard plastic ball, its chemical air-drying process has fully completed. Once clay reaches this state, it can no longer absorb moisture.
Soaking fully cured clay in water will only turn the surface into a muddy slurry without restoring its original texture. When it gets to this stage, cut your losses and open a fresh package of clay.
The ultimate secret to avoiding wasted clay is not relying on recovery, but rather creating a storage environment that prevents hardening in the first place! Here is my ultimate step-by-step preservation routine that keeps resin clay soft for months.
Divide large packs of fresh clay into smaller portions based on how much you typically use at one time or per color mix. Wrap each portion tightly in plastic wrap while pushing out all air. A crucial tip is choosing food-grade wrap with high adhesion and low oxygen/moisture permeability (such as polyvinylidene chloride wrap).
Wrap the plastic-wrapped clay bundle with an alcohol-free wet tissue or paper towel that has been thoroughly dampened and wrung completely dry. This moist outer layer acts as a protective humidity shield—even if a tiny amount of moisture slips through the wrap, the surrounding moisture barrier prevents the clay itself from drying out.
Wrap the wet-tissue-covered clay bundle with a second layer of plastic wrap (creating a double-wrap layer). Place it inside a thick freezer-style ziplock bag, squeeze out all the air, and seal it shut tight.
Finally, place the sealed zip bag into a hard airtight container fitted with a silicone seal. Store it in a cool, dark place with stable temperatures, such as a closet or shelf. I do not recommend storing clay in the refrigerator, as temperature changes when taking it out cause condensation that ruins the clay's texture. A cool indoor spot is best.
Beyond storage methods, making minor adjustments to your crafting habits drastically reduces clay waste. Here are two practical habits I follow during my own crafting sessions:
When working with colored clay or small rolled parts, I keep a small covered plastic container or a tray lined with a damp, tightly wrung hand towel right next to me. Even leaving clay exposed for a few minutes while assembling parts causes drying. Popping unused portions under the tray lid between steps keeps the clay in optimal condition right until you're finished shaping.
No matter how careful you are, clay that has been opened multiple times gradually loses freshness. When I notice clay becoming slightly firm, I refrain from using it on intricate final pieces. Instead, I quickly use it up for testing push molds, prototyping new designs, or building unseen internal bases. Forcing aged clay into detailed surface work increases the risk of cracking after drying. Matching clay condition to the right task is smart crafting!
Resin clay hardens due to the natural evaporation of water and plasticizers when exposed to air. While air-drying makes resin clay wonderfully easy to work with, it also means meticulous moisture prevention is required during storage.
It's easy for beginners to assume that sticking clay in a zip bag is enough, but adopting a multi-layered routine—wrapping tightly, portioning, double-sealing in airtight containers, and choosing a cool storage spot—will extend your clay's lifespan dramatically.
If your clay starts to firm up, don't worry—as long as it hasn't turned rock-hard, you can easily revive it using warm water or specialized softeners. Try out these storage and revival techniques to enjoy stress-free, smooth clay crafting anytime!
If you found this guide helpful, please feel free to share it with your craft friends on social media or messaging apps! It really means a lot to me and keeps me inspired!
Until next time, happy crafting! This was Yassy from Crafters!




For example, if you are looking for articles about mizuhiki, try searching for "mizuhiki"; if you are interested in tools, try keywords like "nippers" or "pliers."
