Craft Punches, Metal Dies, Die Cutters, and Steel Rule Dies: A Guide to Differences, Materials, and How to Choose
yassy
Crafters!
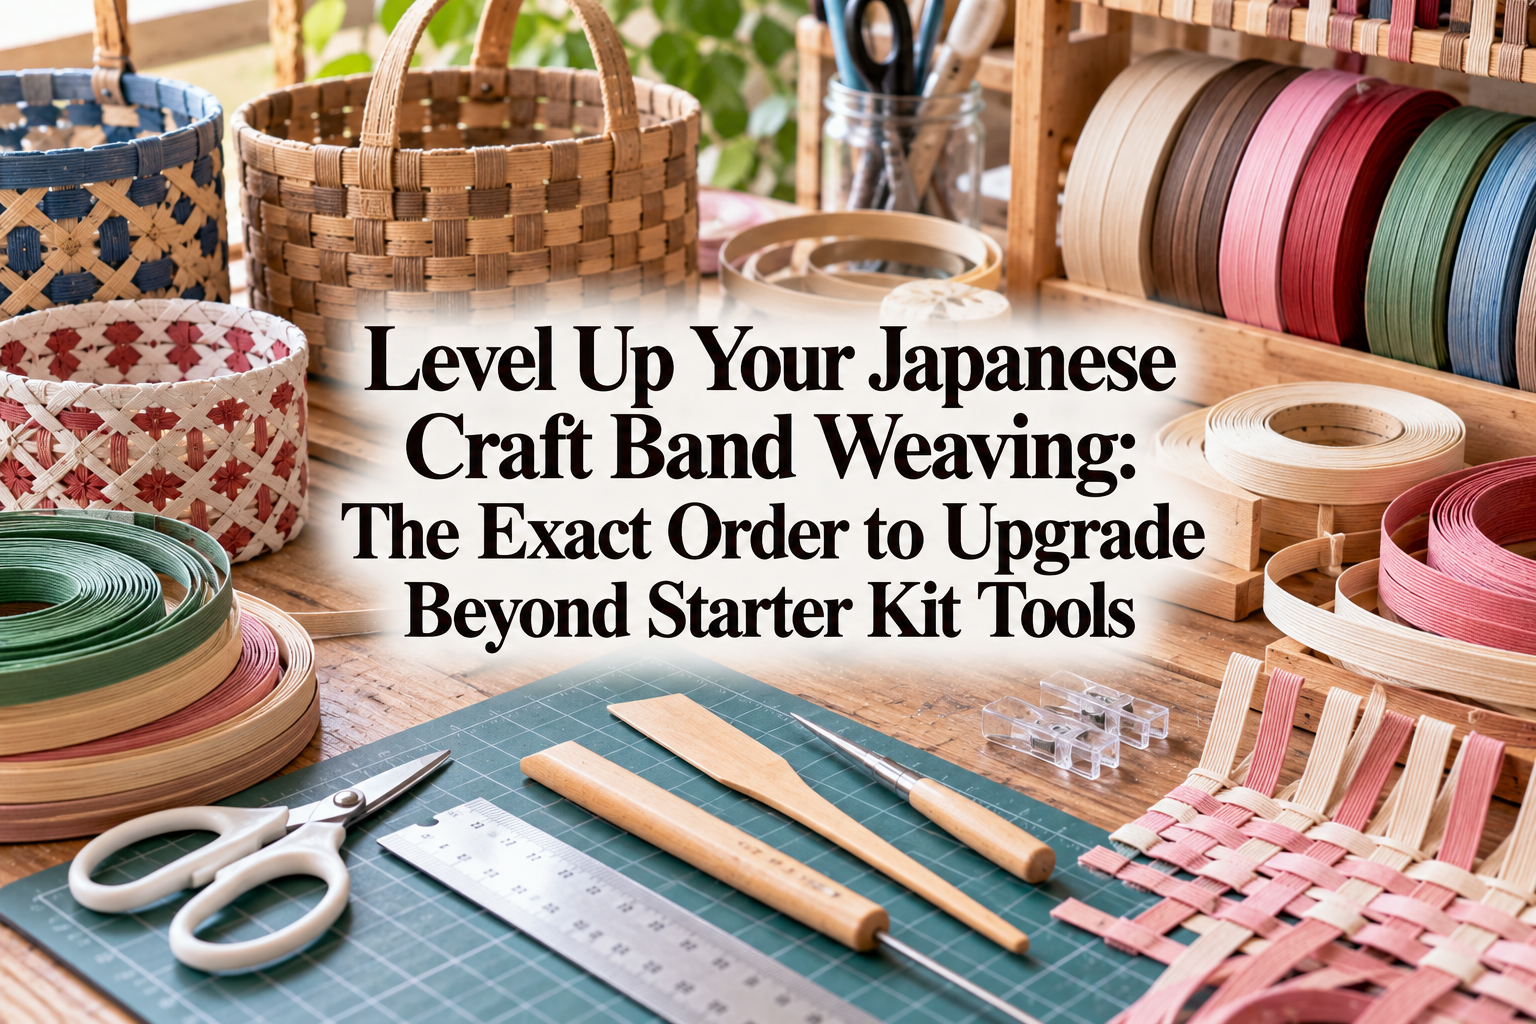

Hello, everyone! It’s Yassy from Crafters! (・∀・)
Have you been making a few projects with Japanese craft band (paper band) only to hit a wall? Maybe your finished pieces don't look quite as polished as the photos in craft books, your woven pattern seems uneven or distorted, or the cut ends look frayed and messy.
The root cause isn't a lack of talent or technique. In most cases, the main reason is simply that you are still relying on the basic, entry-level tools that came bundled inside your starter kit.
I love making, admiring, and buying handmade crafts, and over the years, I have worked with countless craft band projects. From that experience, I can tell you with complete confidence: craft band is a medium where the quality of your tools directly dictates the quality of your finished work.
Starter kit tools are designed for one purpose—to let you try the craft out at minimal cost. If your goal is to weave sturdy, refined baskets and bags that look like boutique-quality items, it is time to graduate from those basic kit accessories.
In this guide, I will share the exact priority order for upgrading your tools and the key features to look for at each step. By upgrading your setup in the right sequence, you can achieve professional, crisp finishes without wasting your budget.
Why do starter kit tools fall short as you progress? Simply put, kit tools prioritize low production costs over durability and precision.
If you experience any of the following three frustrations during your projects, it is a clear sign that your current tools are holding you back:
Switching to dedicated tools solves these frustrations immediately. Rather than buying random supplies, focusing on the tools that have the greatest direct impact on your finished results is the most efficient path to elevating your craft.
When upgrading your Japanese craft band toolkit, there is one rule to follow: invest first in the tools that directly control the visual finish of your piece.
Here is my recommended upgrade sequence:
Following this order ensures you get the highest visual payoff from your investment. Let’s look at why each tool is vital and what specifications to look for.
The very first upgrade you should make is your scissors. Cutting tools have the single largest influence on the overall cleanliness of a craft band project.
Craft band is made by bonding multiple strands of tough paper yarn, resulting in a thick, dense strip. Standard stationery scissors lack the blade strength required; the band slips, cuts go crooked, and the paper fibers get crushed and frayed.
Look for high-quality scissors specifically designed for thick paper, heavy cardstock, or craft use, keeping these three criteria in mind:
A sharp pair of craft scissors produces a satisfying snap and leaves a razor-straight edge that looks as though it were cut against a steel ruler. That clean line instantly gives your entire piece a crisp, polished appearance.
The second essential upgrade is a dedicated tool for splitting wide craft bands into narrower working widths.
In craft band weaving, a standard 12-strand band is frequently split into 6-strand, 3-strand, or even single-strand strips. Starter kits usually include an old plastic card or a scrap of plastic packing strap for this purpose. Using those makeshift tools creates friction that frays the paper or causes the tear to veer off course halfway down the strip.
Upgrade to a smooth, rigid metal splitter, an ultra-thin dedicated plastic slitter, or a specialized craft band splitter tool.
The key feature to look for is an edge that is ultra-thin yet smoothly polished. A thick edge wedges the strands apart aggressively, causing the cut line to ripple. A thin, rigid tool guided with steady pressure and speed produces strips of uniform width from start to finish. Even strips translate directly into an even, balanced weave.
The third upgrade covers the clips used to hold your bands in place. In craft band projects, clips are not just temporary clamps; they maintain the entire structural foundation while the adhesive sets.
Bulky plastic clothespins and standard wire paper clips have distinct drawbacks. Large clothespins lack targeted clamping power for small contact points, while wire paper clips can either be too loose or dig narrow, permanent indentations into the paper band.
The ideal solution is stainless steel flat-surface mini clips or specialized craft mini clamps.
These clips distribute firm pressure across a flat surface, holding bands securely without leaving visible dents. Their compact profile also lets you line up several clips side-by-side in tight woven spaces.
Use them generously when assembling the base and turning up the side stakes. Holding the work at precise angles until the glue sets completely prevents baskets from leaning or warping. Having at least 20 to 30 of these clips on hand makes the weaving process smooth and stress-free.
Fourth on the list are tools for tightening rows and tucking loose ends: a fine awl and a shaping spatula (such as a bamboo folder or bone folder).
Awls found in starter kits are often too thick at the tip with a rough surface finish. Forcing a thick point between tightly woven bands tears the paper fibers or creates permanent holes that distort the pattern.
Instead, choose a stainless steel awl with an ultra-fine, needle-like tip and a mirror-polished finish.
A slender awl slides effortlessly between dense rows without snagging, gently lifting bands so you can tuck working ends neatly out of sight on the inside of the piece. Pair this with a flat bamboo spatula or bookbinding folder. Pressing down along the woven rows with the edge of the spatula settles the bands together, closing unwanted gaps and creating a firm, uniform weave.
The fifth tool to upgrade is your adhesive, which forms the structural bonds of your woven work.
Standard PVA wood glue sold in wide-mouth bottles features a thick applicator tip that tends to deposit far too much adhesive. The excess squeezes out between bands, drying into unsightly, shiny yellow residues. Standard formulas also take a long time to set, forcing you to hold parts by hand and slowing down your rhythm.
Switch to a fast-drying craft wood glue fitted with a micro-fine precision nozzle.
A precision nozzle lets you place tiny dots of glue exactly where needed, even on surfaces just a few millimeters wide. This completely eliminates messy squeeze-out. Furthermore, quick-setting formulas achieve strong initial tack within seconds, allowing you to move through your construction without long pauses.
Before purchasing new gear, keep in mind these three common pitfalls:
You don't need to purchase everything at once. Upgrading in stages based on your current budget is an effective approach:
Outgrowing your starter kit is a natural milestone for every craft band weaver. Here is a quick recap of the upgrade priority order:
Upgrading from basic kit tools to dedicated gear makes each step of the process smoother and your finished baskets noticeably more refined. When your cuts are clean and your woven rows align with precision, the sense of accomplishment is truly wonderful.
If you found this guide helpful, please feel free to share it with your fellow makers on social media! See you in the next article—Yassy from Crafters signing off! (・∀・)



For example, if you are looking for articles about mizuhiki, try searching for "mizuhiki"; if you are interested in tools, try keywords like "nippers" or "pliers."
