The Golden Rules of Heating Resin: A Japanese Crafter’s Guide to Viscosity, Bubble Removal, and Safety
yassy
Crafters!

Hello, crafters! It’s Yassy from Crafters! (・∀・)
As a writer for Crafters, Japan’s comprehensive handmade lifestyle portal, I’m back today with plenty of energy to share some truly practical tool wisdom.
I absolutely love making things by hand, admiring work made by others, and browsing wonderful craft shops. My workshop is packed with an extensive variety of handmade tools, but two everyday essentials that instantly elevate the quality of my creations are cookie cutters and stencils.
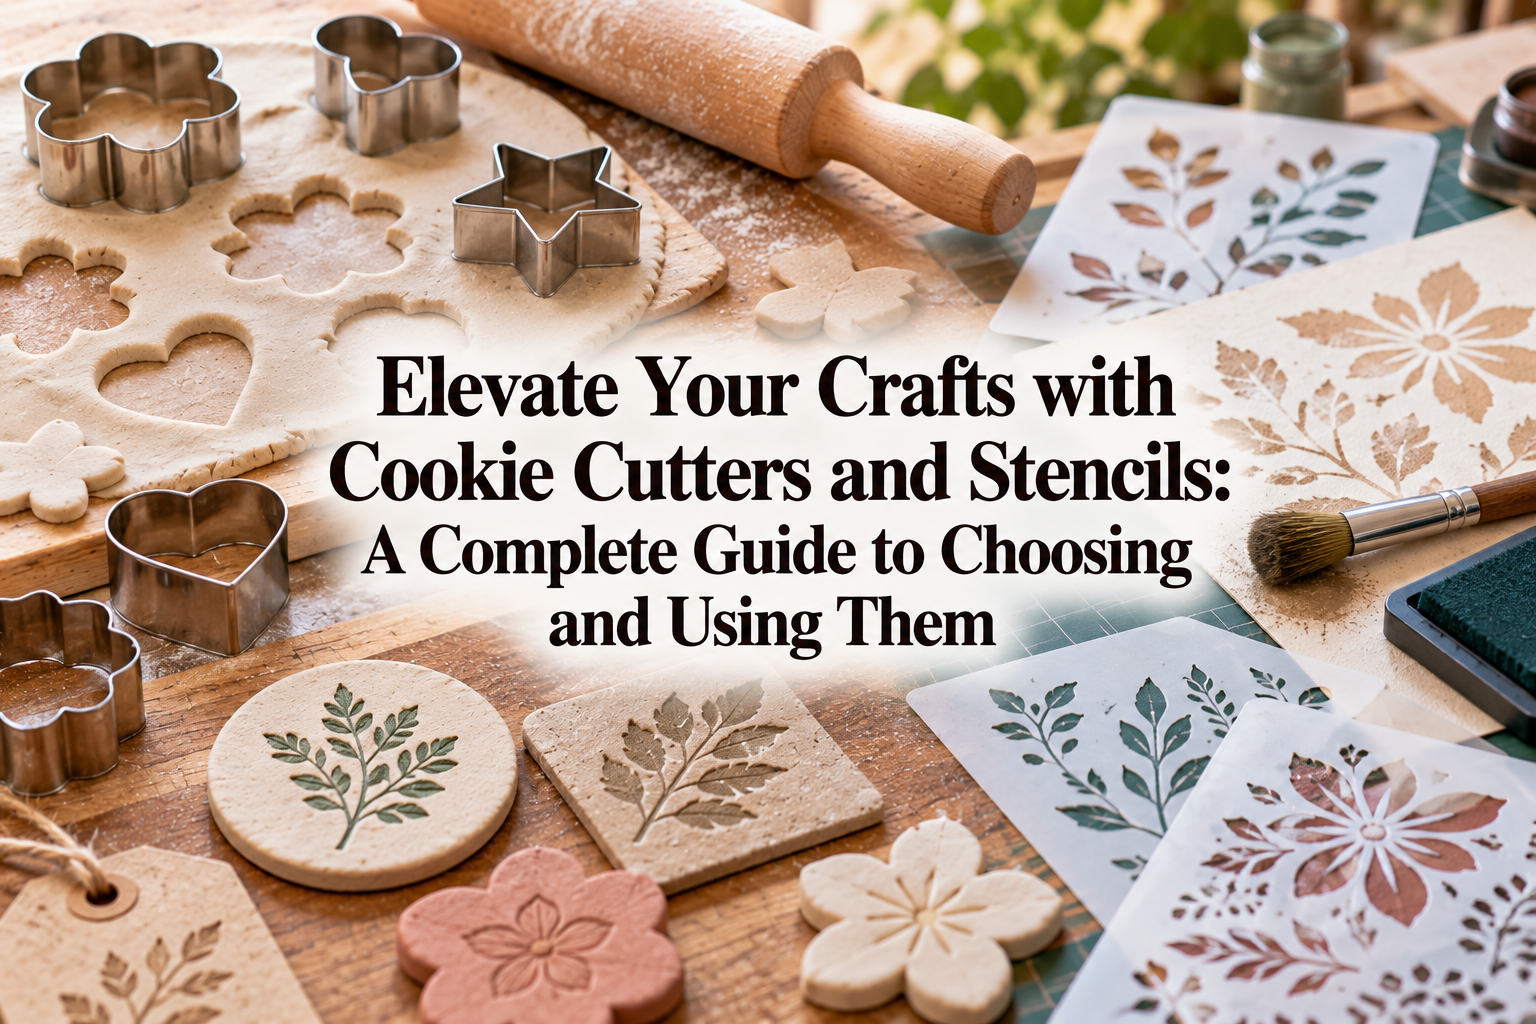
While cookie cutters are staples in the kitchen and stencil sheets are common in DIY lettering, both tools deliver phenomenal results across an incredible variety of craft genres far beyond baking or home decor.
Whether working with resin clay, candles, handmade soap, fabric goods, or paper crafts, mastering these two tools allows you to effortlessly produce precise shapes and sophisticated patterns that are nearly impossible to make purely freehand.
However, when beginners pick them up without understanding the essentials, they often run into frustrating setbacks—like clay sticking stubbornly inside the mold, or paint bleeding underneath the stencil sheet into a messy blur.
It is a real shame to miss out on their potential simply because you haven’t been shown how to choose the right tools or handle them properly.
In this guide, I will share everything I know: their main craft uses, unique characteristics, material types, how they differ from similar tools, key selection tips, and professional techniques you can apply to your projects right away.
By the end of this article, you’ll be able to choose the perfect tools with total confidence and bring your creative visions to life. Let’s dive in!
First, let’s look at why cookie cutters and stencils are so highly valued across the crafting world.
Their greatest shared advantage is their ability to reproduce identical shapes and designs rapidly and with absolute precision.
Cutting crisp stars or symmetrical hearts out of clay with a knife takes seasoned skill and an enormous amount of time. Hand-lettering crisp typography onto fabric or wood is equally challenging.
Cookie cutters and stencils eliminate those technical barriers instantly. Even complete beginners can produce components and patterns with the polished finish of a boutique product.
Cookie cutters punch out three-dimensional shapes, while stencils apply colors and patterns onto flat surfaces.
Though each has a distinct function, pairing them opens up endless creative possibilities. For instance, punching a base motif out of clay with a cutter and applying delicate stenciled patterns to its surface is a classic, widely loved technique in handmade design.
A cookie cutter is a forming tool pressed vertically into a flat sheet of material to stamp out a clean, precise outline.
In handmade crafting, they are frequently used to create miniature fake sweets, accessory bases, and decorative small motifs.
Common craft applications include:
Cookie cutters come in different materials, each offering distinct durability, edge sharpness, and handling. Choosing the right material is essential to achieving professional-grade work.
Stainless steel cutters are the most reliable and highly recommended choice for craft use.
Stainless steel is exceptionally hard, and the cutting edge can be ground thin and sharp. When pressed into clay or wax, it cuts cleanly without crushing or deforming the edges, leaving a crisp silhouette.
They are rust-resistant and remarkably durable, meaning they can be washed and used for years. Even when cutting firm polymer clay or thick sheets, stainless steel transfers downward force evenly without buckling.
Plastic cutters are lightweight, easy to handle, and often come in bright, playful colors.
One major advantage of plastic cutters is the abundance of “stamp-integrated” designs, which allow you to cut out the perimeter while simultaneously imprinting detailed surface patterns or dimensional relief.
However, plastic edges are thicker than stainless steel, which can leave slightly rounded or rougher edges on your cutouts. While they may not suit projects requiring razor-sharp edges, they are fantastic when you want to stamp cameo-style reliefs or animal facial expressions in a single press.
In recent years, 3D-printed cutters made from PLA (polylactic acid resin) have surged in popularity among crafters.
They offer an unmatched variety of unique motifs that commercial baking brands rarely produce, including ultra-small sizes calibrated down to the millimeter specifically for jewelry making.
They are a tremendous asset whenever you want to cut intricate, delicate silhouettes. Keep in mind, however, that PLA is very sensitive to heat. Washing them in hot water will cause them to warp instantly and lose their shape. Always clean them with cold or lukewarm water.
A stencil is a cutout template sheet fixed over a surface. When paint or ink is applied over top, the design transfers exclusively onto the exposed cutouts.
The greatest strength of stenciling is that anyone can reproduce professional-looking lettering, logos, and graphics without needing advanced freehand illustration skills.
Popular applications include:
Stencil sheets also come in distinct types. Selecting the right format for your project ensures clean results.
Clear or translucent PET is the standard material for modern crafting stencils.
It provides just the right amount of flexibility, and because it is see-through, you can align the stencil perfectly over your work. PET sheets can be rinsed with water and reused countless times, offering fantastic cost efficiency. Unless you have a specific alternative need, PET is your best starting point.
These sheets feature a low-tack adhesive on the reverse side.
Because they cling tightly to the substrate, they dramatically reduce the risk of paint seeping underneath the edges. Adhesive stencils are unmatched when working on curved objects like pillar candles or ceramics, or on textured, napped fabrics.
These are ultra-thin metal plates etched with tiny lettering or intricate lace motifs.
They allow you to transfer fine hairline details that plastic sheets simply cannot replicate. Although they are exceptionally sturdy and never wear out, they offer zero flexibility and can only be used on completely flat surfaces.
There are several crafting tools that look or function similarly to cookie cutters and stencils. Confusing them can lead to buying items that don’t work for your materials. Here is how they differ:
Thin metal dies commonly used in paper crafting are designed to cut thin paper or felt by passing through a mechanical roller die-cutting machine. Their cutting blades are only a couple of millimeters high, and they cannot be pressed down effectively by hand. If you want to punch through thick clay or wax by hand, always choose tall cookie cutters. Paper crafting dies cannot cut thick craft clay.
Silicone molds are casting molds where liquid materials—such as UV resin, two-part epoxy resin, melted wax, or Jesmonite—are poured in and left to cure. In contrast, cookie cutters are open-ended through-cutters designed to slice down through solid clay or pre-rolled sheets. Which one you need depends entirely on whether your material is poured as a liquid or cut from a solid sheet.
Stamps have a raised relief that picks up ink and presses it directly onto a surface. While quick and convenient, uneven pressure or ink application can easily cause patchy coverage or blurring. Stencils, on the other hand, build up paint through open recesses, giving you full control over color gradients and blending. Furthermore, stenciling allows you to apply vivid, opaque color onto rough wood or coarse canvas, where rubber stamps often struggle to leave an even impression.
To avoid spending money on tools that underperform, keep these practical checkpoints in mind when shopping:
Once your tools are ready, it’s time to craft! Here are professional methods to achieve flawlessly cut clay and wax every time.
When working with resin clay or polymer clay, the most common frustration is clay sticking tightly inside the cutter, distorting completely as you try to pry it out. To eliminate this issue, use a release agent before pressing.
Lightly dust the surface of your rolled clay with a brush dipped in baby powder or cornstarch, or rub a microscopic film of baby oil along the inside walls of your cutter with your fingertip. This allows the clay to slide free effortlessly after cutting.
Another technique I rely on constantly in my own studio is the plastic wrap trick. Gently drape ordinary kitchen plastic wrap loosely over your rolled clay slab, then press your cookie cutter firmly down over the wrap. The clay never touches the metal, guaranteeing 100% clean release. Even better, the plastic wrap gently rounds off the top edges, creating an adorable, plump, dimensional silhouette that looks professionally manufactured. This method is especially magical for fake sweets like miniature cookies and breads!
How you press the cutter matters just as much as your preparation. Random pressing leads to uneven, tilted cutouts:
Following this routine reliably prevents distortion and preserves the crisp silhouette of your pieces.
Achieving crisp, bleed-free stenciled graphics comes down to addressing two root causes: poor securing and excess paint. Master these two factors, and you will achieve flawless prints every time.
If even a microscopic gap exists between the stencil and your workpiece, paint will be pulled underneath through capillary action, leaving messy, jagged edges.
Secure all four sides of your stencil firmly using masking tape. Because delicate bridge areas and small inner cutouts tend to lift slightly, gently hold them down with your fingers while working, or mist the back of the sheet with a very light coat of repositionable spray adhesive for total surface contact.
Never apply paint or ink directly to your stencil straight from the tube or bottle. Doing so is an almost certain path to bleeding.
After dipping the tip of your sponge or stencil brush into paint, dab it repeatedly onto a palette or paper towel until it feels so dry that you almost wonder if any color will transfer at all. This is the classic dry-brush state.
Only once your brush or sponge is mostly dry should you begin dabbing onto the stencil. Because there is virtually no excess wet paint, there is no fluid available to creep beneath the sheet edges. If the color seems faint, do not overload your brush; instead, apply light layers, allowing each to dry briefly before stippling the next layer over top.
When applying pigment, bounce your brush or sponge gently straight up and down in a perpendicular motion. Brushing horizontally side-to-side forces paint against the edges of the cutouts, pushing it underneath.
The timing for peeling the stencil off is equally vital. If you leave the sheet on until the paint dries completely, the dried paint film can bond across the stencil and tear jaggedly when lifted. Remove the stencil while the paint is still slightly tacky—not completely wet, but before it cures into a solid film. Lift the sheet gently and straight upward from one edge to reveal sharp, clean lines.
To keep your cookie cutters and stencils performing at their best for years to come, keep these essential care habits in mind:
This is the most critical safety rule: any cutter or tool that has touched clay, candle wax, paints, or craft resins must never be used for food again. No matter how thoroughly you wash metal tools, microscopic pores, scratches, and crevices can trap chemical residues. Even if you purchase budget cutters from 100-yen stores, designate them clearly for crafts only and store them completely separate from your kitchen supplies.
After working with cookie cutters, wash off any clay or residue using warm water and mild dish soap. Dry them thoroughly with a towel and let them air out in a well-ventilated spot before storing. Residual moisture can cause rust, even on stainless steel.
For stencil sheets, rinse off acrylic or fabric paints with warm water before the paint dries. If paint has already dried on the plastic, gently wipe it away using a cotton pad soaked in rubbing alcohol. Never scrub violently, as this can bend or snap delicate bridge sections.
If a stencil sheet gets creased, it will buckle and lift away from your workpieces, making clean transfers impossible. Instead of rolling them or tossing them loosely into bins, store your stencils flat inside clear A4 document sleeves or ring binders.
For cookie cutters, stacking heavy objects on top can bend the metal out of shape. Arrange them in a single layer inside shallow plastic storage cases so they remain protected from weight and crushing.
Cookie cutters and stencils are exceptional studio companions that bring precision, speed, and elevated polish to your handmade projects. By understanding material types, utilizing release techniques like plastic wrap for clay, and sticking to the dry-brush method for stenciling, crafters of any experience level can achieve clean, professional results.
Try picking up a design that catches your eye from a local craft shop or online retailer and weaving it into your next project. You’ll quickly fall in love with how satisfying it is to produce crisp shapes and lovely patterns with your own hands!
If you found this guide helpful, feel free to share it with your fellow makers on social media! See you in our next craft guide—happy crafting from Yassy!



For example, if you are looking for articles about mizuhiki, try searching for "mizuhiki"; if you are interested in tools, try keywords like "nippers" or "pliers."
