Japanese Leathercraft Basics: How to Cut Leather Straight and Cleanly with the Right Tool Technique
yassy
Crafters!

Hello, crafters! It’s Yassy from Crafters! (・∀・)
Have you ever wanted to produce dozens of identical shapes or cut out intricate designs in an instant? Using scissors or craft knives to cut pieces out one by one takes a tremendous amount of time, leaves uneven edges, and inevitably creates inconsistencies in your finished work.
The tools that solve this frustration once and for all are die-cutting tools! Whether I am crafting paper goods, working on leathercraft, or making fabric items, I rely on these tools constantly. That moment when a clean, sharp shape pops out of the cutter is genuinely satisfying and addictive.
However, when browsing craft stores and online shops, you will see a confusing array of similar terms: craft punches, cutting dies, wafer-thin dies, manual die-cutting machines, and steel rule dies. Buying without knowing the differences can lead to big disappointments—like ordering a die only to realize it cannot cut anything on its own, or buying a punch that fails to cut through your chosen material.
In this guide, I will break down the features, working mechanisms, usage methods, and material compatibility of craft punches, cutting dies, wafer-thin dies, and die-cutting machines. Let’s clear up the common confusion so you can select the perfect tool with confidence!
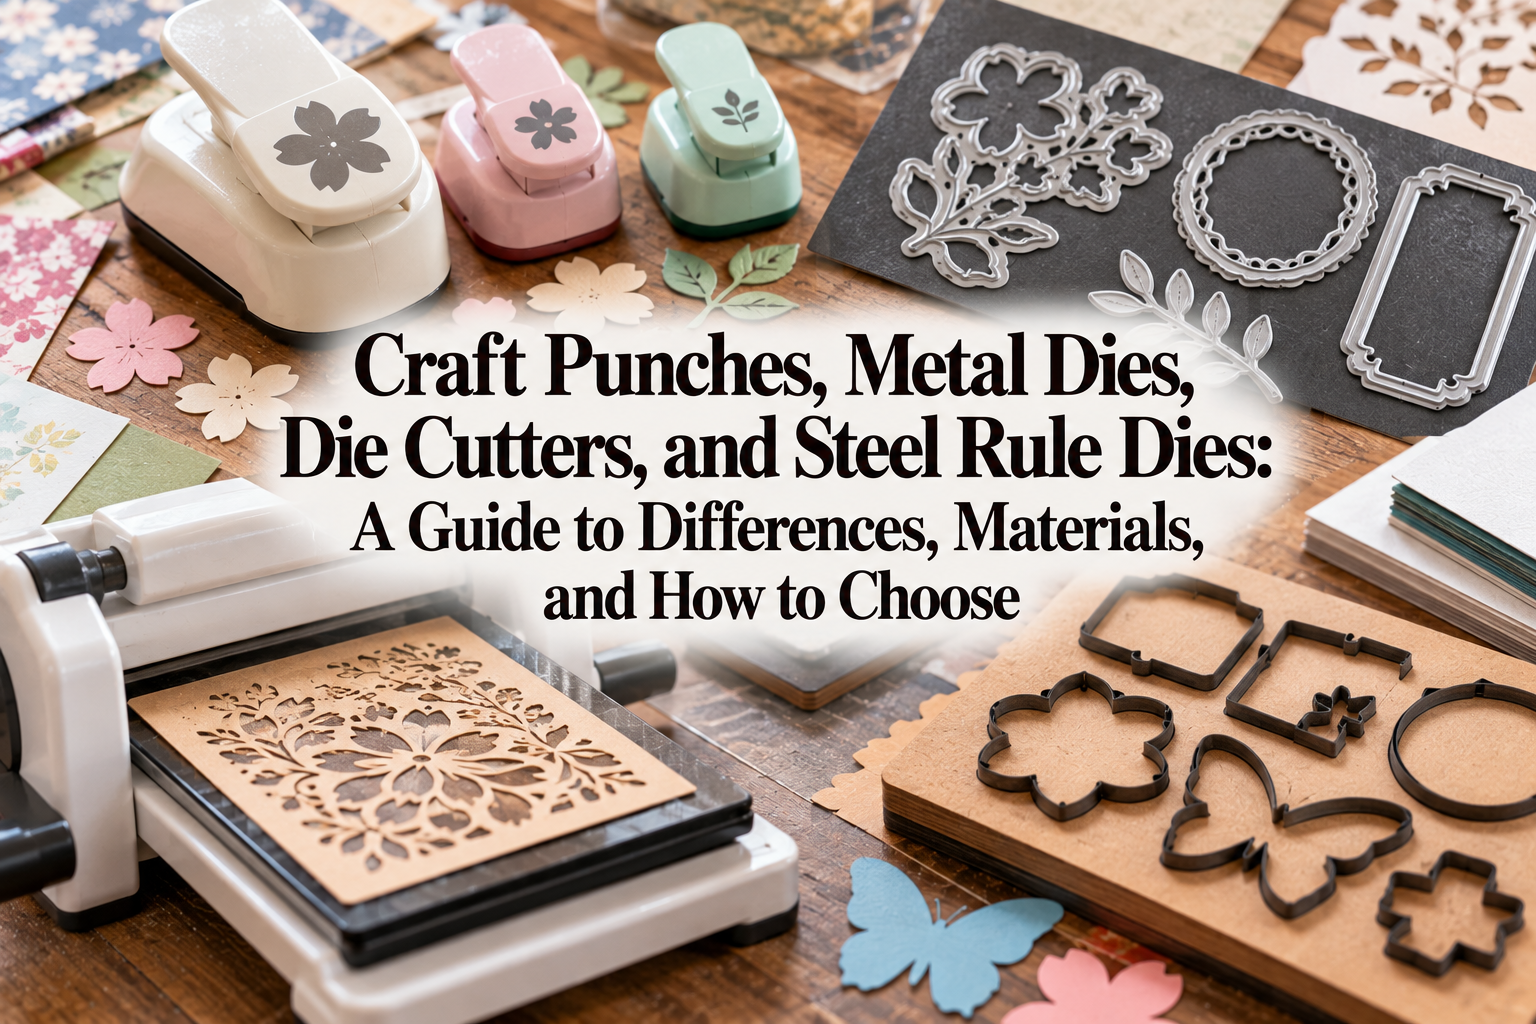
To begin, let’s organize the four main tools commonly used to cut out shapes. While they sound similar, their mechanics and required accessories differ significantly.
Understanding these fundamentals is your first step toward making smart tool investments.
A craft punch is a standalone, self-contained tool housing a metal blade inside a plastic casing. Operating on the same mechanical principle as a standard two-hole office punch, it cuts shapes out of paper when you press down on the top button with your hand.
Its biggest advantage is that you do not need any additional machines or accessories—you can use it straight out of the package. It is primarily designed for lightweight paper and cardstock.
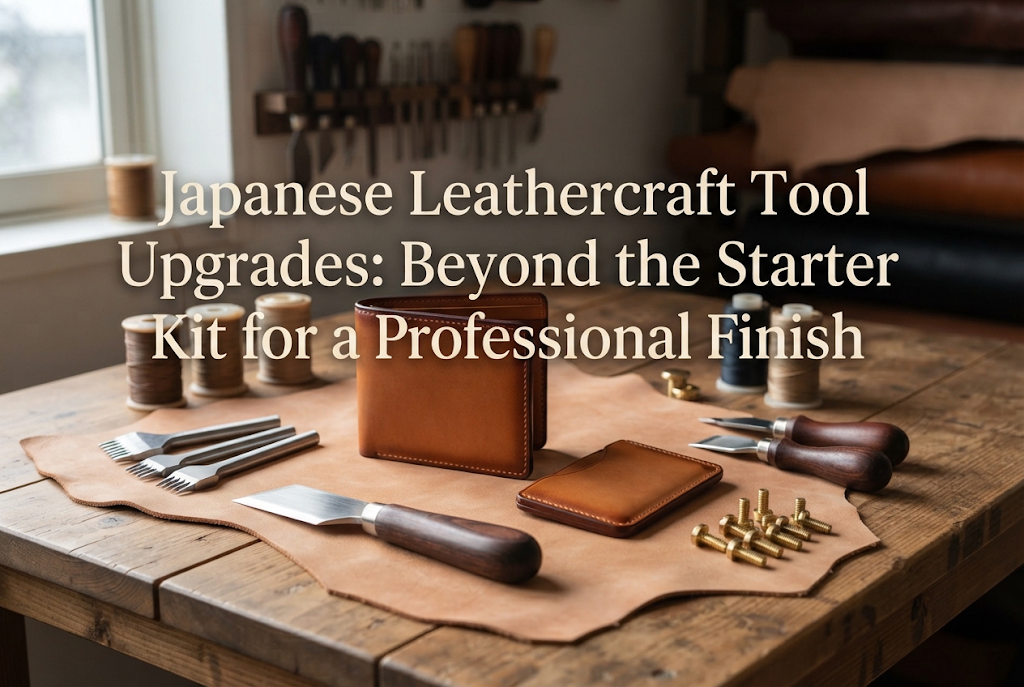
In crafts like leatherworking and bookbinding, cutting dies (known in Japan as nukigata, including Thomson/steel rule dies and forged hizukuri steel dies) consist of sharp metal blades shaped into specific outlines, such as stars, petals, or wallet components.
You place the die directly on your material and strike it from above with a wooden mallet or dead-blow hammer, or apply force using a specialized manual clicker press. These heavy-duty cutters are primarily used on thick or tough materials such as leather, thick felt, canvas, and clay sheets.
In papercrafting, simply saying "die" usually refers to an etched, wafer-thin metal plate less than one millimeter thick.
While they can cut extraordinarily intricate lace patterns and lettering, the most important detail to remember is that a wafer-thin die cannot cut paper by itself. You must place the die over your material and run it through a die-cutting machine under high roller pressure to produce a cut.
A die cutter (or die-cutting machine) is a machine that sandwiches your die and material together, passing them through rollers to apply heavy, even pressure. These come in manual hand-crank styles and motorized electric versions.
Crucially, the die-cutting machine itself has no blades. It acts strictly as a heavy-duty press. A thin die and a die-cutting machine must always be used as a set.
Now that you have an overview of the four categories, let’s examine how each tool works, what materials it handles best, and its specific limitations.
Craft punches are loved for their sheer convenience and speed. Place one on your desk, press down firmly with your hand, and you get a crisp cutout in seconds.
Craft punches work best on standard copy paper up to lightweight cardstock or postcard thickness. Attempting to cut anything outside this range often damages the punch.
If you feed in paper that is too thin, like tissue paper, it tends to catch in the blade gaps and tear. Conversely, attempting to punch cardboard, thick leather, or fibrous fabric will misalign the internal blades or crack the plastic body. Treat craft punches strictly as tools for paper.
Although craft punches are straightforward, a few simple techniques guarantee cleaner results:
Heavy-duty cutting dies are professional-grade tools that shine in leathercraft, fabric sewing, and polymer clay work. They include wooden-block steel rule dies (often called Thomson dies in Japan) and forged steel dies shaped from solid metal.
These dies excel at thick, resilient materials: genuine leather, faux leather, heavy wool felt, canvas, denim, and rolled sheets of polymer or resin clay.
Complex curved leather pieces that are tedious to trace and cut by hand can be stamped out identically in a single stroke. However, trying to cut a single sheet of thin paper with a heavy-duty die can result in crushing rather than a crisp slice, depending on blade sharpness and striking angle.
Place a cutting mat or thick rubber pounding board onto a sturdy workbench. Lay your leather or fabric flat, then place the die blade-down onto the material.
Place a plastic protective punch board over the top of the die to protect the metal, then strike the center firmly and vertically with a wooden mallet or shockless dead-blow hammer. Striking at an angle damages the blade, deforms the die, and increases the risk of injury.
If you want to work quietly and consistently, use a manual clicker press or hand press. Pulling down the lever applies smooth, silent, uniform pressure, cleanly shearing through tough materials in a single motion. For batch production, pairing dies with a hand press is the ultimate solution.
Pairing thin metal dies with a die-cutting machine expands papercrafting possibilities exponentially. Delicate lace borders, calligraphic words, and dimensional box templates that are impossible to cut by hand can be die-cut in seconds.
Compatible materials include construction paper, patterned scrapbook paper, heavyweight cardstock, vellum, thin shrink plastic, craft felt, and lightweight fabric.
Remember that the die's profile determines maximum cutting depth. Thin chemical-etched dies cannot cut thick leather or wood. To cut heavier materials, you will need deep-profile steel rule dies specifically made for die-cutting machines.
When operating a die-cutting machine, assembling the correct layering order—known as a "sandwich"—is crucial. Getting the thickness right ensures clean cuts without straining the machine.
The standard layering sequence from bottom to top is:
Once stacked, feed the sandwich into the machine's opening and turn the hand crank to roll it through. As it passes through the rollers with a satisfying mechanical resistance, the concentrated pressure cleanly cuts the paper.
Here are two major mistakes beginners frequently make when shopping for cutting tools. Keeping these in mind will save you money and frustration.
A very frequent misstep is finding an adorable, inexpensive metal die online and buying it without realizing what it actually is.
A wafer-thin die is merely a piece of etched steel. Pushing down on it with your fingers will only hurt your hands and leave the paper uncut. You need a dedicated die-cutting machine to generate the necessary roller pressure. Before buying individual dies, always ensure you have a compatible machine.
While both cut designs out of paper, their versatility and cost structure are entirely different.
A craft punch cuts only one fixed shape per unit. If you want a star, a heart, and a blossom, you must buy three separate punches, which quickly occupy drawer and desk space.
In contrast, a die-cutting machine is a single investment that cuts an endless variety of shapes simply by swapping out thin metal dies. Because the dies are flat and thin, they take up very little storage space. If you plan to build an extensive collection of shapes, a die-cutting machine is more economical and space-efficient in the long run.
You might wonder, "If I cut carefully with craft scissors or a precision hobby knife, do I really need to buy specialized tools?" While hand-cutting works for one-off projects, there is a distinct quality divide when creating items to sell or give as gifts.
The primary advantages of die-cutting tools are flawless edge smoothness and 100% repeatability. Freehand cutting inevitably introduces slight wobbles, corner overcuts, and minor variations. With dies and punches, you get crisp, perfectly identical pieces across dozens or hundreds of cuts. That consistency and speed elevate your crafts to a polished, professional level.
Still unsure which tool fits your studio needs best? Use this breakdown based on your primary handmade craft:
If you primarily work with paper and want to quickly produce basic accent shapes (circles, flower petals, ribbon tags), craft punches are ideal. They require zero setup time and are ready whenever inspiration strikes.
If your designs feature intricate lace textures, fine script lettering, or fold-out boxes and envelopes, invest in a die-cutting machine and wafer-thin die set. The creative range it unlocks is unmatched.
For leatherwork, choose leathercraft cutting dies (steel rule or forged dies). Craft punches and wafer-thin paper dies simply cannot pierce through the density and fiber structure of leather without warping or breaking.
For components you cut repeatedly—such as key fobs, coin pouch panels, or card pockets—using a cutting die can reduce your cutting time to a tenth of what hand-cutting takes.
When cutting felt or textiles, your best options are heavy-duty cutting dies or steel rule dies paired with a die-cutting machine.
Standard wafer-thin dies tend to crush textile fibers rather than slice through them cleanly. Always check that the die explicitly specifies compatibility with fabric.
If I were starting from scratch today with zero equipment and wanted to dive into paper goods and mixed-media crafting, here is the phased approach I would take:
First, pick up just a couple of essential craft punches for shapes you use all the time—such as a circle punch or a corner-rounding punch. These handle daily quick tasks effortlessly.
As your projects grow and you feel the urge to incorporate intricate motifs, custom labels, and small gift boxes, invest in a compact manual die-cutting machine along with a starter assortment of dies. Following this step-by-step path prevents you from overspending before you know what you truly need.
Handled properly, cutting tools can last for years. However, improper use can dull blades or break gears instantly. Keep these precautions and maintenance tricks in mind:
Exceeding recommended thickness causes roughly 90% of all tool failures. Trying to force a tool through stubborn materials bends punch blades and strips the internal gears of die-cutting machines.
If you feel excessive resistance when pushing down a lever or turning a handle, stop immediately. Your material is either too thick or your die sandwich layering is too tight.
When using a die-cutting machine, you will see blade impressions etched directly into the clear acrylic plates. Many beginners panic thinking they have ruined their plates, but this is completely normal.
The die blade needs to bite slightly into the surface plate to make a complete cut through the paper. Over time, these plates will bow and warp. Rotate and flip them regularly to distribute wear evenly, and replace them when they reach the end of their lifespan.
When a craft punch begins tearing paper or producing fuzzy edges after extended use, you can easily restore its cutting edge using items from around the house:
Doing this two-step tune-up will keep your favorite craft punches feeling like new!
In this guide, we explored the differences and applications of craft punches, heavy-duty cutting dies, wafer-thin dies, and die-cutting machines.
While the variety of tools can seem overwhelming at first glance, each serves a clear role in boosting your efficiency and craftsmanship:
Select the tool that fits your favorite materials, and enjoy the clean edges and satisfying precision that only die-cutting can provide. Once you master these tools, your creative range will expand tremendously, making handmade crafting more enjoyable than ever.
If you found this guide helpful, please share it with your fellow makers on social media! See you in the next article—Yassy from Crafters signing off! (・∀・)




For example, if you are looking for articles about mizuhiki, try searching for "mizuhiki"; if you are interested in tools, try keywords like "nippers" or "pliers."
