Essential Guide to Mixing & Measuring Tools for Japanese Crafting: Precision Gear for Every Medium
yassy
Crafters!

Hello, this is Yassy from Crafters! (・∀・)
I regularly make lots of resin jewelry and craft items, and I truly love checking out wonderful creations from other crafters at handmade events and online shops, as well as shopping for cute supplies and convenient tools. The world of resin crafting is always packed with exciting new discoveries!
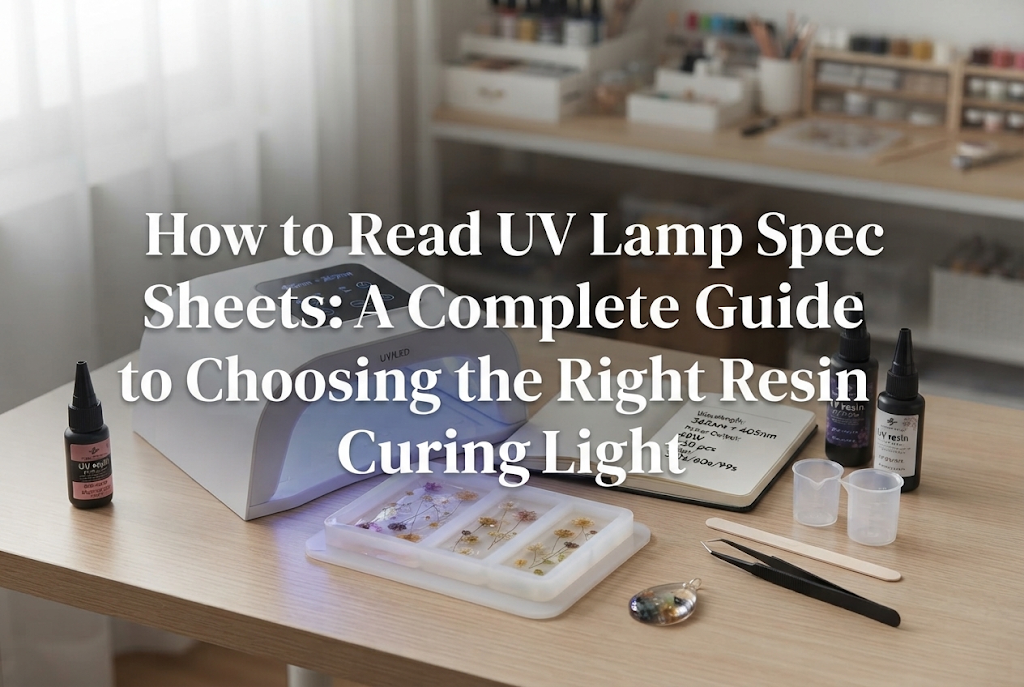
When it comes to resin crafting, an indispensable tool is your UV lamp (curing lamp). However, have you ever felt completely lost when looking at product packaging at craft stores or browsing online shops like Amazon and Rakuten?
Many beginners often worry: “There are so many numbers for watts, nanometers (nm), and dimensions on the box—what should I actually look at? I don’t want to buy something just because it’s cheap and cute, only to regret it later.”
The biggest reason people make mistakes when choosing a lamp is overlooking the “hidden essentials” on the spec sheet and relying only on design, price, or sheer wattage! The product specifications contain all the vital information that determines what kinds of pieces you can make and whether your resin cures successfully.
In this guide, to ensure you never make the wrong choice, I will break down exactly what to look for on a UV lamp spec sheet from an experienced crafter’s point of view. From deciphering technical specs to avoiding common beginner traps and sharing my personal must-have criteria, here is everything you need to know!
Product spec sheets and packaging are packed with technical terms and numbers. Among them, these seven specifications have the biggest impact on your finished results and daily workflow:
These features don’t just determine whether your resin hardens—they directly affect curing consistency, working speed, preventing heat-related warping, and how easy the unit is to clean. Let’s take a closer look at each one!
When selecting a lamp, many people focus solely on overall wattage (W). However, what affects your finished piece even more is how many LED chips (diodes) are installed and where they are placed inside the unit.
No matter how high the overall output rating is, if there are too few chips or if they are only placed along the ceiling, “shadows” will form where the light cannot reach. This is the direct cause of under-cured resin, sticky surfaces, and soft sides.
The ideal spec for beginners is a lamp with at least 12 LED chips, balanced across both the ceiling and the left and right interior walls.
Budget-friendly compact or folding lamps often have only 6 to 8 chips lined up in a single row on the top ceiling. With this spec, light only shines straight down from above, which prevents the sides and bottoms of tall molds or dimensional pieces from curing properly.
Choosing a lamp with chips positioned on the sides allows the light to wrap around your piece from multiple angles. If you make spheres, crystal motifs, or thick charms using silicone molds, always inspect the product photos to check the chip layout pattern.
To read the specs even more closely, check whether the lamp uses “2-in-1 dual-wavelength chips,” which combine both 365nm and 405nm light emitters within each individual LED diode.
When these 2-in-1 chips are distributed evenly throughout the interior, uniform light reaches your piece no matter where you position it, completely eliminating uneven curing!
The most fundamental specification for curing resin is wavelength, measured in nanometers (nm). Photoinitiators in resin liquid trigger a chemical reaction and harden only when absorbing light of specific wavelengths.
When reviewing the wavelength section on a spec sheet, always check that both 365nm (UV wavelength) and 405nm (LED wavelength) are listed. This is known as a “UV-LED dual light source (hybrid wavelength)” specification.
If you choose an older UV-only lamp (365nm only) or a basic nail LED lamp (405nm only), your resin choices will be severely limited.
Today, the mainstream resin liquids found in craft shops, 100-yen stores, and online retailers in Japan and worldwide are “UV-LED compatible.” However, UV-only and LED-only formulas still exist on the market.
By picking a lamp explicitly rated for “365nm + 405nm,” you can reliably cure almost all crafter-grade resins, budget-friendly hobby resins, and clear coating agents. Treat this wavelength spec as an absolute must-have.
The base plate at the bottom of the lamp is one of the easiest details for beginners to overlook, and one of the most common regrets later. When evaluating the base plate, look for two things: whether it is removable, and the reflective quality of its surface material.
A lamp with a base plate that detaches easily via magnets or slide hooks dramatically expands your creative flexibility.
For instance, when making tall dome pieces or wide decorative trays, you can remove the bottom plate and simply place the lamp hood directly over your work. It is also much smoother when working on flat, wide projects like coasters on a silicone mat, allowing you to cure them in place without moving them.
Furthermore, if uncured resin accidentally drips inside during crafting, a removable plate allows you to take it off and wipe it clean with alcohol. If the base plate is permanently fixed, drips that reach the back corners will cure in place, creating a permanent mess.
Lamps featuring a mirror-finish stainless steel base plate deliver top-tier performance.
Light coming from above and the sides bounces powerfully off the mirrored surface, curing the underside of your piece at the same time. This saves you from having to flip your project over for a second cure cycle and prevents uncured, tacky undersides. Plain white or black plastic bases have very low reflectivity, increasing the risk of under-cured bottoms. Check the photos and specs to see if a mirror-reflective base plate is included.
Precise control over curing times directly dictates the quality and finish of your resin pieces. Look for timer features that minimize stress and prevent mistakes.
A timer that runs for a set duration and automatically turns off at the push of a button is essential. A practical spec to look for is independent presets like 30s, 60s, and 90s (or 120s).
Lamps that require you to hold down the button or lack a digital display can disrupt your workflow. A digital countdown screen that shows remaining seconds at a glance provides the smoothest experience.
When resin molecules bond under light, the chemical reaction generates sudden, intense heat known as an exothermic reaction (curing heat). Blasting resin with intense light all at once can cause several critical failures:
The spec that completely prevents these issues is “Low Heat Mode.”
When you activate Low Heat Mode (often tied to a 99-second button), the lamp runs at very low power for the first 30 seconds to gently semi-cure the resin with minimal heat. From 30 to 60 seconds, it gradually ramps up the output, reaching full power in the final seconds to cure the resin rock-hard.
This staged power delivery keeps curing heat to an absolute minimum. Especially when working on thick projects, heavily pigmented resin, or domed top coats, having Low Heat Mode is the deciding factor between a flawless finish and a ruined piece. Always check for “Low Heat Mode” on the spec sheet!
When shopping online, relying on photos alone often leads to the disappointment of opening the box only to realize: “It’s too small for my molds!” Always keep a ruler handy and compare the listed dimensions.
For comfortable, versatile crafting, aim for these interior size specs:
Pay special attention to opening height. For example, if you use a 4 cm tall spherical or crystal mold, a lamp with only a 5 cm opening leaves barely any clearance, making it very easy to bump the top when sliding molds in and out.
If wet resin touches the interior ceiling of your lamp, it is difficult to wipe off and can smear your piece. Choosing a lamp with generous vertical clearance makes crafting far more comfortable!
When looking at spec sheets, it is easy to assume bigger numbers always mean a better machine. But there is a classic trap here that many beginners fall into. Let’s clear it up!
You might think: “60W, 72W, or 120W—the higher the wattage, the faster resin cures, so it must be superior!” This is actually a misconception.
Wattage (W) technically measures power consumption, which does not always directly equal curing irradiance (effective light intensity).
Furthermore, curing crafting resin under an ultra-high-wattage nail lamp (such as 72W or higher) creates extreme curing heat almost instantly. This can cause resin to bubble and pop as if boiling, turn noticeably yellow, or even melt silicone molds during the very first use.
For handmade jewelry and accessories, the sweet spot for wattage is between 24W and 48W! Within this range, you achieve the ideal balance of fast curing times and controlled heat buildup. Don’t be misled by needlessly inflated wattage figures.
We’ve covered quite a few technical points! You might wonder: “That’s a lot to keep track of—which specs would Yassy actually choose?”
If I were buying a new primary lamp today, I would unhesitatingly pick one that satisfies every single one of these criteria:
A lamp meeting these specs will handle everything from small earring studs and 3D keychains to shaker charms, large coasters, and custom stationery items without a hitch. It will become your most reliable crafting partner for years to come!
Choosing the right UV lamp specs is the very first and most critical step in determining the quality of your finished resin work and how much you enjoy making it. Say goodbye to buying lamps simply because “it looks cute,” “it was the cheapest,” or “it has the biggest wattage number”!
When shopping for a lamp, use this checklist to review the spec sheet:
A curing light chosen by carefully checking the spec sheet will support your creative vision every step of the way.
Find the best lamp for your workspace and enjoy a smooth, brilliant resin crafting journey! (・∀・)
See you in the next article! This was Yassy from Crafters!


For example, if you are looking for articles about mizuhiki, try searching for "mizuhiki"; if you are interested in tools, try keywords like "nippers" or "pliers."
