Essential Japanese Needle Felting Tools for Beginners: How to Choose Without Mistakes
yassy
Crafters!

Hello, crafters! It's Yassy from Crafters! (・∀・)
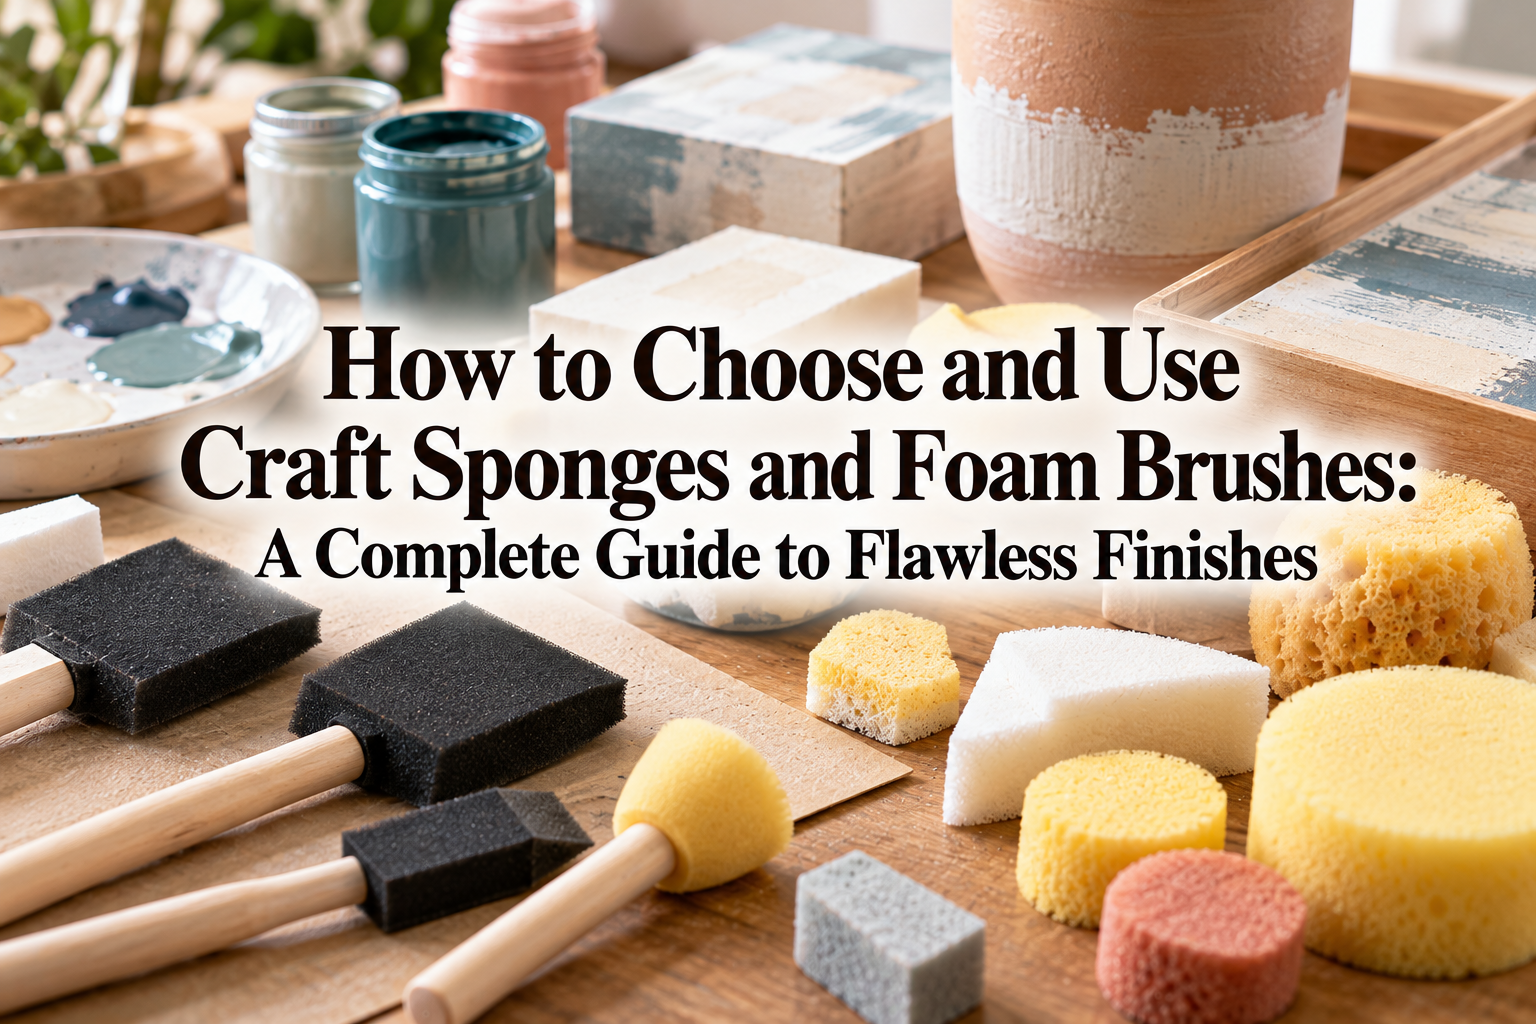
When it comes to applying paint, varnish, or stains in handmade crafts, traditional bristle brushes are usually the first tools that come to mind. However, if you want to elevate the quality of your finished pieces to the next level, there is an indispensable set of tools you simply cannot overlook: sponges and foam brushes.
I enjoy making crafts across many different genres—woodworking, polymer and air-dry clay, resin, paper crafts, miniature fake sweets, and even fabric dyeing. Sponges play a massive role in every single one of these creative areas. As someone who loves looking at, buying, and making handmade items, I can state with confidence: mastering sponges means mastering painting and surface finishing.
A sponge is almost like a magic wand that completely eliminates frustrating brush marks and lets you blend soft gradients in seconds. In this guide, I will walk you through the different types of craft sponges and foam brushes, how they differ from other tools, how to choose the right one without making mistakes, and pro-level application techniques to give your projects a professional look.
Why are sponges so highly valued in crafting compared to regular bristle brushes? The reason comes down to their unique structural design: a sponge holds liquid evenly and allows you to apply it with consistent pressure using a dabbing or tapping motion.
Bristle brushes work by dragging paint across a surface with the tips of bundled bristles. This naturally tends to leave visible streaks (brush strokes), and achieving a completely flat, uniform coat requires a high degree of skill. In contrast, a sponge stores paint within countless microscopic cells and deposits it through broad, flat contact. The paint transfers evenly to the material, making it easy for anyone to achieve a smooth, streak-free finish.
Furthermore, simply by adjusting the tapping pressure or the amount of paint on the sponge, you can effortlessly switch between solid coverage, delicate blended shading, natural aging effects, and seamless gradients. Combined with the fact that they are accessible and budget-friendly, sponges offer unmatched versatility and value in any craft toolkit.
While we casually say "sponge," there are actually several distinct shapes and materials used in crafting. If you pick the wrong type, it might soak up too much paint or cause liquid to bead on the surface. Here are the five main types you should know, along with their key characteristics.
These consist of a wooden handle tipped with a wedge-shaped or rectangular piece of urethane foam. You will frequently see them in home improvement centers and craft shops.
Their biggest advantage is that you can apply finishes quickly across wide surfaces with even pressure while keeping your hands clean. They are ideal for varnishing wood, applying base coats, and spreading decoupage medium over broad areas. Models with angled, beveled tips also fit neatly into tight corners and edges.
These are cosmetic foundation sponges readily available at drugstores, beauty supply shops, and 100-yen shops in Japan. Within the crafting community, they are universally recognized as an all-around holy grail tool.
Because they are extremely dense with an ultra-smooth surface and microscopic pores, they excel at delicate gradients, coloring clay pieces, and blending stamping inks. Multi-faceted disposable wedges make it easy to reach tight crevices on small parts with pinpoint accuracy.
Harvested from the ocean and dried, natural sea sponges have an irregular, complex pore structure. They create organic, distinctive textures that synthetic urethane foam simply cannot replicate.
By lightly dabbing acrylic paint onto a surface, you can easily produce realistic faux marble, classic aged patinas, or subtle mural-like textures. In pottery and clay work, professionals also rely on them to absorb excess moisture while smoothing out the surface of the piece.
This category includes cleaning melamine sponges as well as ultra-dense industrial urethane foams. They feature exceptionally fine cells and great elasticity.
Melamine foam can serve not only as an applicator, but also as a gentle sanding tool: lightly buffing dried clay surfaces with it removes roughness. In addition, when loaded with just a tiny speck of paint, it works wonderfully for dry-brushing vintage or distressed effects.
These specialized tools feature a firm, cylindrical foam head attached to the end of a wooden dowel. They are specifically engineered to pounce paint vertically over stencil templates.
The rigid design prevents the head from shifting sideways under pressure, minimizing paint bleeding underneath the stencil edges. They are a must-have for stenciling on fabric or creating consistent, crisp polka dots.
To choose your tools with confidence, it helps to understand exactly how sponges differ from alternative applicators and why you would select one over the other.
Brushes excel at drawing lines and spreading paint in directional strokes. However, no matter how high-grade the brush is, the risk of faint brush marks is virtually impossible to eliminate completely. Stray bristles shedding onto your wet workpiece is another common headache.
Sponges have no bristles, completely eliminating shedding. Moreover, because you can adopt a tapping or stamping motion rather than a dragging stroke, you can erase brush marks entirely and produce a silky, flat coat.
Rollers also deliver a finish free of brush strokes, but they require a relatively flat, wide surface to roll properly. They are ill-suited for three-dimensional projects or pieces with intricate contours.
Sponges compress and flex freely, conforming to spheres, curved planes, hollows, and deep grooves. For maneuverability and close contact on detailed handmade items, sponges clearly outperform rollers.
Many crafters use their bare fingertips to apply mica powders or tinting pigments. While your fingers offer fine touch sensitivity and warmth, skin oils can transfer onto the piece, causing paint or topcoats to repel. It also leaves your hands messy, slowing down your workflow.
Using a handled foam brush or a makeup wedge keeps natural oils off your artwork and lets you work cleanly and efficiently.
The ideal sponge depends heavily on your crafting medium and the viscosity of your paint. Here are the core selection criteria I follow in my own studio.
The single most important factor when inspecting a sponge is cell size—how fine or coarse the pores are. This completely alters the finished texture.
Coarse sponges with large pores (such as standard kitchen sponges) hold plenty of liquid, but they tend to leave a bumpy, bubbly texture behind. While this is great for textured faux finishes and rustic distressing, it will ruin a piece where a smooth, uniform surface is desired.
Conversely, sponges with pores so fine they are barely visible to the naked eye—like cosmetic wedges or high-density urethane—spread coatings thinly and evenly. When applying resin topcoats, layering varnish, or building delicate color gradients, always choose a high-density, fine-pore sponge.
The thickness of the liquid also dictates compatibility.
For runny, watery liquids like water-based wood stains or fluid dyes, handled urethane foam brushes with high absorbency are ideal. A single dip holds enough liquid to stain a broad surface evenly.
For acrylic paint, viscous varnishes, or gel mediums, a sponge that absorbs too deeply will trap paint in its core, wasting precious materials as it dries inside. In this case, use a dense cosmetic puff or wedge so the paint stays near the surface rather than sinking in.
Even with the best tools, improper technique will prevent you from getting the results you want. Here are specific methods that will noticeably boost the quality of your craft finishes.
When applying paint with a foam brush, resist the urge to drag it across the surface like a paintbrush. Dragging creates friction, which can cause the paint to ripple or foam with micro-bubbles.
Instead, load a moderate amount of paint, dab off the excess on a palette or the rim of a paper cup, and hold the sponge perpendicular to the surface, gently stamping down in a light "tap, tap, tap" rhythm. This dabbing motion evens out surface variations, drying down into an extraordinarily flat, smooth finish.
To produce natural baked crust effects on clay or smooth backgrounds for illustrations, use two or more paint shades with a cosmetic wedge sponge:
Working with an almost-dry sponge and layering color gradually is the absolute secret to achieving seamless, beautifully blended gradients.
The most frequent mistake in stencil work is paint seeping underneath the stencil borders. This happens 100% of the time because too much paint was used.
After picking up acrylic paint with your stencil dauber, do not apply it directly to your project. Blot it thoroughly on a paper towel until it feels like hardly any paint is transferring. With the sponge in this semi-dry state, tap straight up and down across the stencil opening.
Minimizing the moisture level produces razor-sharp outlines without bleeding.
When applying UV or epoxy resin topcoats or thick varnishes, tapping aggressively forces air from the sponge into the liquid, producing a haze of tiny micro-bubbles that ruins clarity.
For crystal-clear coating work, do not tap. Instead, gently pull the sponge in a single direction. Touch the tip of a high-density sponge to the liquid and glide it smoothly over the surface without applying downward pressure. This spreads a flat, glass-like film free of brush marks and air pockets.
While sponges are easy to handle, misjudging their properties can lead to frustrating mistakes. Keep an eye out for these three pitfalls.
Dipping a bone-dry sponge directly into paint causes it to draw liquid deep into its core. Not only does this waste expensive paint, but the moment you press it onto your workpiece, paint squirts out and causes heavy runs.
When working with water-based paints or varnishes, a pro habit is to wet the entire sponge with water first, then wring it out as hard as possible. Having a trace of moisture inside keeps the paint from sinking into the interior, letting you apply it efficiently right from the surface.
Urethane foam holds up well against water-based paints, acrylics, and alcohol inks, but it reacts chemically and melts when exposed to harsh petroleum solvents, such as lacquer thinners, enamel reducers, or strong solvent adhesives.
If the foam dissolves, sticky melted resin transfers to your workpiece and permanently ruins it. When working with solvent-based products, verify that your foam brush is specifically rated as solvent-resistant, or test it beforehand on scrap material.
Sponges that have been washed and reused many times, as well as very cheap, low-density foam, eventually break down from friction, shedding tiny crumb-like particles onto the surface.
If these crumbs dry embedded in your paint, the surface becomes rough and unattractive. If you notice a sponge crumbling or shedding while you tap, it has reached the end of its lifespan. Discard it and switch to a fresh one immediately.
To keep your sponges performing well and prevent accidental color cross-contamination, practice proper cleaning and care.
When using acrylics, water-based stains, or varnishes, clean your sponge immediately after finishing, before the paint dries. Once acrylic paint cures, it becomes water-insoluble and cannot be washed out.
For handled foam brushes, avoid pulling hard where the foam attaches to the wood, as the glue joint can tear. Support the base gently with your fingers while washing.
You do not need to wash and preserve every single sponge. Factoring in convenience and consistent results, knowing when to throw one away is just as practical.
Storing damp sponges in closed containers or dark drawers encourages mildew and foul odors. Storing them under heavy items will permanently crush their shape.
After washing, squeeze out excess water, press the sponge between folds of a dry towel to remove as much moisture as possible, and let it dry completely in a well-ventilated, shaded spot out of direct sunlight.
Store them upright or hanging from hooks so the foam heads remain uncompressed and ready for your next project.
Sponges and foam brushes are far more than mere substitutes for traditional paintbrushes. They are powerful crafting allies that give you streak-free flat coats, seamless color blends, crisp stencils, and realistic textures with minimal effort.
Here is a quick recap of the key takeaways:
Once you understand how different sponges behave and select the right one for your creative vision, the quality of your finished crafts will take a noticeable leap forward. Many of these tools are readily available at craft stores, 100-yen shops, or discount retailers, so be sure to try them on your upcoming projects!
If you found this guide helpful, sharing it with your fellow crafters on social media would mean the world to me and keeps me inspired to write more!
Until next time, happy crafting! This was Yassy from Crafters!









For example, if you are looking for articles about mizuhiki, try searching for "mizuhiki"; if you are interested in tools, try keywords like "nippers" or "pliers."
