The Golden Rules of Heating Resin: A Japanese Crafter’s Guide to Viscosity, Bubble Removal, and Safety
yassy
Crafters!
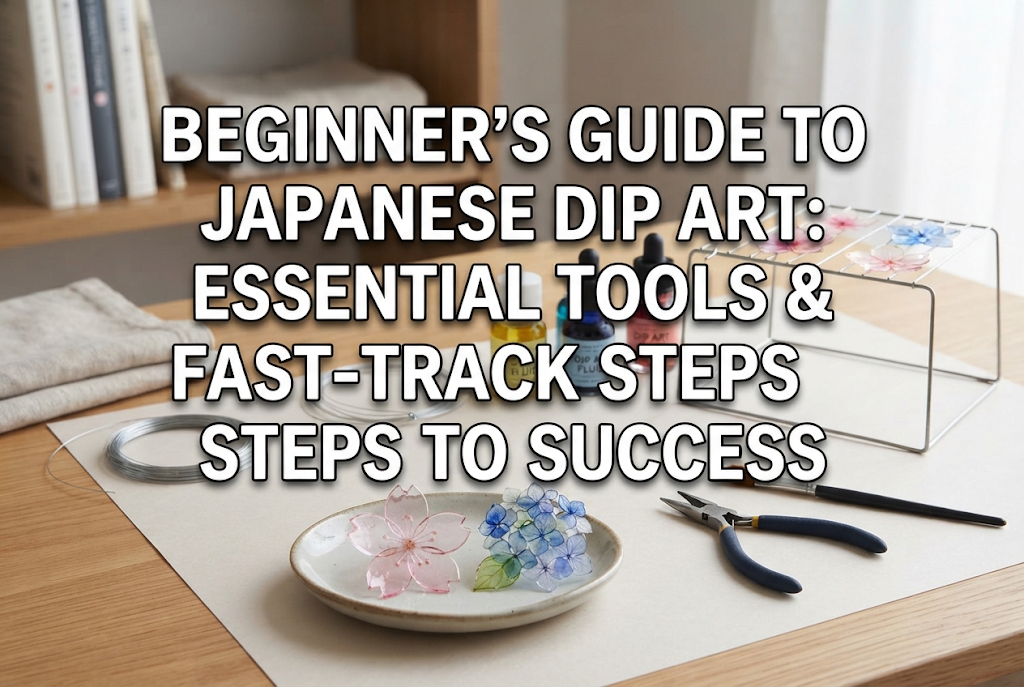

Hello everyone, Yassy from Crafters here! (・∀・)
The craft world is full of breathtakingly beautiful art forms, but one technique in particular completely stole my heart the moment I laid eyes on it: Dip Art!
Dip Art flowers possess a glass-like transparency and delicate, 3D shapes that captivate crafters everywhere. People are constantly amazed, saying, "I can't believe I can make such stunning jewelry and home decor myself!" Having crafted and bought many handmade goods over the years, I can confidently say that the radiant glow and ethereal charm of Dip Art are truly one-of-a-kind.
However, beginners eager to try Dip Art often ask me:
Don't worry! The core principle of Dip Art is surprisingly simple. Once you master a few key techniques, even absolute beginners can create professional-grade pieces right away.
In this guide, I'll share all my knowledge and experience—covering Dip Art fundamentals, essential tools, foolproof creation steps, and the fastest way to gather your supplies. By the time you finish reading, all your worries will disappear, and you'll be itching to start making your first piece!
Dip Art—often referred to as "American Flower" craft in Japan—is a classic handmade art form with a long history. The technique involves shaping fine wire into petal or leaf outlines and dipping them into a liquid synthetic resin known as "Dip Solution." Upon lifting the wire, a smooth, delicate film forms instantly across the wire frame.
The main appeal of Dip Art lies in its exceptional transparency and light reflectivity. When sunlight catches a flower, it sparkles like real glass or fine gemstones. Unlike heavier materials such as solid resin, Dip Art creations are incredibly lightweight.
This makes Dip Art ideal for practical accessories—large statement earrings, hairpins, and headpieces won't feel heavy or uncomfortable to wear. From bridal headpieces and formal accessories to interior floral arrangements, the creative possibilities are endless.
Because you shape every wire frame by hand, every single flower you make is unique. Dip Art offers the ultimate creative joy: fun to make, stunning to admire, and wonderful to wear!
To start your Dip Art journey without buying unnecessary items, here is the exact list of basic tools and materials you need, along with their roles.
This forms the structural outline of your work. In Dip Art, crafters typically use paper-wrapped wire, thread-wrapped wire, or color-coated wire. Wire thickness is measured in gauges (#/number); the smaller the number, the thicker the wire. For beginners, #28 and #30 wire are absolute must-haves. These two sizes cover everything from tiny blossoms to medium-sized petals.
This synthetic resin liquid forms the colorful film across your wire frames. Sold in metal cans, it comes in clear as well as a wide variety of colors like red, blue, yellow, pink, and green. You can also mix different solutions to create original custom shades. To begin, purchase one can of standard Clear and 1 to 2 cans of your favorite colors.
The film created by Dip Solution alone is extremely thin and delicate—it can tear if scratched with a fingernail or bumped. A liquid Strengthener cures and hardens the film, providing essential durability. To ensure your creations last and can be worn as jewelry, applying Strengthener is non-negotiable.
These cylindrical tools help you create uniform, evenly sized petal loops. Wrapping wire around a gauge pipe allows even complete beginners to form neat, symmetrical circles effortlessly. Buying a set with various pipe diameters will dramatically improve the precision of your work.
You need wire cutters to trim your wire, along with flat-nose pliers and round-nose pliers to twist and curve the frames. While standard hardware pliers work, specialized craft pliers with smooth, precise jaws eliminate frustration and prevent wire damage.
After dipping your wire shapes into the resin, you must stand them upright to dry without letting the liquid drip unevenly. A block of melamine foam sponge or dense styrofoam works perfectly. Simply stick the excess wire stem into the sponge to hold each piece securely.
As you use your Dip Solution, exposure to air causes solvents to evaporate, making the resin thick and gooey over time. If the solution becomes too viscous, it won't form smooth films. Dip Art Thinner restores the solution to its optimal, fluid consistency.
Beginners almost always run into the same few questions and mistakes. Learning how to avoid them now will save you time and materials!
Using improper wire is a recipe for failure. If your wire is too thick, surface tension won't hold the liquid film properly, causing it to pop immediately. If it's too thin (such as gauge #32 or finer), the wire will bend under the weight of the liquid. Stick strictly to #28 or #30 Dip Art wire to ensure success.
Simply dunking wire and pulling it out quickly can tear the film or leave an uneven blob. Dip Art relies on surface tension. You need the right technique and angle to catch the film across the entire loop. Focus on a gentle motion: "Lift slowly and detach smoothly."
Thinking your project is finished as soon as the Dip Solution dries is a mistake! Unreinforced Dip Art petals are barely stronger than a soap bubble. They will tear at the slightest touch, making them unusable as wearable accessories. Always submerge or paint your dried pieces with Strengthener and allow them to cure fully.
People often ask me, "Do I need a UV/LED light to cure Dip Solution?" The answer is no! Dip Solution and standard UV resin are completely different materials. Dip Solution contains organic solvents and cures by air-drying at room temperature (no UV lamp required). However, coating dried Dip Art petals with a layer of UV resin to add volume or attach components is a great advanced technique.
Dip Solution and Strengthener contain organic solvents and emit a distinct solvent odor. Working in a closed room for long periods can make you feel unwell. Always open windows, run an exhaust fan, and ensure proper airflow. Never craft in enclosed spaces near young children or pets.
Here is a clear step-by-step breakdown for making a classic flower component. Once you master this core workflow, you can craft any flower shape imaginable!
Wrap wire around a gauge pipe to form loops (for example, 5 loops for a 5-petal blossom). Secure the base of each loop by twisting it 2 to 3 times with flat-nose pliers. Use your fingers or pliers to gently shape the round loops into pointed or heart-shaped petals.
Open your Dip Solution can and let the liquid surface settle. Submerge your wire frame into the resin at a 45-degree angle. Once covered, lift the wire out at a slow, steady speed. Verify that a clear, unbroken film has formed across the frame, then gently touch the stem to the inner rim of the can to remove excess liquid.
Insert the stem wire into your melamine sponge stand to hold the flower upright. Allow it to air-dry in a well-ventilated area for roughly 30 to 60 minutes until it is completely tack-free to the touch.
Once the film is thoroughly dry, dip the entire flower into Strengthener or coat both sides evenly using a soft brush. Place it back on the drying stand and let it cure completely for 12 to 24 hours. This creates a durable, hardened finish.
Gather the stems of your dried petals and twist them together to form a complete flower. Glue flower stamens (peps) or beads into the center to instantly give it a realistic, high-quality look. Finally, attach earring posts, brooches, or hairpins to complete your piece!
When starting out, almost everyone encounters pop films or tiny bubbles. Here are my personal golden rules to solve these common troubles instantly!
If the resin film tears immediately upon dipping, the culprit is usually either a loop that is too large or solution that is too thin.
Dip Art films depend on surface tension. Trying to create a single petal loop larger than 3 cm (approx. 1.2 inches) in diameter will often exceed surface tension limits. For larger designs, cross-reinforce the frame with extra wire or combine multiple smaller petals.
If your solution has thinned out too much, films won't catch easily either; a slightly viscous texture works best. Also, lifting the wire too quickly tears the film, so always remember: submerge gently, lift slowly.
Stirring Dip Solution vigorously or plunging wire in too fast creates micro-bubbles that spoil the clear finish of your petals.
The golden rules to prevent bubbles: never stir the liquid right before dipping, and submerge wire frames as slowly as possible. If bubbles appear on the surface, pop them with a toothpick before dipping. If a bubble catches on your dipped film, blowing very gently on it before it dries will often pop the bubble instantly!
Leaving the solution can open gradually evaporates solvents, making the liquid thick and gooey like melted candy. High viscosity results in heavy, clumpy petals.
If your petals start looking thick and heavy, add a few drops of Dip Art Thinner right away. Close the lid, tip the can gently to blend the solvent, and test until the resin drips smoothly off a spoon. Proper viscosity management is the single biggest secret to maintaining crystal-clear Dip Art beauty!
Once you understand the technique, it's time to gather materials. Many beginners get stuck wondering where to shop.
In reality, general craft stores rarely stock full lines of Dip Solution and specialized wires. Searching multiple physical stores only to find empty shelves wastes valuable time and energy.
That is why I strongly recommend buying a Dip Art Starter Kit or basic material set online through major platforms like Amazon or craft supply sites. It is by far the fastest and most reliable way to begin!
When your materials arrive, start with simple projects to build confidence before tackling complex roses!
Form a single small oval loop with wire and dip it once into green solution. Experience the magic of seeing a smooth, colorful film form instantly. Getting comfortable with this feeling is your first major milestone!
Once comfortable making single leaves, use your gauge pipe to form 5 continuous loops for a classic flower. Dip in clear solution, let dry, and glue a small pearl or bead to the center. Attach earring hooks to create shop-worthy transparent floral jewelry!
While Dip Art might look complex at first glance, once you understand the core process and gather the right tools, anyone can create breathtaking pieces.
There is nothing quite like the excitement of watching clear liquid transform into delicate petals right before your eyes. Seeing your finished flowers catch the sunshine and glow like glass is a joy unique to Dip Art!
If your curiosity is sparked, right now is the best time to start. Order your starter kit online, prepare your workspace, and step into this wonderful craft. I can't wait to see the amazing pieces you'll create!
If you enjoyed this guide, please share it with your fellow crafter friends! Until next time, happy crafting from Yassy!

For example, if you are looking for articles about mizuhiki, try searching for "mizuhiki"; if you are interested in tools, try keywords like "nippers" or "pliers."
