Keep It Crystal Clear: Why UV Resin Yellows and How Japanese Crafters Prevent It
yassy
Crafters!

Hello, crafters! It’s Yassy from Crafters! (・∀・)
When making handmade items, there are countless moments where you need to measure and mix ingredients accurately. Whether blending resin liquid, balancing water ratios for Jesmonite or plaster, melting candle wax, or mixing custom colors with paints and inks, your mixing container directly affects the finished quality of your work whenever liquid or powdered materials are involved.
I make all kinds of handmade crafts myself, and I also love admiring and purchasing the wonderful creations of fellow artisans. From my hands-on experience, I can say with confidence: most makers who struggle with poor finished quality or repeated craft failures simply overlook the importance of container selection. By using random disposable paper cups or kitchen containers, their mixing ratios go off, air bubbles get trapped, or unmixed material pooled at the bottom leads to improper curing.
In this guide, I will thoroughly break down everything you need to know about two indispensable studio essentials: beakers and mixing cups. We will explore their uses, features, material types, how they differ from each other, beginner-friendly selection tips, and maintenance methods to make them last. By the end of this article, you will know exactly which container to pick for your specific craft to avoid costly mistakes!
Beginners often reach for everyday household items when it comes to measuring and mixing containers. However, moving forward without dedicated beakers or mixing cups is a critical mistake. Here are three decisive reasons why you need specialized tools:
Although the terms "beaker" and "mixing cup" are often used interchangeably, they serve distinct functions and roles. Knowing when to use which is the fastest route to improving your craft results.
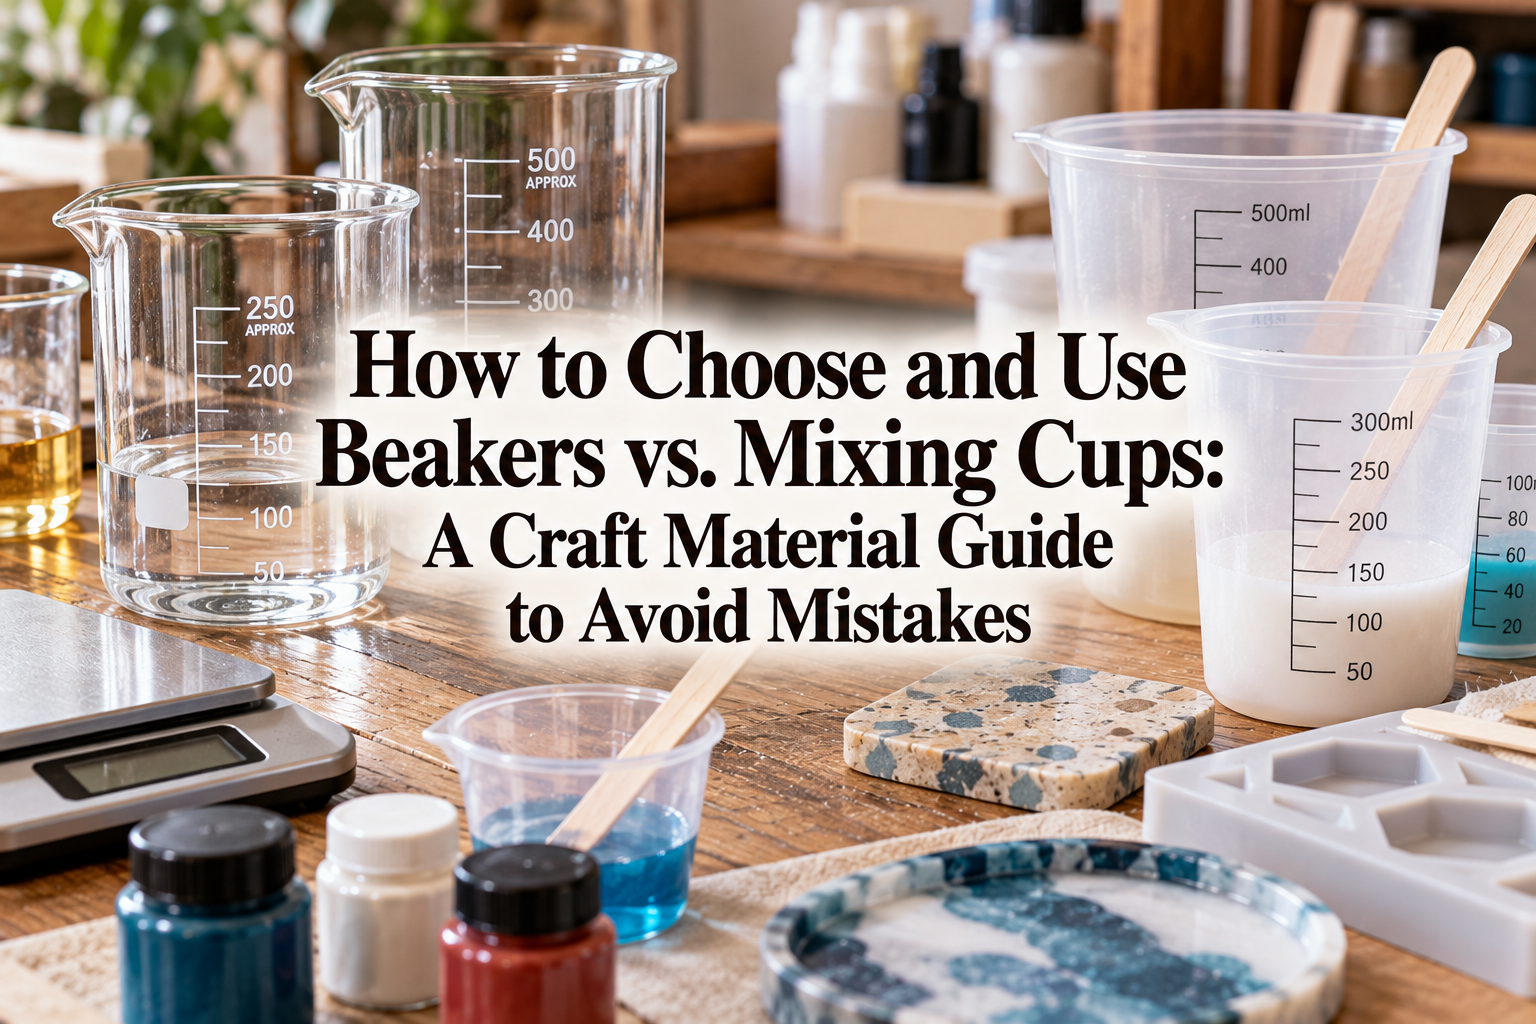
Beakers feature finely etched or molded measurement markings and a sturdy, upright cylindrical profile. Their primary roles are accurate measurement and handling chemical or thermal processes.
Glass or specialized plastic beakers offer high chemical and heat resistance, meaning they will not melt or deform when handling hot melted wax or strong solvents and pigments. Because their bodies are rigid and do not warp, they remain steady on digital scales, making them the best choice for measuring exact grams or milliliters.
Mixing cups, typically made of silicone or flexible resin, are purpose-built for stirring materials together and pouring them into molds.
Their biggest advantage is flexibility. By gently squeezing the sides of the cup with your fingers, you can pinch the spout into a razor-thin point. This lets you pour thin, steady streams of material into tiny molds just a few millimeters across or into complex crevices without trapping air bubbles. Furthermore, once resin cures inside a silicone cup, it pops right out for effortless cleanup.
Beakers and mixing cups perform entirely differently depending on what material they are made from. Using the wrong material for your craft media can cause the container to melt or permanently bond with the craft material. Let us look closely at each option:
The classic laboratory-grade beaker.
Among plastic beakers, those made of polypropylene (PP) or TPX (polymethylpentene) are the most practical for craft work.
Silicone cups are overwhelmingly favored in modern resin crafting.
Small single-use cups made of polystyrene (PS) or polyethylene (PE).
Many beginners wonder whether everyday kitchen measuring cups or plastic drink cups from a 100-yen store or dollar shop are good enough. There are major hidden pitfalls to using substitutes:
Drink cups and cheap kitchen measuring cups usually feature an indented ring around the bottom edge or a raised dimple in the center to maintain structural rigidity. No matter how thoroughly you stir, a mixing stick cannot reach into these narrow recesses.
As a result, unmixed components get poured directly into your mold, leading to sticky, uncured spots that ruin the project. Dedicated craft mixing cups feature flat interior bottoms or smooth rounded corners that allow stirring sticks to scrape every inner edge cleanly.
Standard kitchen measuring cups often have markings spaced out in 20 ml or 50 ml increments. Measuring precise craft quantities, like 5 g of resin or 15 ml of water, is impossible with kitchenware. The thickness of the printed line alone can introduce an error of more than 1 ml.
Craft beakers feature narrow 1 ml or 5 ml graduations, and their tall, slim cylindrical profiles allow even tiny liquid amounts to rise sufficiently up the wall for an accurate reading.
Epoxy resin produces an exothermic reaction (heat) as it cures. When mixed in thick volumes, internal temperatures can reach 80°C to nearly 100°C (176°F to 212°F). Low-heat-resistant disposable cups can warp or collapse under this thermal load, causing hot resin to spill across your work surface.
In addition, essential oils used in candle crafts can break down basic household plastics. Always rely on purpose-built beakers and mixing cups certified for heat and chemical exposure.
Depending on which craft you practice, your ideal combination of containers will change. Here are the practical, streamlined setups I rely on in my studio:
The Ideal Setup: PP Beaker (for measuring) + Silicone Mixing Cup (for stirring and pouring)
Using both types together is the gold standard for resin artists. First, place a rigid PP beaker (100 ml to 250 ml) on a digital scale to measure the base and hardener down to the milligram. Once measured, pour the resin into a flexible silicone mixing cup, add your pigments, and stir gently.
Using a silicone cup makes controlling your pour and eliminating micro-bubbles significantly easier. For leftover resin inside the cup, do not try to wash it out while wet—simply cure it under a UV lamp or leave it overnight to harden, then peel it away clean the next morning.
The Ideal Setup: Wide-Mouth PP Beaker + Large Flexible Mixing Cup
Working with Jesmonite or plaster requires blending dry powder into liquid, which calls for a wide-mouthed container that is not overly deep.
Use a smaller 100 ml PP beaker to measure your liquid component accurately, and a 250 ml to 500 ml wide-mouth cup for combining the powder and liquid. Uncured Jesmonite washes out with water, but once cured, it becomes insoluble. By using a semi-flexible plastic or silicone mixing cup, you can gently flex the cup once leftover material hardens, causing the residue to crack away effortlessly into the trash.
The Ideal Setup: Heat-Resistant Glass Beaker + Spouted Stainless Steel Pouring Pitcher
Candle crafting requires working with high temperatures. Melting soy wax or paraffin wax in a double boiler calls for heat-resistant glass beakers that conduct heat safely and withstand direct water bath warming.
A glass beaker lets you monitor wax temperatures precisely with a thermometer while adding fragrance oils and colorants. Glass also retains heat well, preventing wax from setting prematurely along the rim during mixing.
The Ideal Setup: 500 ml to 1000 ml Deep PP Beakers
Cold process soap making involves preparing caustic sodium hydroxide (lye) solutions and blending them with oils using stick blenders. A tall, deep PP beaker is critical to prevent dangerous splashes.
Over prolonged exposure to strong alkalis, glass can slowly etch, weaken, and shatter unexpectedly. Professional soap makers therefore consistently choose heavy-duty, chemically resistant polypropylene (PP) beakers over glass.
If you are wondering what to buy first, keep these three practical rules in mind:
Even high-grade tools will underperform and wear out quickly if used incorrectly. Follow these standard rules to keep your workspace running smoothly:
When stirring inside a mixing cup, never whisk briskly like beating eggs. Keep your flat spatula flush against the bottom and inner wall of the container, stirring in steady, deliberate loops like drawing a rounded Japanese character "の" (no).
Periodically scrape down the inner walls with your spatula at least three times during the mixing process, folding unblended material back into the center. This is the golden rule for zero uncured spots.
No container lasts forever. Silicone mixing cups gradually lose their release capabilities after repeated curing cycles. When the inner surface turns chalky white, feels dry, or tears away alongside the cured resin, it has reached the end of its lifespan. Continuing to use damaged silicone can cause torn silicone specks to embed into your finished work. Replace it promptly to protect your craft quality.
In the world of handmade crafts, beakers and mixing cups are far more than simple holding vessels. They are precision tools that safeguard measurement accuracy, eliminate sticky uncured patches, prevent air bubbles, and bring your creative designs to life reliably.
Step away from kitchen improvisations and set up your workspace with dedicated beakers and silicone mixing cups tailored to your medium. The difference in measuring ease, stirring control, and pour accuracy will elevate your craft from day one.
If you found this guide helpful, please share it with your fellow crafting friends! See you in the next article—this was Yassy from Crafters!


For example, if you are looking for articles about mizuhiki, try searching for "mizuhiki"; if you are interested in tools, try keywords like "nippers" or "pliers."
