Combining Japanese Shrink Plastic & Resin: Pro Rules to Prevent Peeling, Warping, and Bleeding
yassy
Crafters!
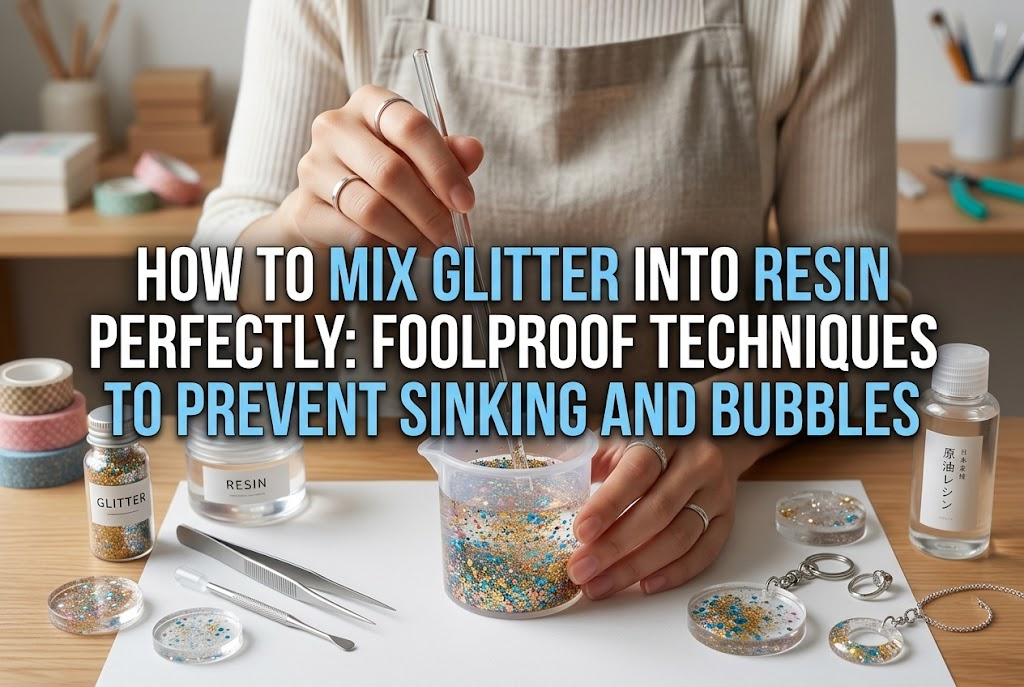

Hello, this is Yassy from Crafters! (・∀・)
Glitter and holographic flakes, which add dazzling sparkle to resin pieces, are indispensable materials loved by crafters. I personally love making all kinds of handmade crafts and admiring finished items in artisan shops, and I am always captivated by resin jewelry that beautifully suspends glittering particles.
However, when resin beginners try working with glitter, things often do not turn out as planned. Common complaints include: "All the glitter sank straight to the bottom," "Mixing created so many bubbles that the resin turned cloudy white," or "The surface ended up rough, bumpy, and dull."
At first glance, mixing glitter into resin seems as simple as sprinkling it in and stirring. In reality, achieving both crystal clarity and brilliant sparkle relies on precise principles—ranging from resin viscosity and tool selection to stirring speed, degassing methods, and proper glitter ratios.
In this guide, I will break down the essential techniques and knowledge needed to mix glitter into resin without failure. I am sharing all the golden rules I discovered through my own hands-on trial and error, so please read through to the end and apply them to your creative projects!
Glitter comes in countless varieties, easily found at stationery stores, craft shops, and 100-yen shops in Japan. To elevate the quality of your resin pieces, you must first understand the characteristics of each glitter type and how they interact with liquid resin.
Particle size and material dictate how glitter behaves inside resin and how it reflects light. Choose your supplies intentionally based on the specific aesthetic you want to create.
Fine glitter consists of ultra-fine, powder-like particles. It is ideal when you want delicate shimmer distributed throughout the entire piece, or when creating dreamy galaxy and night-sky gradients.
The greatest advantage of fine glitter is that the particles are lightweight, making them relatively slow to settle. However, their ultra-fine nature brings a major drawback: they trap massive amounts of air.
When you combine fine glitter with liquid resin in a mixing palette, air trapped between the micro-particles has no easy exit. It disperses throughout the resin as countless microscopic bubbles. This is the primary reason pieces lose their transparency and end up looking cloudy or milky.
Holographic elements are decorative accents cut from flat, iridescent sheets. They come in uniform shapes like hexagons, jagged cutouts, or color-shifting aurora film sheets.
Because flakes reflect light across flat surfaces, they provide a strong, eye-catching gleam. However, compared to fine powder, individual flakes have a broader surface area and more weight, causing them to sink very quickly in liquid resin.
Furthermore, when large flakes overlap, large air pockets get trapped between them. If cured in this state, those trapped bubbles can leave surface voids or holes, meaning flake placement requires deliberate care.
Glitter is generally manufactured either from synthetic resin (like polyester) or from coated metals (such as aluminum). In resin craft, polyester glitter is by far the easiest and most reliable to handle.
Metal-based glitter has a significantly higher specific gravity, causing it to sink to the bottom the moment it is introduced into liquid resin. While this makes it suitable when you want an opaque, dense metallic background, it is ill-suited for suspending sparkles evenly throughout the piece.
Another popular option is blending nail mirror powders or aurora pigments into resin. These ultra-fine powders produce an exquisite sheen, but adding too much will completely eliminate clarity, turning your clear resin into an opaque paint. You must be extremely restrained with the amount you add.
Almost every crafter has poured glitter-infused resin into a silicone mold, cured it under a UV light, and discovered that every sparkle settled on the bottom, leaving the face of the piece sparse. This settling occurs due to the direct relationship between gravity and resin viscosity.
Once you understand the mechanics, preventing sinking is entirely manageable. Here is how to control viscosity and freeze glitter exactly where you want it.
Liquid resins generally fall into three categories: low-viscosity (watery and fluid), medium-viscosity (standard), and high-viscosity (thick like honey). If your goal is to scatter glitter evenly throughout your piece, you must avoid low-viscosity resin.
Low-viscosity resin offers the wonderful benefit of releasing air bubbles easily. However, because it offers very little physical resistance, it cannot support the weight of glitter particles, allowing them to drop quickly. During the minutes before curing, gravity pulls the glitter straight to the base of the mold.
The correct choice for suspending glitter is a high-viscosity resin. Because of its dense, thick consistency, it dramatically slows the sedimentation rate of particles. It acts as a sturdy liquid matrix, holding glitter suspended in place until your UV lamp cures the piece.
If you only have low- or medium-viscosity resin on hand, or if you are using heavy, large flakes, use a layered approach with flash curing (partial curing). Glitter sinks primarily when you fill the entire mold cavity in one single pour.
Here is the step-by-step method:
By building up layers, you prevent particles from pooling at the base and create a rich, three-dimensional depth. This technique allows you to position even heavy glitter precisely where you want it.
Trapped bubbles are the single biggest factor that ruins glitter resin pieces. When light scatters across both glitter and random bubbles, the piece turns cloudy and looks unrefined. Here is the proper mixing routine to preserve high transparency and shine.
When mixing glitter, do you reach for a nearby wooden toothpick or bamboo skewer? This is one of the most common beginner mistakes.
Wood has countless microscopic fibers and porous cavities across its surface. When you insert a wooden stick into resin and stir, tiny pockets of air trapped inside the wood bleed out into the liquid. This directly introduces a swarm of micro-bubbles.
Always use a silicone stir stick, a metal craft spatula, or a smooth plastic rod. Switching to a non-porous tool with a completely smooth surface will drastically cut down the bubbles generated during mixing.
Once you pour resin into your mixing cup and add glitter, pay close attention to your stirring motion. Never whip or whisk the mixture in fast circles like beating cake batter. Rapid movements pull surrounding air directly into the liquid.
Keep the tip of your spatula firmly touching the bottom of the cup and move in a single, consistent direction at a very slow pace. Rather than whipping circles, think of gently slicing through the resin and spreading the glitter outward.
Scrape any glitter clinging to the sides and bottom of the cup, stirring steadily until evenly dispersed. A reliable guideline is an ultra-slow pace of about one rotation per second.
No matter how gently you stir, air clinging to the surface of the glitter particles will inevitably introduce a few bubbles. Do not pour the mixture into your mold right after stirring.
Let the mixing cup rest undisturbed for a few minutes. While resting, buoyant air bubbles naturally rise to the surface. Once bubbles float to the top, sweep over them with warm air from an embossing heat tool held at a distance, or pop them individually with the tip of a fine needle.
Gently warming resin lowers its viscosity, helping bubbles escape quickly. However, excessive heat can trigger premature curing or warping, so limit heat gun bursts to brief sweeps of 2 to 3 seconds.
Many crafters assume that adding more glitter creates more sparkle, leading them to dump in excessive amounts. Overloading resin with glitter is a common pitfall that undermines quality.
An aggressive, muddy pile of glitter is completely different from a refined, luminous sparkle. Here is how to achieve elegant sparkle and combine glitter with translucent tints.
A good rule of thumb is to use half the amount of glitter you initially think you need. For a pool of resin about 2 cm (roughly 0.8 inches) in diameter, start with just a tiny speck lifted on the very tip of a clean pick.
Adding too much glitter causes serious issues:
Leaving ample clear space for light to travel through is an absolute prerequisite for brilliant shine. Stopping when it feels "just a tiny bit sparse" is the secret to a professional-grade finish.
While glitter suspended in clear resin is beautiful, pairing it with delicately tinted translucent resin elevates the depth of your piece dramatically.
For example, adding a minute amount of silver micro-glitter to pale blue translucent resin evokes sunlight glistening across clear ocean water. Combining warm gold glitter with a soft pink clear resin yields an elegant, festive finish.
The key is maintaining transparency for both the colorant and the glitter. If the pigment is too dense, you will conceal the glitter underneath; if there is too much glitter, you obscure the lovely see-through tint. Always prioritize clarity when adjusting your blend.
After curing glitter or chunky flakes in a mold, you might demold the piece and find glitter edges protruding, feeling sharp or looking uneven. This happens because resin shrinks slightly as it cures, pushing embedded particles outward against the cured surface.
A rough surface does not mean the piece is ruined. You can easily restore it to a mirror-smooth, high-gloss finish with a simple top-coating technique.
When glitter creates surface bumps, apply a fresh coat of clear resin over the top—a dome-coating finish. Use a low-viscosity resin formulated for coating, or a clear UV gloss top coat (for resin or nails).
Adding this single clear layer completely eliminates surface roughness, creating deep, glass-like gloss as though the glitter is encased in crystal. When planning glitter projects, anticipating this final top coat from the start is standard practice among experienced makers.
Beyond simply scattering glitter evenly throughout a piece, deliberate placement creates striking handmade accessories. Here are three methods I frequently use to elevate visual depth:
Rather than covering the entire piece, arrange the glitter so it fades gradually from one edge toward the center. Place glitter resin along one side of the mold, then fill the remaining area with clear or softly tinted resin. Gently feather the boundary using the tip of a fine stick to blend them together. This creates an ethereal gradient that looks stunning in crescent moon and star-shaped molds.
When you want a focal element—such as dried flowers or metallic charms—to stand out in the foreground, mixing glitter into the same layer creates visual clutter. Instead, divide your piece into two distinct layers: embed the main motif in clear resin on the front layer and cure it, then pour a slightly deeper tinted resin mixed with fine glitter on the backing layer. This allows the motif to pop crisply while the background shimmers with quiet depth.
Instead of relying on a single glitter type, blend two complementary varieties in modest amounts. Use ultra-fine silver glitter powder as your base, then accent it with just a few hexagonal aurora flakes. The combination of delicate ambient sparkle and bold reflections from larger flakes produces an intricate, high-end look that single materials cannot match. Keep the combined volume restrained so the piece remains clear.
Putting these principles together, here is my standard, failure-free workflow for creating glitter resin charms and keychains. Follow these exact steps whenever you want consistent results.
Maintain your room temperature around 20°C to 25°C (68°F to 77°F). In a cold room, resin thickens excessively, making bubble removal very difficult. Choose a medium- to high-viscosity UV-LED resin to prevent settling, and prepare a silicone cup and a non-porous silicone stir stick.
Pour your required amount of resin into the silicone cup. Add polyester fine glitter conservatively—just a tiny speck on the tip of a pick. Place the tip of your silicone stick against the bottom of the cup and stir slowly at roughly one rotation per second, cutting through the liquid rather than whipping circles. Stop as soon as the glitter is evenly dispersed.
Cover the silicone cup with a small tray or box to block ambient dust, and let it sit for 3 to 5 minutes. As it rests, tiny bubbles introduced during mixing will drift to the surface. Sweep an embossing heat gun over the surface from a safe distance for about 2 seconds; the warmth releases surface tension, popping the bubbles instantly.
Gently pour the clear, bubble-free glitter resin into your silicone mold. Pour in a thin stream along the edge of the mold to avoid trapping air. Fill the mold halfway, then cure under a UV-LED lamp for 10 seconds to set the layer. Pour the remaining resin to fill the mold, then perform the full cure (typically 60 to 120 seconds, following your specific resin's instructions). This two-stage pour completely stops glitter from pooling at the base.
Allow the mold to cool completely before gently removing the piece. Check the surface with your fingertips for any tiny irregularities. To finish, brush a thin, even coat of low-viscosity coating resin across the entire face. Confirm there are no bubbles, then cure under the lamp for the final time. Your finished piece will exhibit pristine clarity, smooth edges, and multidimensional sparkle from every angle.
Blending glitter into resin requires only a few deliberate adjustments to dramatically improve your final results. Keep these core takeaways in mind:
By keeping these principles in mind, issues with cloudiness and sinking glitter will become a thing of the past. Bring out the full radiance of your glitters and flakes, and enjoy crafting one-of-a-kind, sparkling resin creations!
If you found this guide helpful, sharing it with your fellow makers on social media means the world to me. See you in the next article! This was Yassy from Crafters!



For example, if you are looking for articles about mizuhiki, try searching for "mizuhiki"; if you are interested in tools, try keywords like "nippers" or "pliers."
