Cotton vs. Linen: How to Choose the Right Fabric and Level Up Your Handmade Projects
yassy
Crafters!

Hello everyone, it's Yassy from Crafters! (・∀・)
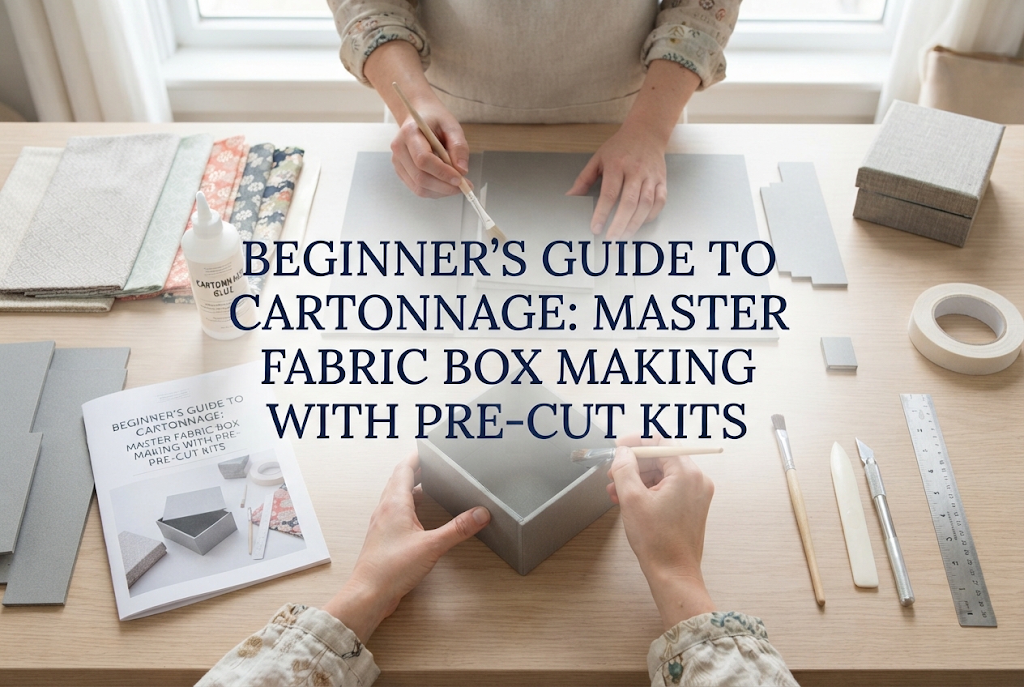
Have you ever wanted to transform your favorite fabric into a gorgeous custom storage box or decorative interior accessory? If so, the craft of "cartonnage" is for you. There is nothing quite like the excitement of crafting a custom-sized box wrapped in your absolute favorite fabric pattern—a feeling you just cannot get from mass-produced store-bought items.
I am deeply in love with cartonnage myself. I make various handmade crafts, admire works by talented artisans, and love shopping for beautiful craft materials, but I can confidently say that no other craft merges pure practicality with heart-fluttering excitement quite like cartonnage.
However, I have seen so many beginners stumble upon a huge wall and give up right at the start. The primary reasons? The tedious prep work and choosing the wrong tools or materials.
In this guide, I will share the ultimate roadmap for cartonnage beginners to skip the common roadblocks, finish their first project smoothly, and experience 100% of the joy of this craft. You don't need to take any detours. If you follow this advice, anyone can create a stunning piece without failing.
Before diving in, let's look at what cartonnage actually is and why it captures the hearts of so many crafters. Understanding the underlying structure is your quickest shortcut to mastering the craft.
Cartonnage is a traditional French papercraft named after the French word carton, which means heavy cardboard or chipboard. In this technique, you assemble dense paperboard (usually 1 mm to 3 mm thick) into frames or boxes, and then cover them smoothly with fabric or decorative paper using glue.
The underlying structure is remarkably simple, consisting of two main steps: building the core structure and applying the fabric. You don't need any sewing skills or a sewing machine. Creating sturdy, three-dimensional fabric items without a single needle or thread is the greatest advantage of cartonnage.
The main reason I enthusiastically recommend cartonnage is that the finished items are incredibly practical. The moment you finish a project, it can instantly serve as tabletop storage in your living room, a cosmetic organizer, a jewelry case, a remote control holder, or a notebook cover.
You can freely match patterns and colors to suit your home decor. From beloved Liberty prints to antique-inspired imported fabrics and high-quality linens, the time spent selecting fabrics is absolute bliss.
Having a beautiful, handmade box in your room genuinely elevates your daily life. It brings together the joy of admiring, the joy of making, the joy of using, and the thrill of collecting gorgeous materials.
While cartonnage is an approachable craft, jumping in purely on self-taught assumptions often leads to major frustration. Let's break down the common pitfalls beginners face so you can sidestep them completely.
The number one stumbling block for beginners is cutting the cardboard (carton). Unlike standard craft cardstock, the greyboard used in cartonnage is exceptionally dense and often 2 mm or more in thickness.
Trying to cut this dense board into precise, square pieces with a standard utility knife and ruler takes an unimaginable amount of effort. Your blade can easily wander, cuts end up beveled instead of straight, and your hands and wrists quickly tire out.
If the base board is off even by a millimeter, the assembled box will wobble and show gaps, making it impossible to produce a crisp finish. Cutting thick board from scratch is the biggest reason beginners end up disliking cartonnage.
The second most common mistake involves adhesives. Applying regular wood craft glue straight out of the container onto the board results in a thick, uneven layer because the glue is too viscous.
On the flip side, thinning it with too much water causes the cardboard and fabric to absorb excessive moisture, leading to warping or ugly glue stains seeping through to the front of the fabric.
Failing to manage the correct glue consistency and not knowing how to spread it quickly and evenly will significantly compromise the quality of your finished project.
Assuming you can get professional results using whatever scissors and rulers you have lying around the house is another dangerous trap. Cartonnage relies on specific tools designed for particular tasks.
For example, without a proper bone folder (spatula) to tuck edges, expel air bubbles, and crease corners sharp, you cannot achieve that crisp, professional finish. Skimping on proper tools directly translates into rough, messy results. Gathering the right essentials from the beginning is an absolute prerequisite for success.
Here is a breakdown of the core tools and materials you need to get started. Understanding what each item does will drastically boost both your efficiency and the quality of your work.
Now that you understand the tools and materials, here is my strongest recommendation for anyone starting cartonnage:
Your absolute best first move is to purchase a starter kit with pre-cut cardboard pieces from online craft shops or marketplaces like Amazon.
The single greatest advantage of a kit is completely bypassing the hardest, most frustrating step: cutting dense cardboard.
Starter kits provide machine-cut carton and lining papers cut with millimeter-level precision. This allows you to dive straight into the most enjoyable parts of cartonnage—building the frame and wrapping it in lovely fabric.
Because the foundation pieces are cut with perfect 90-degree angles, your box will turn out structurally square and beautiful every single time. It completely eliminates the tragedy of lopsided boxes caused by manual cutting errors.
Furthermore, starter kits bundle together the necessary water-activated tape, fittings, and step-by-step instructions, saving you the hassle and extra expense of buying full packs of specialty supplies individually.
When searching for a starter kit online, look for options that meet these key criteria:
Starting with a flat, foldable project or a simple open box is the ideal approach. Avoid complex multi-sided boxes or large storage chests with pull-out drawers for your very first attempt.
Once you have your pre-cut starter kit ready, follow these foolproof steps and professional tips to achieve a boutique-quality finish.
First, assemble the pre-cut greyboard pieces. Position the side walls around the base panel and secure each joint firmly using water-activated tape. Moisten the tape lightly with a damp sponge or cloth to activate its adhesive immediately.
Pro Tip: When applying tape, press firmly along the seams to eliminate any gaps between the boards and ensure every corner forms a true 90-degree angle. Taping both the interior and exterior of each joint drastically enhances structural rigidity, preventing the box from warping later when damp glue is applied.
Once your frame is sturdy, you can begin wrapping it with fabric. The key here is proper glue application: apply your glue thinly, evenly, and quickly using your brush.
Pro Tip: If the glue is applied too heavily, it will seep through and ruin your fabric; if it is applied too thinly or allowed to dry out, the fabric will lift and bubble. After brushing the glue out, lightly scrape the surface with your spatula to create a micro-thin, even film. Lay the fabric down immediately and smooth from the center outward using your spatula to press out any trapped air.
How you treat your corners dictates the overall quality of your cartonnage project. When wrapping fabric around the bottom or outer corners, you must trim away excess fabric at the folds.
Pro Tip: When notching fabric at the corners, never cut flush against the corner of the cardboard. Always leave a margin of about 2 mm (roughly equal to the thickness of the board) and cut at a 45-degree angle. This 2 mm buffer ensures the raw cardboard corner stays completely covered when folded, giving you a sharp, neat, and professional corner without any exposed greyboard.
After wrapping the exterior, finish the inside of the box. Rather than placing fabric directly into the bottom and walls, wrap fabric around pre-cut Kent paper panels first, then glue these panels into the interior like puzzle pieces. Using Kent paper completely conceals board seams and water tape lines, giving your interior a flawlessly clean appearance.
Pro Tip: Once an interior panel is in place, use the corner edge of your spatula to firmly tuck the fabric into the inner crevices. This crucial step prevents the fabric from floating and creates crisp, defined interior lines. Finally, attach any hardware, ribbons, or decorative trims to complete your piece.
After successfully finishing your first kit, you will have already mastered the fundamentals. Here is a clear roadmap to steadily expand your skills at a comfortable pace.
Start with nearly flat items before advancing to rigid boxes. Ribbon trays—flat bases whose corners fold up and tie with ribbons—and folding coasters are wonderful for getting the hang of smoothing fabric and wrapping edges. They finish quickly, offer instant gratification, and make fantastic gifts.
Once you are comfortable with open structures, try a box with a fitted lid. Because the lid and body must match with close tolerances, this step refines your precision. Sticking with pre-cut kits here is still a great way to ensure a lid that closes with a satisfying, snug fit.
The gateway to intermediate and advanced cartonnage is the circular box. Creating smooth curved forms and pleating fabric evenly along circular bases requires practiced control. Multi-compartment jewelry boxes and sewing chests with built-in dividers are also exciting milestones to conquer at this stage.
Cartonnage is an endlessly rewarding hobby that you can enjoy for years to come. Here is how to keep your creative fire burning bright.
The greatest joy of cartonnage is that nearly any woven fabric in the world can become part of your art. Explore local fabric stores and online shops for imported prints, vintage textiles, or classic French Toile de Jouy patterns.
You can also play with contrasts—such as pairing a subtle, understated linen exterior with a vibrant, playful floral print on the inside. Gathering a curated personal stash of favorite fabrics will keep you constantly inspired for your next build.
Don't just leave your finished boxes sitting on a display shelf; put them to work in your everyday routine. Use them as pen holders on your work desk, vanity organizers for your morning skincare essentials, or catchall trays for everyday jewelry.
Being able to say, "I made this myself!" when friends and family notice them is one of the sweetest perks of handmade crafts. The more you use them, the more attached you become, adding warmth and personal charm to your daily life.
Here is a quick recap of the essential points for starting your cartonnage adventure:
You don't need complex technical training or an innate design background to begin cartonnage. All you need is a well-designed starter kit, the right basic tools, and that simple excitement to create something beautiful.
Why wait? Look up a pre-cut cartonnage starter kit online, pick a design that catches your eye, and take that first step. That magical feeling of holding a gorgeous fabric box you made with your own hands is an experience you won't regret!
If you found this guide helpful, please share it with your fellow crafting friends! See you in the next article—Yassy from Crafters signing off!


For example, if you are looking for articles about mizuhiki, try searching for "mizuhiki"; if you are interested in tools, try keywords like "nippers" or "pliers."
