How to Unmold Handmade Soap Perfectly: Mold-by-Mold Techniques to Prevent Chipped Corners and Dents
yassy
Crafters!

Hello everyone! I'm Yassy from Crafters! (・∀・)
If you've spent any time working with resin, you've likely asked yourself: "Why won't this liquid flow into these tiny details?" or "How do I get rid of these stubborn air bubbles?"
There is a simple, almost magical step that can dramatically change the behavior of your resin and instantly elevate the quality of your handmade pieces: heating your resin.
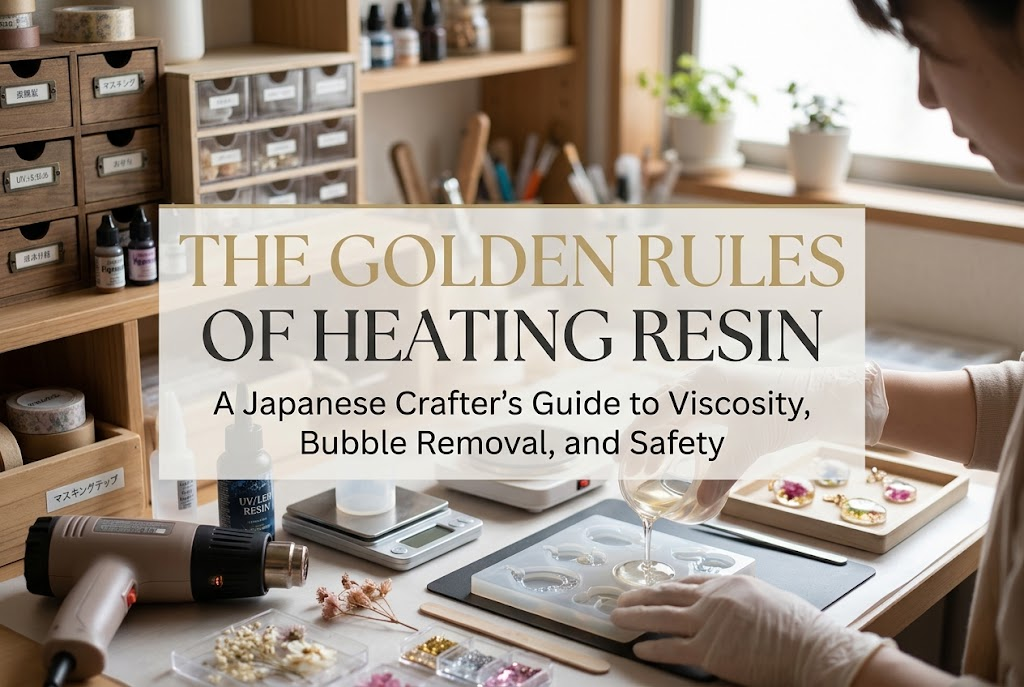
Resin is a material whose physical and chemical properties shift dynamically with temperature. Warming resin lowers its viscosity, allows trapped bubbles to escape effortlessly, and speeds up curing times. However, heating resin isn't as simple as blasting it with high heat. Done correctly, you'll achieve a crystal-clear, glass-like finish worthy of professional Japanese resin craft. Done wrong, you risk thermal runaway, severe yellowing, damaged molds, or safety hazards.
In this guide, I will share the exact science, practical techniques, critical safety rules, and step-by-step heating methods I use in my own workshop. Let's explore the absolute rules of resin heating so you can achieve zero-bubble, perfect results every time!
Applying gentle heat to resin doesn't just make it warm—it fundamentally alters its physical and chemical state. Here are the three main benefits of heating your resin:
The single biggest advantage of warming resin is lower viscosity. Cold resin is thick, heavy, and sluggish. When warmed, it thins out and flows smoothly, almost like water.
This fluidity allows the resin to slide effortlessly into intricate silicone molds, narrow crevices, and delicate tips. When using complex molds with sharp corners, thick liquid often leaves gaps or traps air in those tight spots. Pre-warming your resin solves fill errors instantly.
Air bubbles are the ultimate rival for resin artists. When resin is thick, trapped bubbles cannot overcome the liquid resistance to rise to the surface.
Lowering the viscosity reduces surface tension and resistance. Trapped bubbles gain buoyancy and quickly glide up to the top. Once at the surface, the warm air expanding inside the bubbles makes them pop naturally—or vanish with a quick flash of heat. This is the underlying principle behind using heat tools to remove bubbles.
Resin cures through chemical polymerization, triggered either by UV/LED light exposure or by mixing a resin base with a hardener. This reaction accelerates at higher temperatures.
By pre-warming resin to an optimal temperature, the chemical bonds form smoothly from the moment curing begins. In cold winter environments, resin frequently suffers from incomplete curing or a sticky surface. Warming the resin beforehand ensures a complete, rock-hard cure.
You might wonder: Why does heat make thick resin so fluid? Understanding the science helps you gauge temperature far more accurately during crafting.
Uncured resin is composed of tangled molecular chains called oligomers and monomers. At cool temperatures, molecular movement is sluggish, and the molecules catch on one another, creating high viscosity (thick liquid).
When heat energy is applied, molecular movement becomes extremely active. The internal friction and molecular attraction weaken, allowing the molecules to slide past each other smoothly. As a result, overall viscosity plummets. This is identical to how thick honey becomes runny when warmed in a hot water bath.
Another bonus: warm, low-viscosity resin mixes far better with pigments, mica powders, and glitters, preventing clumps and producing smooth, even colors.
In the handmade craft community, we primarily work with two types of resin: UV/LED resin and two-part epoxy resin. While both become fluid when warm, their ideal heating practices differ significantly.
UV/LED resin is a one-part liquid that cures quickly under specific light wavelengths. Warming UV/LED resin is mainly used to clear bubbles and improve flow before pouring into molds.
Gently warming your bottle or silicone pouring cup before crafting adds phenomenal clarity to your work. However, remember that warm UV/LED resin reaches higher temperatures during light curing. Before placing your poured mold under the UV lamp, let it settle for a moment to return slightly toward room temperature for a smooth, flat finish.
Two-part epoxy resin cures via a chemical reaction between a liquid resin base and a hardener mixed in precise ratios. Pre-warming epoxy resin is often the deciding factor between success and failure.
In cold conditions, epoxy resin base can crystallize, turn cloudy, or become too thick to mix evenly. Forcing a mix under cold conditions traps micro-bubbles and often leads to cure failure (sticky, soft resin). Placing both sealed bottles in a 40°C (104°F) water bath before measuring and mixing guarantees bubble-free, super-clear, complete curing.
It might be tempting to think, "If warmer is better, why not heat resin as hot as possible?" Please be extremely careful! Resin has strict maximum safe temperatures. Overheating ruins your piece and poses serious safety risks. Keep these four risks in mind at all times:
Resin releases its own heat as it cures (an exothermic reaction). If you expose pre-heated resin to intense UV light or mix large amounts of hot epoxy, this reaction can spiral out of control in what is known as thermal runaway.
Temperatures can instantly spike above 100°C–150°C (212°F–302°F). This extreme heat causes the resin to turn yellow, warp violently, develop internal cracks, or even emit smoke and a terrible burnt smell.
Curing resin at excessive temperatures causes catastrophic damage to silicone molds. While silicone is heat-resistant, super-heated curing resin can chemically bond or fuse directly into the silicone surface.
When this happens, your cured piece cannot be removed. Attempting to peel it out will tear the mold apart, ruining both your piece and your mold. Avoiding excessive heat is mandatory if you want your molds to last.
Resin contains chemical compounds that vaporize easily when heated. Excessive heat amplifies strong odors and airborne vapors, which can irritate your eyes, nose, and throat, or trigger allergic reactions.
Whenever you warm resin, ensure good ventilation by running an exhaust fan or opening multiple windows. Wearing a vapor respirator mask and protective safety glasses is a standard rule for safe resin crafting.
Overheating causes the exact problem you are trying to fix: bubbles. Exceeding safe temperature limits causes moisture or components inside the liquid to boil and expand rapidly, a phenomenon known as bubbling.
Once bubbling occurs, tiny, fizzing micro-bubbles emerge continuously, turning the resin cloudy white. Resin ruined by bubbling cannot be saved and must be discarded.
To prevent accidents, here are dangerous methods that should never be used on resin:
Now that we know the risks, here are three safe, highly reliable techniques I use in my Japanese craft studio to heat resin perfectly every time.
This is the best method to safely warm an entire bottle of resin before starting your project.
To eliminate surface bubbles after pouring resin into a silicone cup or mold, an embossing heater (heat craft tool) is the ideal tool. Unlike hair dryers, embossing heat tools output focused heat with low airflow.
In cold studios, warm resin cools down rapidly on your worktable. Using a temperature-controlled desktop cup warmer or a silicone craft heating mat maintains fluid resin throughout your work session.
Cover the warming device with a heat-resistant silicone sheet, set the device to roughly 40°C (104°F), and rest your color-mixing cups on top. This keeps your resin perfectly runny during long mixing and detailing steps.
Pouring warm resin and immediately turning on your UV light is a frequent mistake. Warm resin cures rapidly; combining hot resin with intense light triggers overheating, shrinkage, and surface ripples.
After warming and removing bubbles with a heat tool, let the piece rest for 1 to 2 minutes to settle toward room temperature before turning on your lamp. This brief pause dramatically improves surface smoothness and gloss!
Low viscosity isn't always the goal! Certain resin techniques rely on thick, high-viscosity resin.
For example, if you want to create a high-domed cabochon coat, create 3D water droplets, or hold charms in place without them drifting, runny resin will simply spill off the edges. Use warm, low-viscosity resin for mold fills and bubble removal; keep resin at cooler, thicker room temperature when you need doming and structure.
Here is my personal studio setup for handling warm resin safely and cleanly:
Warming resin is a simple yet transformative technique that yields professional, bubble-free, high-gloss craft results. Let's recap the golden rules:
By mastering temperature control, winter curing issues and frustrating air bubbles will become a thing of the past! Enjoy creating gorgeous, crystal-clear resin pieces in your workshop.
If you found this guide helpful, please share it with your fellow crafters on social media! See you in the next tutorial—this was Yassy from Crafters!



For example, if you are looking for articles about mizuhiki, try searching for "mizuhiki"; if you are interested in tools, try keywords like "nippers" or "pliers."
