Stuck in the Mold? Causes and Foolproof Fixes for Demolding Resin and Crafts
yassy
Crafters!

Hello, this is Yassy from Crafters! (・∀・)
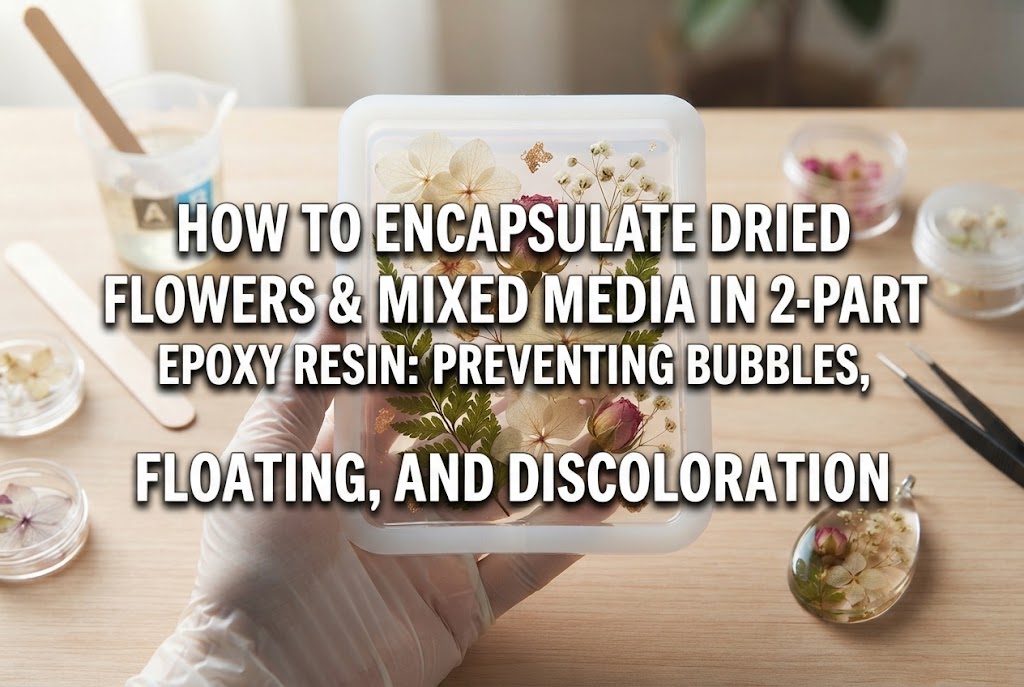
There is something truly mesmerizing about seeing delicate dried flowers, wood textures, or intricate metal charms suspended inside crystal-clear two-part epoxy resin. Capturing these elements feels like freezing a tiny slice of time, and that unique aesthetic is easily one of the most rewarding aspects of resin craft.
However, when you start trying it yourself, you might run into familiar frustrations: translucent wet-spot discolorations on petals, an endless stream of micro-bubbles escaping from inclusions, or lightweight components floating uncontrollably to the surface.
I have been there myself many times. In the past, I tossed raw dried flowers straight into epoxy resin, only to end up with ruined colors and cloudy bubbles. Because two-part epoxy resin takes far longer to cure than UV resin, the liquid resin stays in prolonged contact with your embedded items. Without proper prep work, issues are almost guaranteed to happen.
In this guide, I will share the exact preparation methods and layering techniques I use to encapsulate dried flowers and mixed materials seamlessly in epoxy resin. With these steps, you can achieve a flawless, bubble-free, professional finish.
While UV resin works well for small, shallow items, two-part epoxy resin is essential when crafting thick paperweights, coasters, home decor, or chunky jewelry. Understanding epoxy's specific properties makes all the difference.
The biggest advantage of two-part epoxy resin is its high clarity and ability to cast in deeper volumes. Unlike UV resin, which is rapidly cured by light, epoxy hardens gradually over several hours to a full day through a chemical reaction. This slow curing process gives trapped air bubbles plenty of time to rise naturally to the surface and pop.
However, that same slow curing window is what causes embedding issues. Because the resin remains liquid for so long, trapped air within porous items slowly seeps out as bubbles, residual moisture turns plant petals brown, and buoyant items drift upward.
To solve this, two essential strategies are required: material pre-treatment (sealing) and smart pouring (layering). Mastering these two habits prevents more than 90% of common casting failures.
Different materials—botanicals, wood, paper, or metal—have unique physical properties. Tailoring your preparation to each material is crucial before submerging them in resin.
The two main issues with flowers are "wet-spot discoloration" and air bubbles escaping from petals. Plant tissues contain microscopic air pockets. When raw resin penetrates these cavities, petals can turn semi-transparent, splotchy, or heavily darkened.
My go-to solution is pre-coating. The quickest and most reliable method is lightly spraying the dried botanicals with a fast-drying clear gloss varnish spray and letting them dry completely. The varnish creates a barrier that prevents rapid resin absorption.
For maximum protection, apply a very thin coat of UV resin over the petals using a soft brush, then cure it under a UV lamp before placing the flower into your epoxy mold. This creates a transparent shield, completely sealing out bubbles and color changes.
Note: If using homemade dried flowers, ensure they are 100% moisture-free by drying thoroughly with silica gel. Any leftover water content will react with the epoxy resin and turn the petals brown.
Wood-and-resin projects, such as river-style casting or wood-resin jewelry, are widely loved, but wood is naturally porous. The grain contains endless air channels. As the resin cures, heat causes the air inside the wood to expand and bubble up into your cast.
Always apply a sealer (grain filler) beforehand. Coat the cut surfaces and edges with a dedicated wood sealer, low-viscosity UV resin, or thinned wood glue, and let dry thoroughly.
In my workshop, I typically brush a thin layer of epoxy or UV resin over the wood piece, cure it completely to lock the surface in an airtight shell, and then proceed with the main pour. This step completely eliminates troublesome air leaks.
If you embed newspaper clippings, illustrations, or photos without preparation, the paper will absorb resin, turning translucent or causing the ink to bleed.
To prepare paper, coat it with decoupage glue or water-based acrylic varnish. Use a brush to cover the front, the back, and critically, the cut edges. Let it dry, and repeat 2 to 3 times to build a durable barrier.
Missing the edges will allow resin to seep in and create oily-looking spots, so sealing every edge completely is essential.
While metals and minerals will not absorb resin, surface oils and complex shapes present different challenges.
Oils from manufacturing or handling can prevent resin from adhering cleanly. Wipe metal pieces thoroughly with isopropyl alcohol or parts cleaner on a lint-free wipe (such as a Kimwipe) to degrease them.
For charms or rough mineral stones with deep crevices, air easily gets trapped in recesses. Pre-coat the crevices with a little liquid resin using a brush to push out air pockets before placing the piece into the mold.
Once your items are sealed and dried, it is time to cast. The number one mistake at this stage is putting everything in the mold and filling it to the top in a single pour.
Pouring all at once causes lightweight flowers to float to the top and traps huge pockets of air underneath. The standard rule for pristine results is multi-layer pouring.
If you want to achieve a dimensional design where a flower appears suspended mid-air inside the resin, single pours will not work—heavy parts sink, light parts float.
Here is my favorite hybrid method for exact positioning:
Because two-part epoxy and UV resin have nearly identical refractive indexes, the seam line becomes virtually invisible once cured, giving you a flawless suspended effect.
Even if your cast looks crystal-clear right after pouring, do not walk away immediately. Tiny micro-bubbles can slowly gather from stem ends or crevices over the first hour.
I always make a habit of inspecting my resin under a bright light at the 30-minute mark and again at the 1-hour mark.
While the resin is still in its liquid-to-gel state, you can easily pop rising bubbles with a bamboo skewer or nudge shifted pieces back into alignment. Covering your mold with a clean dust cover (like a clean plastic box) between checks keeps debris out while you monitor the curing process.
After your piece is fully cured and demolded, you might notice slight overpours, sharp edges (burrs), or tiny exposed parts of an inclusion.
If any part of the inclusion protrudes, wet-sand the surface starting with 400-grit wet/dry sandpaper, progressing up through 1000 and 2000-grit until smooth. The sanded area will appear frosted, but brushing on a very thin topcoat of epoxy resin or dedicated gloss coating resin will restore glass-like transparency instantly.
To preserve natural inclusions long-term, display and store pieces away from direct sunlight (UV exposure) to prevent premature flower fading and resin ambering. Choosing a high-grade, non-yellowing epoxy resin with UV inhibitors also helps maintain clarity over time.
Encapsulating mixed media in epoxy resin may seem tricky at first, but almost every common mistake comes down to two issues: insufficient drying/sealing of materials, and pouring everything in a single unmanaged layer.
By sealing your materials thoroughly with varnish or UV resin, and pouring in deliberate layers, you can create crystal-clear, bubble-free cast pieces worthy of gallery displays.
Take your time with the prep work—the stunning clarity of the finished piece makes every extra minute worthwhile. I hope these techniques help you encapsulate your favorite treasures beautifully!
If you found this guide helpful, sharing it with your fellow crafters is always appreciated. Until next time, happy crafting from Yassy!





For example, if you are looking for articles about mizuhiki, try searching for "mizuhiki"; if you are interested in tools, try keywords like "nippers" or "pliers."
