How to Upgrade Your Epoxy Resin Tools: The Golden Sequence to Professional Quality
yassy
Crafters!

Hello, fellow makers! I’m Yassy from Crafters! (・∀・)
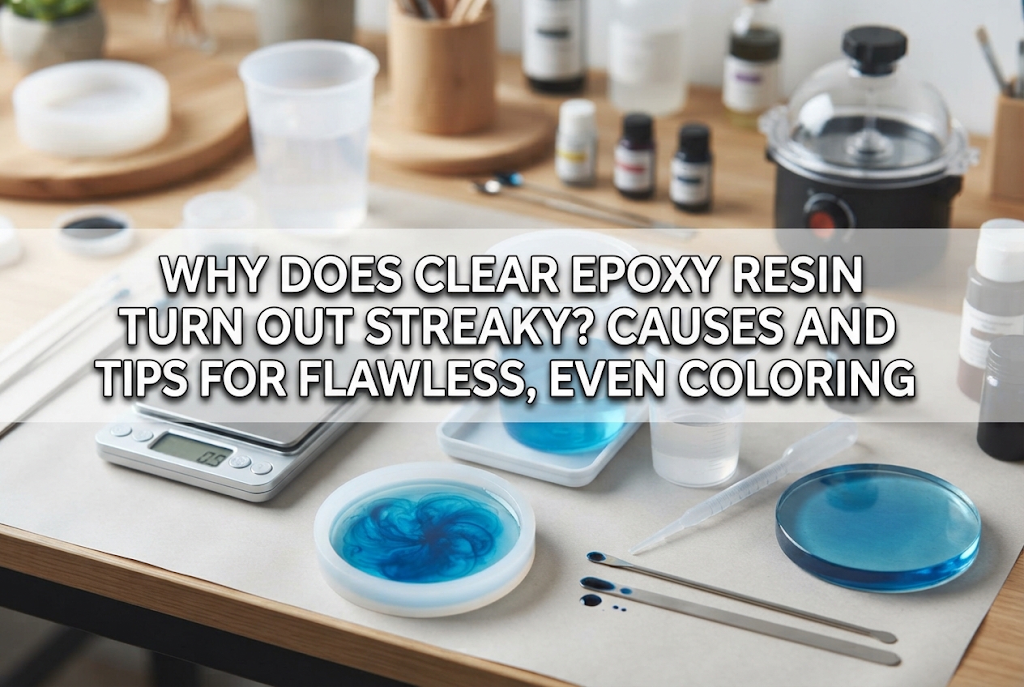
When crafting with glass-like, transparent two-part epoxy resin, there are so many occasions where you want to tint it with a gorgeous, clear tint. Whether it is an ocean-inspired deep blue, a soft mineral purple, or an amber hue reminiscent of a sunset, translucent colored resin pieces hold a special kind of magic.
However, have you ever demolded a cured piece only to discover cloudy swirls drifting inside, intense patchy variations in depth, or a mottled mix of clear and hazy spots? It is genuinely disheartening when you have carefully weighed out your components, waited patiently for the long cure, and ended up with uneven coloring.
Unlike UV resin, epoxy resin requires many hours to fully harden. During this extended curing phase, various subtle physical and chemical reactions occur within the liquid. Because of this, a batch that appears seamlessly blended on the surface can still reveal unexpected color flaws once cured.
In this guide, I will break down the root causes behind color streaks and unevenness in transparent epoxy casts and share practical, proven techniques to help you achieve completely uniform, crystal-clear results every time. Let’s explore the essential checkpoints together!
Uneven coloration can present itself in several distinct ways. Take a look at your finished piece to identify which symptom matches your situation:
These issues do not stem simply from failing to stir enough. They are often triggered by an interplay between the nature of your colorant, chemical curing reactions, and internal thermal convection currents. Let’s examine the five primary causes in detail.
If your transparent resin castings fail to achieve a seamless tint, one of the following five factors is typically responsible. Review your workflow against these points:
The most common and fundamental mistake is using a colorant that is not chemically suited for epoxy resin. Epoxy is an organic, oil-based compound. If you mix in water-based media—such as standard acrylic craft paints or water-based inks—they will repel each other, just like oil and water.
Because the pigment cannot disperse at a molecular level, it breaks into micro-droplets, resulting in a hazy, milky appearance or wispy streaks as water molecules cluster during the curing cycle. Furthermore, moisture is a leading trigger for cure inhibition, leaving resin tacky or soft.
Take caution with alcohol inks as well. While they offer stunning translucency, their high alcohol content evaporates quickly, and depending on your epoxy resin formulation, the solvents can cause phase separation, streakiness, or surface stickiness.
It is surprisingly easy to assume a translucent mix is fully blended before it actually is. When making a delicate, pale tint, just a drop or two of pigment stirred a few times will visually spread color across the entire cup, giving the illusion that everything is homogeneous.
However, visual dispersion is not equivalent to molecular integration. Resin clinging to the inner sidewalls and bottom perimeter of your mixing cup often remains entirely uncolored, or conversely, concentrates heavy deposits of raw pigment.
When you pour this liquid into your mold, these unblended zones scrape into the mold last, leaving behind clear fluid tracks or dense, smoky smears right in your finished piece.
Epoxy cures through a precise chemical reaction between Part A (resin) and Part B (hardener). Beginners often try adding colorant to Part A first, thinking it is easier to blend the color thoroughly before introducing Part B.
While this sounds logical, it introduces a major pitfall for both color consistency and proper curing. Once Part A is colored, you can no longer see the clear striations—the Schlieren optical effect—that indicate whether Part A and Part B are thoroughly unified.
As a result, microscopic pockets of poorly mixed base resin and hardener remain. The resin cures at uneven rates across the piece, creating internal distortions, optical warping, and wavy color boundaries.
As epoxy cures, it generates heat through an exothermic reaction. In deeper molds or large volume pours, heat concentrates rapidly in the core of the mass. This temperature spike induces internal convection currents—a continuous thermal cycling where warm liquid rises while cooler liquid sinks.
Even if you blended your resin impeccably and poured it gently, liquid within the mold continues to shift slowly over several hours. This internal flow can sweep pigments of varying densities into localized concentrations, resulting in unexpected marbling and swirled streaks upon final cure.
Colorants fall broadly into two categories: liquid dyes (which dissolve completely into the resin base) and pigments/powders (microscopic solid particles suspended in liquid). Crafters often turn to mica powders, metallic pastes, or liquid pigment concentrates to achieve deep or shimmering tones.
Solid pigment particles are almost always denser than the surrounding liquid resin. Because epoxy cures slowly over many hours rather than in minutes like UV resin, gravity pulls these heavy particles downward toward the bottom of the mold before the resin can gel.
If you find that the bottom face of your casting is intensely saturated while the upper side is pale and translucent, pigment sedimentation is the direct cause.
Once you understand why color issues happen, preventing them is straightforward. Here are the precise steps and habits I rely on to ensure consistent, transparent finishes:
When crystal-clear transparency is your goal, always select liquid dye-type colorants explicitly labeled as compatible with two-part epoxy resin. Dyes dissolve entirely into the molecular matrix of the resin, eliminating the risk of settling particles, graininess, or undissolved clumps.
Using specialized resin color toners from established craft suppliers is the safest choice. Check the product label to ensure it specifies oil-based formulation and two-part epoxy compatibility.
If you choose to work with alcohol inks for specific tinting effects, keep the volume under 1% of the total resin weight to prevent separation or shrinkage from solvent evaporation.
To prevent both curing failures and optical streaks, adhere strictly to this sequence:
Following this order ensures your reactive chemical base is completely unified first, allowing any colorant added afterward to distribute evenly without masking cure-related striations.
Stirring only in the center of your cup leaves raw colorant or unmixed resin clinging to the edges. Build two mechanical actions into your habit:
First, use the flat edge of your spatula or stir stick to actively scrape down the sidewalls and bottom perimeter of the container, pulling fluid from the perimeter toward the center.
Second, for foolproof results, use the Two-Cup Method. After mixing your color into the first cup, transfer the entire batch into a clean, secondary cup. Discard the first stick, grab a clean one, and mix for an additional minute.
This transfers only the integrated liquid and leaves unmixed residue behind on the walls of the initial container, guaranteeing that only completely uniform resin enters your mold.
With transparent resin, even a microscopic drop of pigment can drastically alter shade depth. Dropping colorant straight from a squeeze bottle often releases too much liquid, overwhelming the resin and ruining the translucent effect.
Instead, dispense a single drop onto a palette or scrap film. Dip the very tip of a wooden toothpick into the colorant, touch it into your resin, and mix. If the shade looks slightly pale, blend thoroughly first, assess the depth under good lighting, and build color gradually.
To avoid convection-driven pigment movement, you must regulate the exothermic curve of your resin. Always check the maximum recommended pouring depth specified by your manufacturer.
If you pour a fast-curing, thin-layer resin into a deep cavity, excessive heat builds up in the core, triggering strong internal currents that scatter dyes. For thick or volumetric castings, switch to a low-exotherm deep-cast resin with an extended working time, or pour your project in successive shallow layers.
Working in a space that is too hot (above 30°C / 86°F) accelerates reaction rates unpredictably. Keeping your workroom between 20°C and 25°C (68°F to 77°F) promotes a calm, steady cure that prevents convection swirls.
Here is my exact, everyday preparation routine when crafting transparent colored epoxy pieces:
I adjust the room temperature to roughly 22–24°C (71–75°F) and set up a level work table away from direct sunlight. I also keep a clean plastic tote or cardboard box ready to cover the mold against settling dust.
Using a digital scale accurate to 0.1g, I measure Part A and Part B into a silicone cup following the exact ratio. Using a flat silicone spatula, I scrape along the bottom and sides while stirring slowly for 3 to 5 minutes to minimize air bubbles, continuing until the Schlieren haze disappears and the mixture becomes water-clear.
Even when tinting an entire pour, I first scoop out about one tablespoon of clear resin into a small separate cup. I add the colorant with a toothpick to this small volume to create a concentrated masterbatch. Dissolving the pigment into a smaller amount first makes it much easier to break down clumps before reintroducing it into the main container.
I pour the concentrated color blend into the main cup, stir thoroughly, and then decant the entire batch into a second, fresh cup. I let the liquid flow naturally rather than scraping the old cup walls. Stirring gently for another minute in the new cup produces an impeccably uniform colored resin.
I pour the resin into the lowest point of the mold in a thin, continuous stream, letting it self-level naturally. I pass an embossing heat tool briefly over the surface to pop rising bubbles, cover the mold with my dust box, and leave it completely undisturbed until fully cured.
If a demolded casting reveals color defects, you cannot revert it to pure clear resin, but you can definitely salvage the piece through creative rework:
If the color variation is limited to a thin film or gloss haze on the exterior, wet-sand the surface with progressive grits from 400 up to 2000 to remove the flawed skin. Once flat, polish with buffing compound or coat the piece with a thin layer of high-grade UV resin or epoxy topcoat to restore deep, uniform shine.
If internal swirls or streaks are embedded inside, lean into the look by styling it as a natural geode or mineral specimen. Pour an opaque white or black layer over the back face, or embed sheets of gold or silver leaf with a thin backing coat. Blocking transmitted light transforms internal color variations into the organic, multi-dimensional texture of raw gemstone.
Epoxy resin produces wonderful, professional-quality crafts, but it is fundamentally an industrial chemical compound. Protect yourself with these standard safety practices:
A tidy, safe workspace lets you focus calmly on your technique, directly improving the quality and consistency of your finished craft.
Color inconsistencies in clear epoxy resin are entirely preventable once you understand the chemical and thermal factors at play.
By picking dedicated liquid dye colorants, waiting to tint until after your base components are fully integrated, scraping mixing vessels cleanly, and managing heat build-up, you can create breathtaking, bubble-free, glass-like castings with seamless coloration.
While these extra steps may take a few more minutes during preparation, that moment when you demold a flawless, gemstone-like transparent piece makes every second worthwhile. Give these methods a try on your next project and enjoy the art of clear resin crafting!
See you in the next guide! This was Yassy from Crafters!



For example, if you are looking for articles about mizuhiki, try searching for "mizuhiki"; if you are interested in tools, try keywords like "nippers" or "pliers."
